The weather is starting to warm, spring bulbs have came up and the frost nipped them, spring rains have started to fall, and then temperature is up and down. All of those things point to the fact that is Springtime outside and Easter is quickly approaching.
Many of you have heard me say that I teach a CCD/PSR class. This year I have six of the most wonderful Kindergartners. I love these children. They work hard, do what is asked of them, never complain, and if I give them a homework assignment they complete it without complaints. These children have also memorized all of the required prayers and now it is time to celebrate their accomplishments.
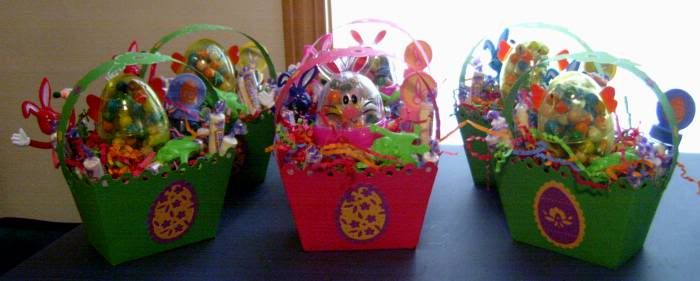
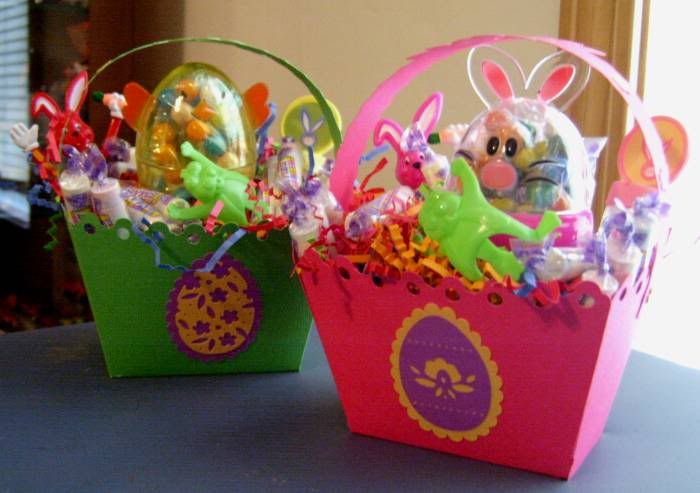
I made Easter Baskets for them this year. These were made with the Cricut and the Easter 2010 Cartridge. (Even the little eggs on the side of the baskets are on the cartridge. )
I made 6 of them (4 bright lime green for the boys and 2 hot pink for the girls.) Each basket has a large clear character egg filled with Sixlets, Smarties, a wired movable bunny, a tube of bubbles, a Lg. Reese's Peanut Butter Egg, a flipper frog, and a Ring pop. (That is a lot of stuff layered and packed into that small little cardstock basket! There is also a small handful of the colorful shredded paper.
I took these pictures before I wrapped them with the clear cello plastic. I thought it would be easier for the kids to them home if they were covered. It worked really well. I also took pics first because I thought that the camera would "glare" after wrapping them with the plastic.
These are small baskets each made with one sheet 12 x 12 piece of AC Textured cardstock. I thought they would be perfect (just a little something for each student to let them know that I thought about them at this very special time of year.)
I was always taught that it is not the size or price of the gift that matters it is the thought. I put a lot of thought, but very little time into these baskets. They were inexpensive to make and something that I am very proud to give as a gift. I know they will not last long because after all I am giving a paper gift to 6- 6 year olds.
I sure hope they like them and I hope that I've inspired you to make one or two of these to give to children you know.
Happy Scrappin' ! ! !
Brenda
My Family Scrapbook
Saturday, March 27, 2010
Friday, March 12, 2010
Missing Friends
I have been lax about keeping up with a couple of my friends lately and decided to mail them a card to let them know I miss visiting with them.
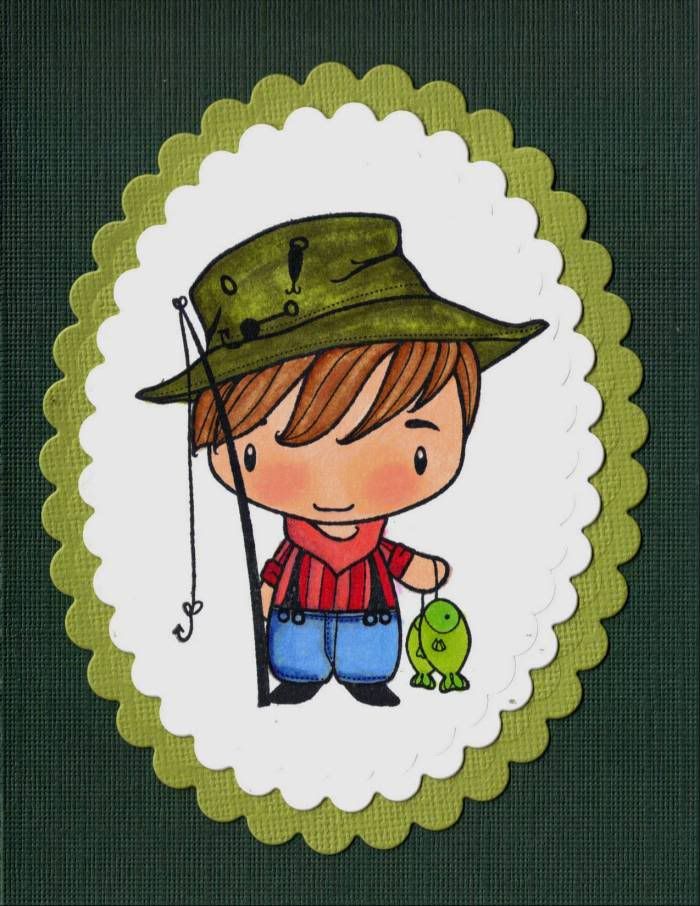
What better way than to pull out the new Greeting Farm Stamps and a few Copic Markers that I just got from ScrapyLand!
I love the red rubber stamps from Greeting Farm. I am not a stamper but I love the crisp lines that you get from the red rubber stamps. I also love the ability to blend with the Copic Markers. I am able to use the blender pen to lift some color off or lighten a color, and then apply another color over the top. Shading is so easy with these markers.
I think I did pretty good with this since I am just a beginner!
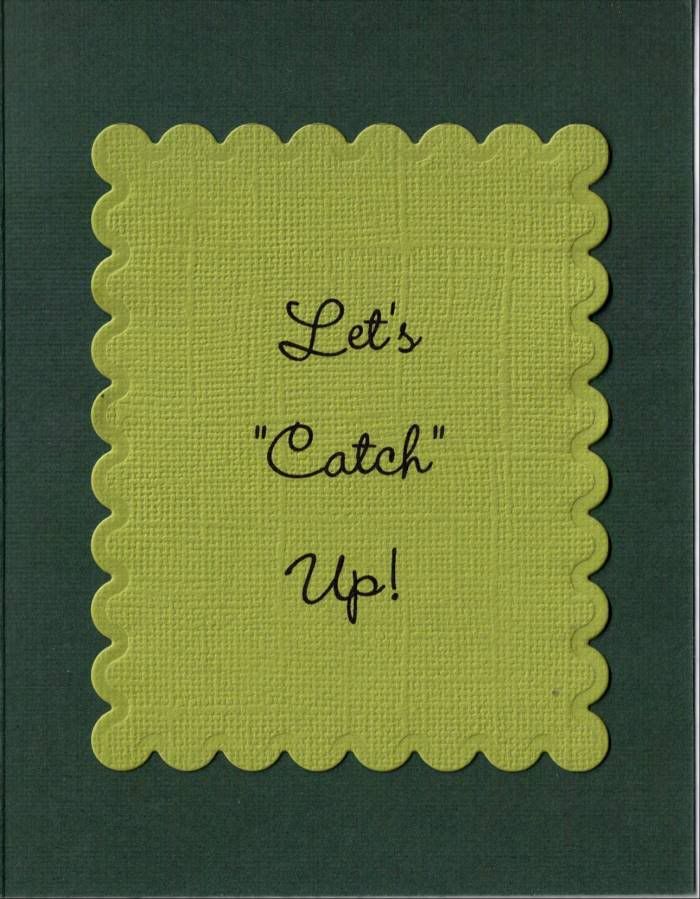
Here is the front of the card:
And then to tie in the fisherman with "catch" I used the following for the inside of the card:
I was a little outside my "comfort zone" with the stamping and markers but practice makes perfect and it is my belief that it will brighten someones day that I thought of them and made the card myself. They won't even notice my beginner flaws!
Happy Scrappin' ! ! !
Brenda
Wednesday, March 10, 2010
Bless You!
That is what I find myself saying as cold and flu season hits hard here in the mid-west. Everywhere you look there is someone who is sick.
I came up with a little something for those close to me as a little get well gift. This could also be used as a "welcome" gift left on the night stand for a visitor in your home. I even thought the little tissue box could be made in child prints/colors for a child that you did not want to give a full sized box of tissues (because let's face it, children will waste tissue like there is no tomorrow.)
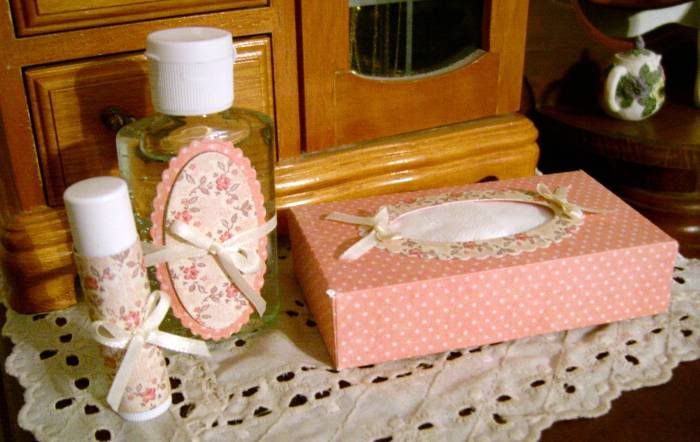
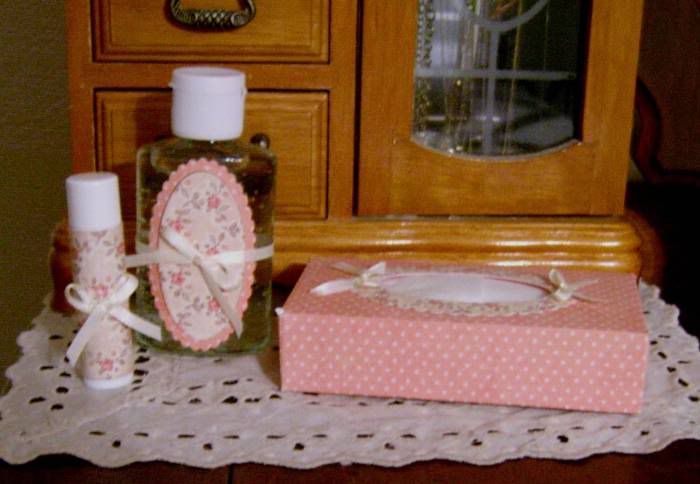
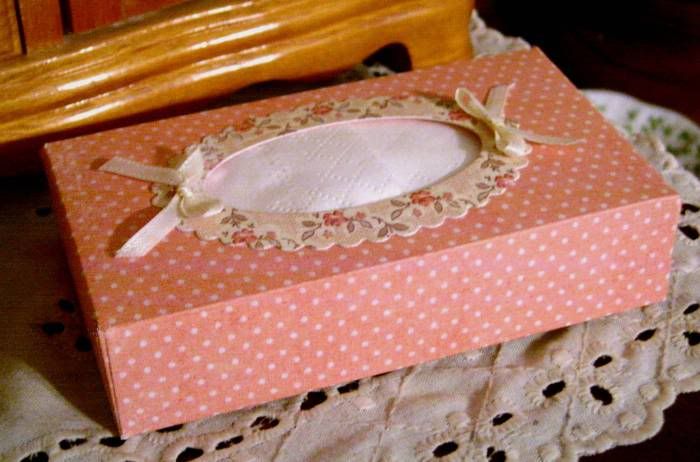
This is a couple of pictures of the little get well "set."
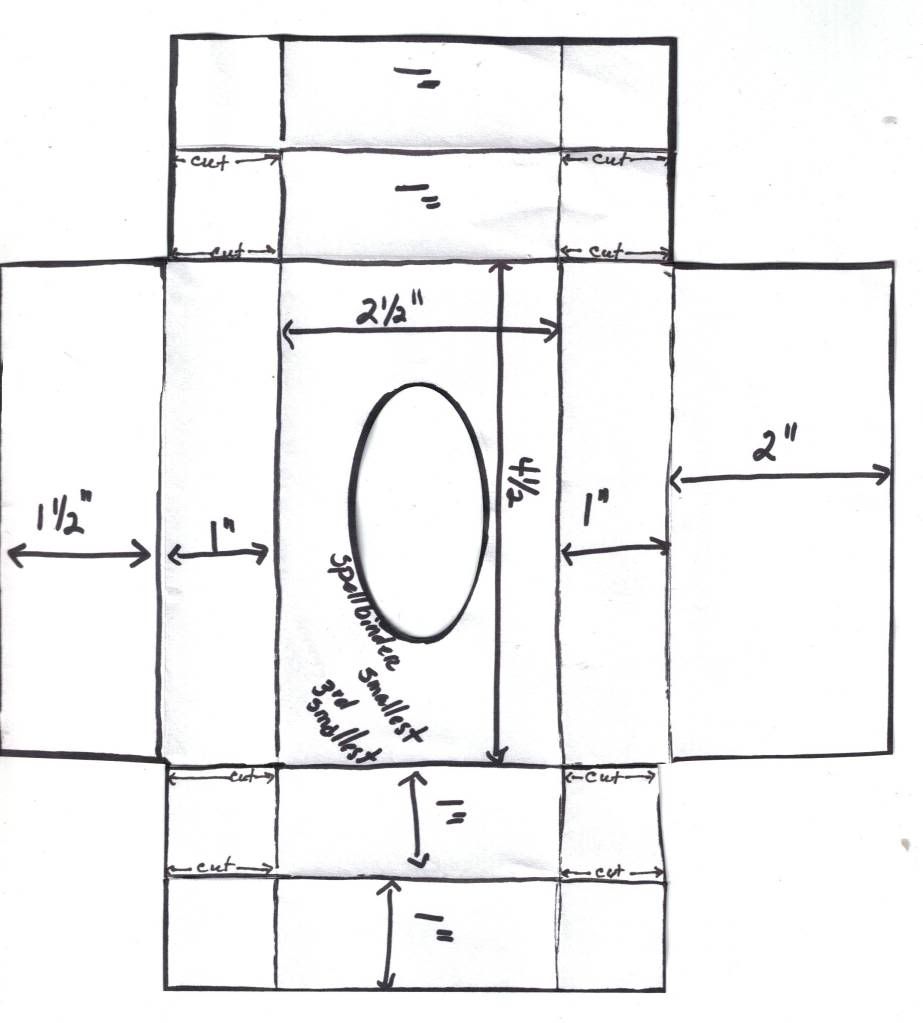
This is a purse size package of tissues that I made the box for. Below you will also find a template for the box. You will need to start with a 8" x 8 1/2" piece of cardstock. Score as shown on the template, cut the corners away, cut on the score lines where indicated and then use the small Spellbinder die to cut the hole in the cardstock before you start folding it. I nestled the same oval Spellbinder die with one of the scalloped Spellbinder dies to make the little scalloped edging for the hole. Added a couple of ribbon bows and stopped with that but you could add a few 3d flowers to it or some writing on the side if you like.
I know that my template is a little crude. I did not go back and redo it after I complete the project. I think it is pretty easy to follow.
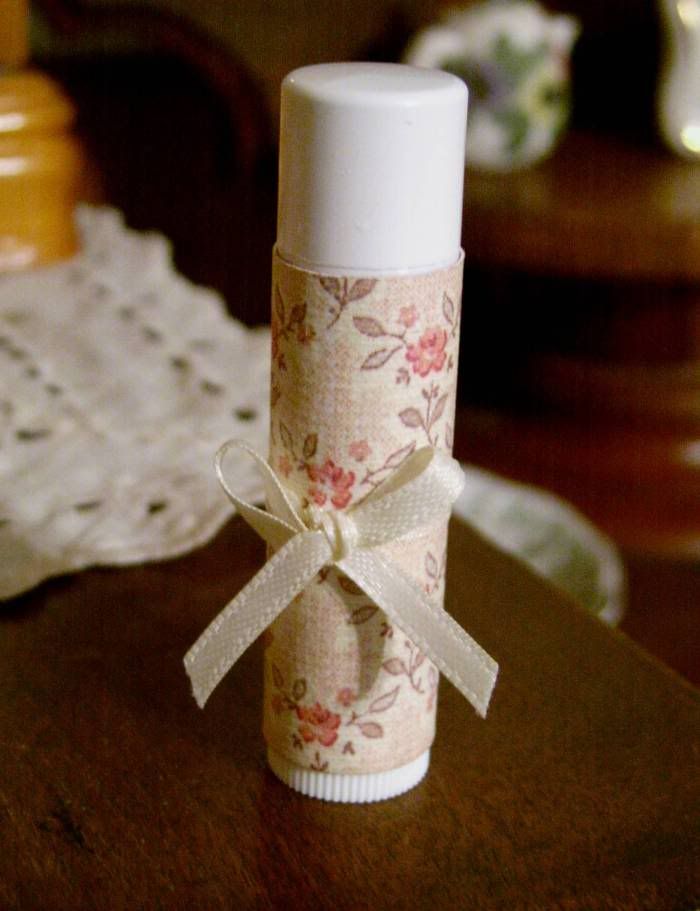
Then I added, in the same papers, a lip balm cover. This idea did appear in the Scrapbook Etc. Magazine this month.
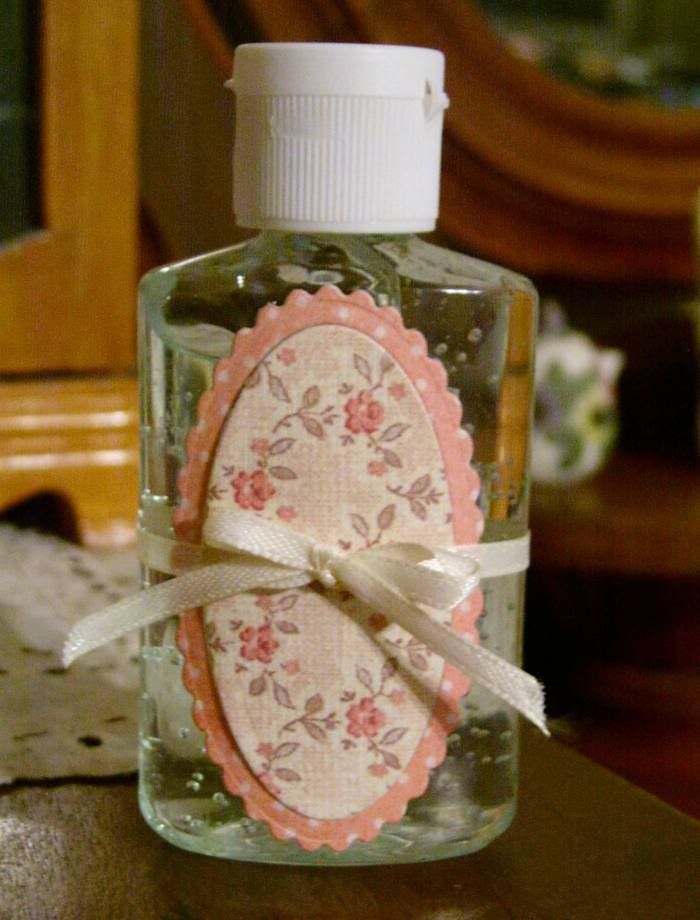
Finally, because I do not want people who are sick spreading germs I decided to round my get well gift with a purse size hand sanitizer. I removed the label from the bottle and made my own little decorative label using those same Spellbinder dies that I used on the tissue box.
I think there are a lot of possibilities using these ideas for a little gift for someone without offending and let's face it small so they don't cost a lot of money and it is the thought that counts (the thought that you don't want to be sick!)
So for that neighbor who has been sick with a cold or the flu, make their day with a little gift.
Happy Scrappin' ! ! !
Brenda
Monday, March 8, 2010
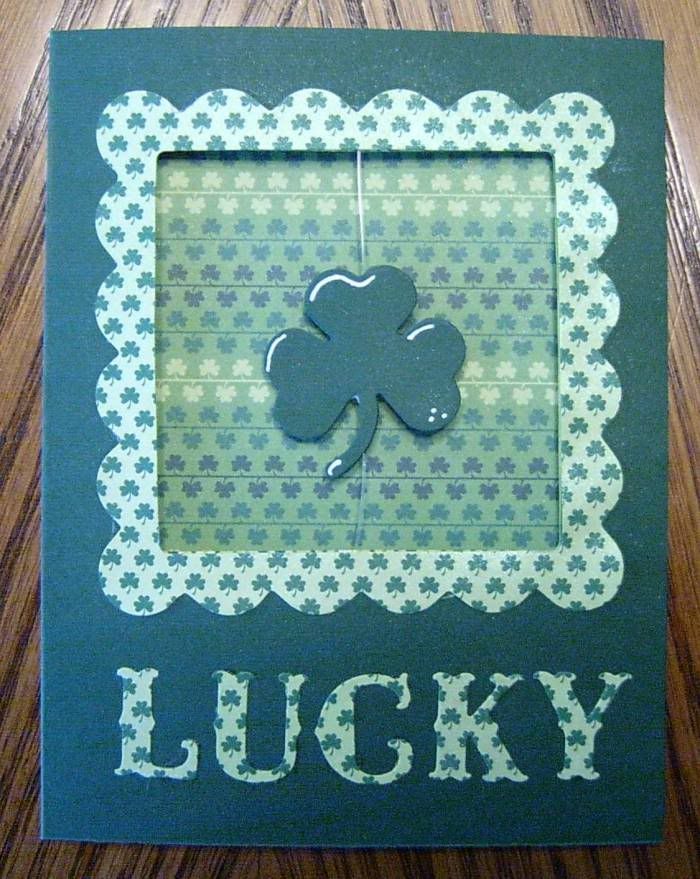
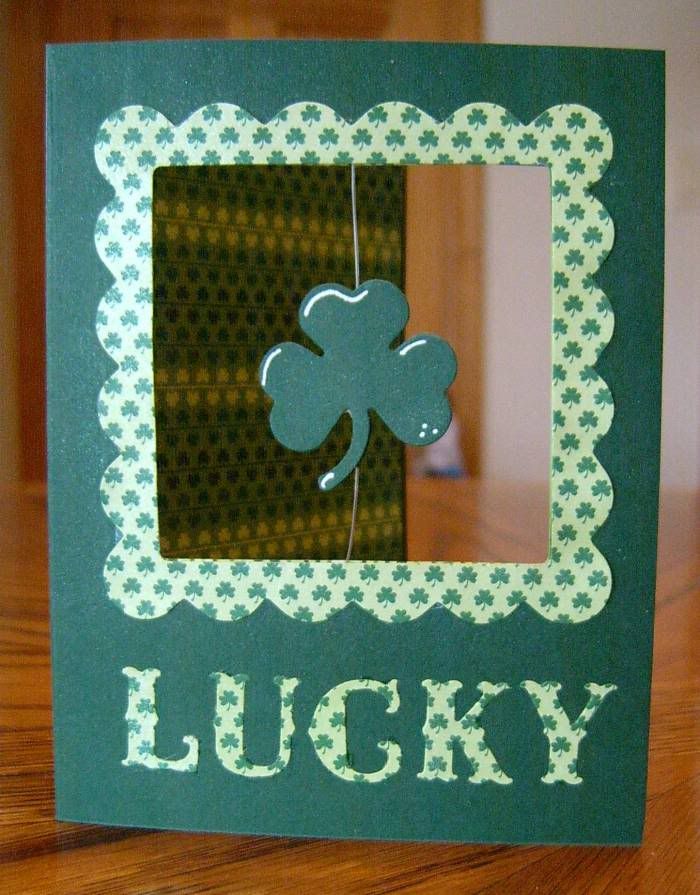
With A Little Luck
Later this month we will be celebrating St. Patrick's Day! Wow where does time go?
A little trivia about St. Patrick. He used the clover to teach people about the Holy Trinity. We, in the USA, wear green because the clovers are green and because Ireland is called the Emerald Isle. But did you know that St. Patrick was not from Ireland? Did you know that in America we think that the 4 leaf clover is lucky but in other parts of the world it is considered a curse to find one.
I had to laugh at that because if it were a curse to find one would one really look for a 4-leaf clovers.
I guess I think too much.
I am sharing a St. Patrick's Day Card with a How-To Video today. Shhhhh most of my friends are all getting one of these this year.
Do you remember the card I did at Christmas time with this same technique.... ?
Not just for one holiday, it can be altered for any holiday or event. I am making one for my son right now for his new home and that little QKs house from a few months ago is perfect. Or use the birthday cake a for party coming up.
Here is the video how I made them:
I hope you will try one of these and make it your own!
Happy Scrappin' ! ! !
Brenda
Friday, March 5, 2010
For The Love Of Nature
My husband loves to fish. He already has Spring Fever! He can't wait to get out on the water to fish this year. Looking at these pictures from 2 years ago isn't helping him focus on chores around the house. I had to scrap this LO and put it away before I became a fishing widow again. (When he gets the itch he must go.)
I am loving using some of the older QKs fonts and things that I have in my stash. For this LO is used Diesel Font in both Grand and Classic sizes and then I also used the Studio Skinni Mini Font for his name and date lines. For the embellishments on the page I dug into my Deluxe Cuts and found some fishing related items. I inked those up and put a few eyelets them to update the style of a really old product. (Deluxe Cuts/Deluxe Designs are no longer in business.)
I am loving scrapbooking once again. Each LO that I complete is one step closer to being caught up.
Happy Scrappin' ! ! !
Brenda
Wednesday, March 3, 2010
Music Was In The Air
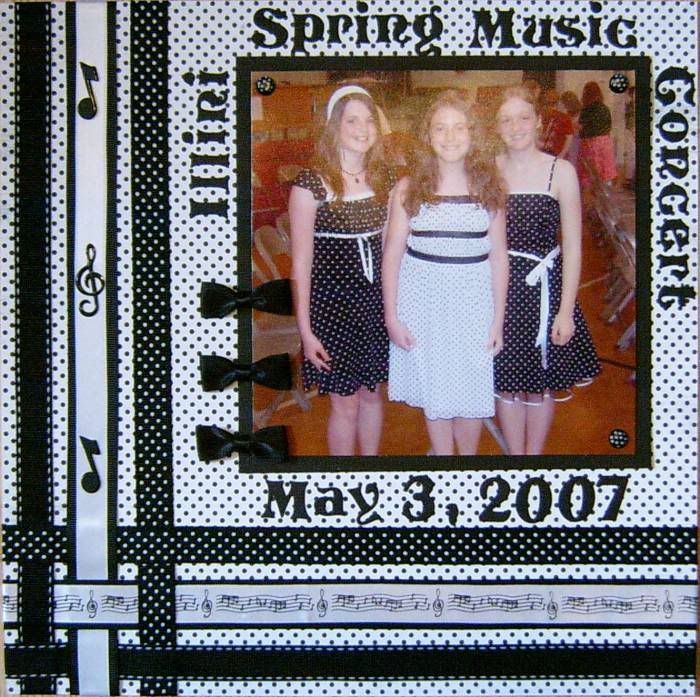
I am a full 2 years behind in my scrapbooking and I am trying to get caught up but as I look at the boxes of pictures I think that I am doomed to always be 2 years behind because every time that I complete a LO I have taken enough pictures to do 10 more.
I didn't even take the picture in the LO. I forgot my camera and one of the other mothers took this picture with her cell phone and then emailed it to me. The quality is not great but I got to document the event.
I used QKs Storybook font to do the title around the picture, some ribbon and bows for accents, and since I only had a 14 inch piece of the music ribbon I used white ribbon on the side and used a couple of music note brads to pull it all together.
It is busy but it turned out just he way I wanted it to and my daughter loves it (which is all that really matters, right?)
Once again I am using things that I've had in my scrap stash for a while now and that is great so now I can go buy more.
Happy Scrappin' ! ! !
Brenda
Monday, March 1, 2010
Getting Back To My Albums
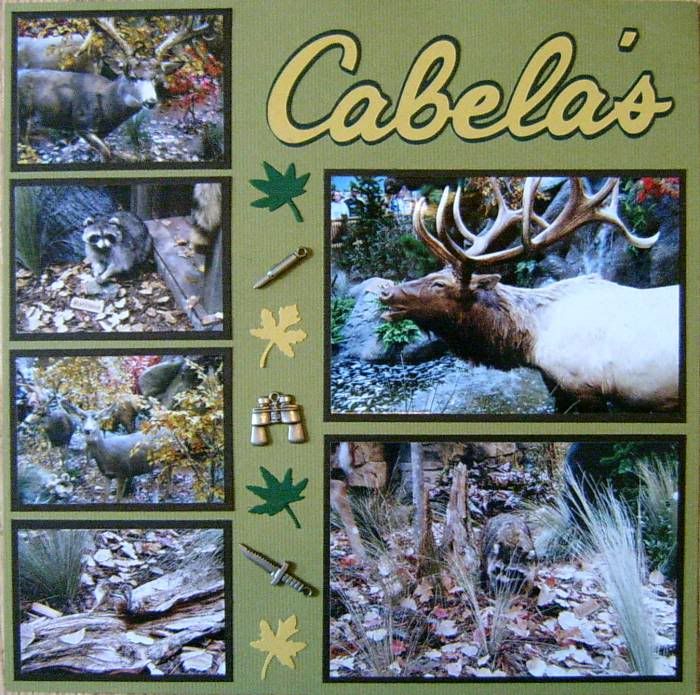
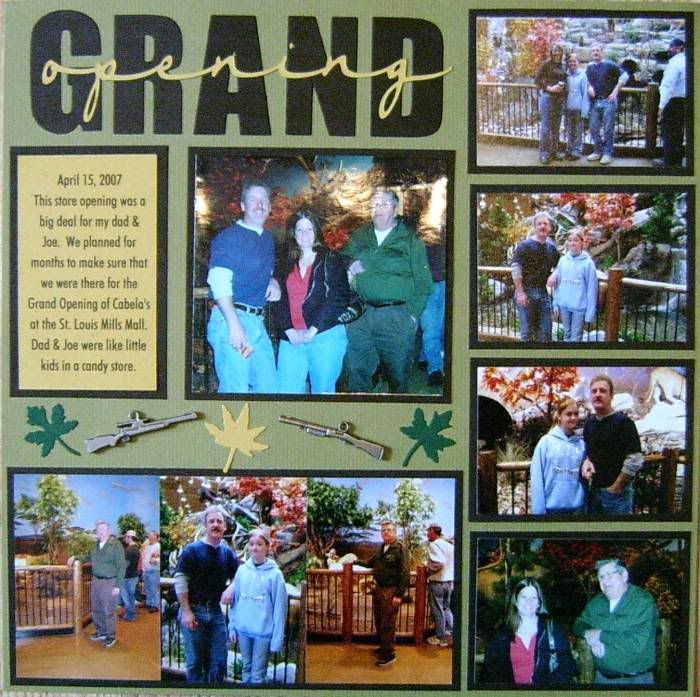
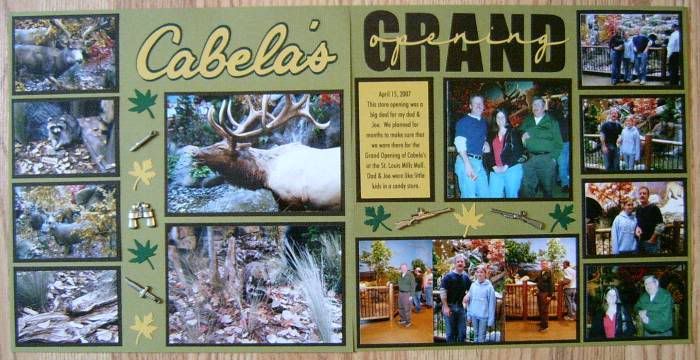
It has been a long time since I've scrap-booked in my personal albums. There are several reasons for this 1) I've been so busy doing things for Design Teams (DT) and meeting deadlines that I didn't really have time and the pictures that I had didn't really match what I needed to be using for those DTs, 2) I am also a little obsessive/compulsive and I have to scrapbook in order, there are very few exceptions to that rule for me and 3) when I wasn't scrap-booking for the DTs I was busy taking care of my family's needs (2008 and 2009 were very busy years and I am glad they are over) 4) the lay-out (LO) that I am posting today was very difficult for me to scrapbook.
This LO is of a day that I spent with my dad. He was so giddy about going to the grand opening of the Cabela's store. My husband and him talked about it from the day they found out that Cabela's was coming to a mall near us. We planned for months to go. My dad passed away this past May (2009) and the first set of pictures on my desk to scrapbook after my DT duties were finished was these pictures. It was very hard for me to do these pictures. Every time I say down I cried.
I finally managed to finish the LO and used 3 fonts, 3 methods, and then some of the stuff in my arsenal of supplies to finish it. I didn't want to leave any of the pictures out so it is cram packed with photos.
First off I used Sure Cuts A Lot (SCAL) to create the "Cabela's" writing. I have to give a shout out to Heather Mills for helping with that. I am not good with the SCAL unless it is with just TT Fonts in my computer.
Second I used the QuicKutz Diesel Grand for the word "Grand" and some mini CC leaf dies for the leaves.
Third I used my Cricut with Cricut Design Studio and cartridge Opposites Attract to do the word "opening."
The rest of the embellishments were items I had like the Karen Foster metal charms.
I am glad this LO is finished and I like the way it turned out.
I am glad to be back working in my albums and I am looking forward to doing more very soon. I am also looking forward to using things that I want to use instead of "having" to use certain dies, fonts, or scrapbooking items. This will also allow me to use up my stash which I am very much looking forward to doing.
My challenge today to you is to use something that you've had for a while.
Happy Scrappin' ! ! !
Brenda
Subscribe to:
Posts (Atom)