In life there is always a story to tell. My life is no different. This story will forever make me smile.
I have several hobbies. One of which is my scroll saw cutting. I love to make new and different things. He also has a very creative side. His hobby is making Cigar Box Guitars and odd string instruments. This hobby is new to him but he loves doing it. He has even sold a few of them.
I have been busy making a few gifts for the upcoming Christmas season. A very dear friend of mine asked me to see what I had been creating. After showing him, he said that I should enter some of my art in the local county fair. In the past I had heard people talking about entering various items in the fair but I had never went out and walked through the exhibit barn to look at what was there. I was always more interested in the food! He explained a little more about the process to me and convinced me to enter a few of my hand made items.
On the day that I had to take my entries to the fairgrounds I turned to my husband and said, "Grab a couple of your guitars and perhaps there will be a category for you to enter." He laughed at me and said, "Seriously?" Never kid a kidder!
We went to the fairgrounds only to find out that we would be competing against one another.
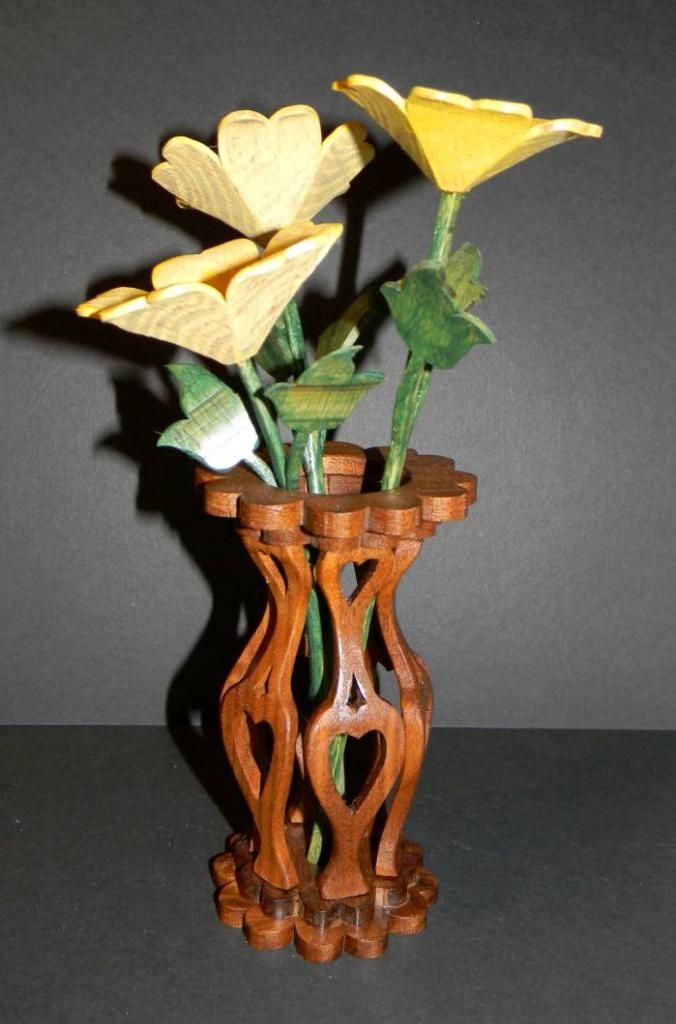
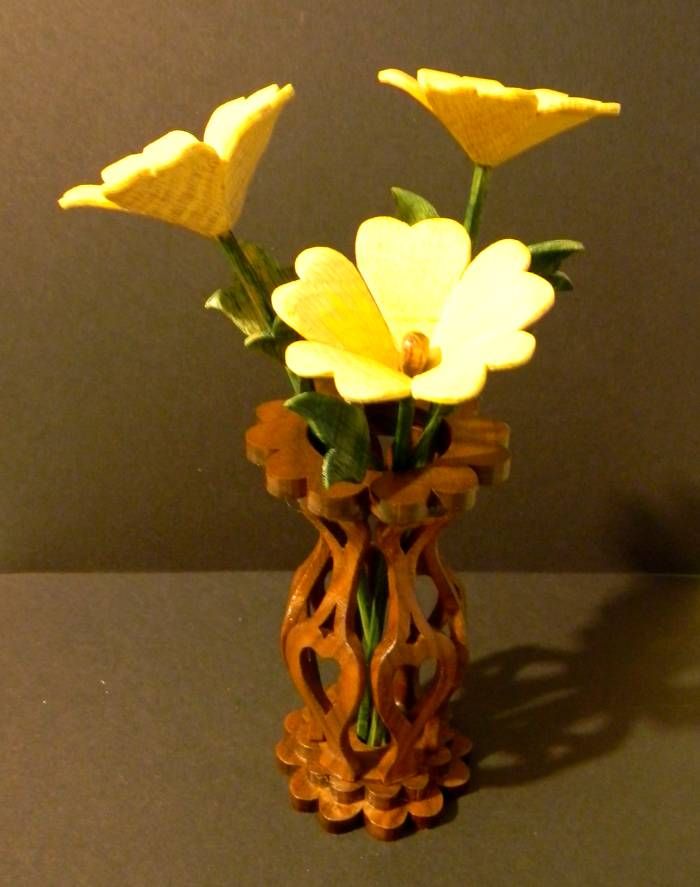
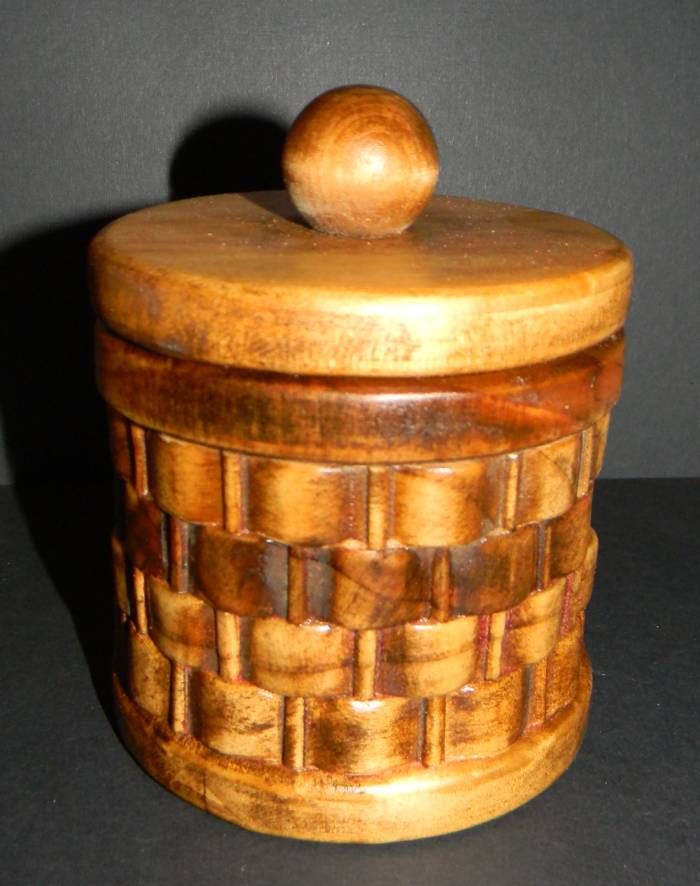
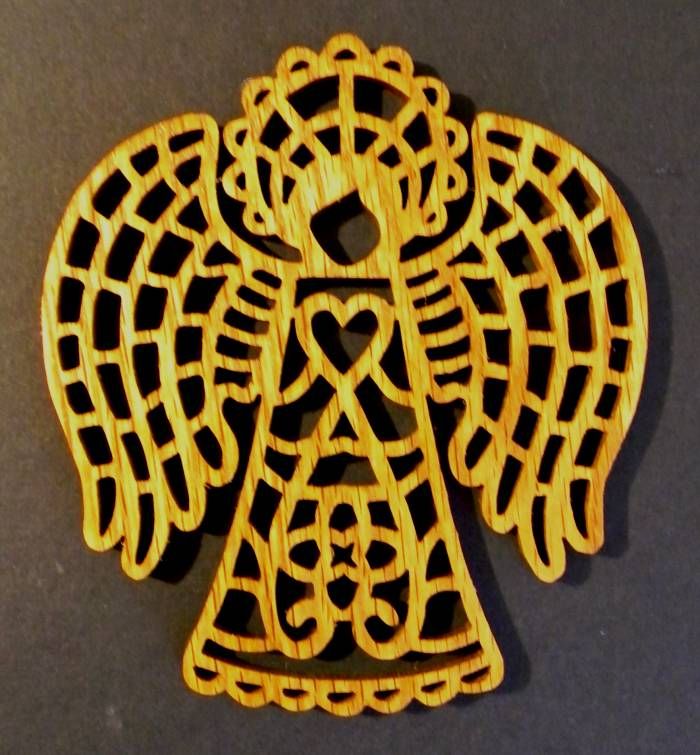
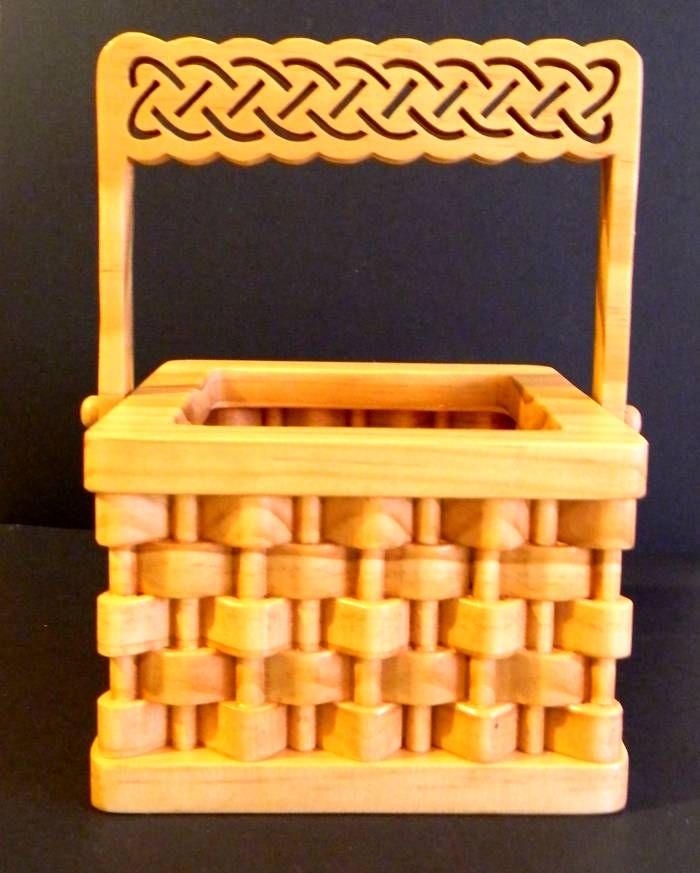
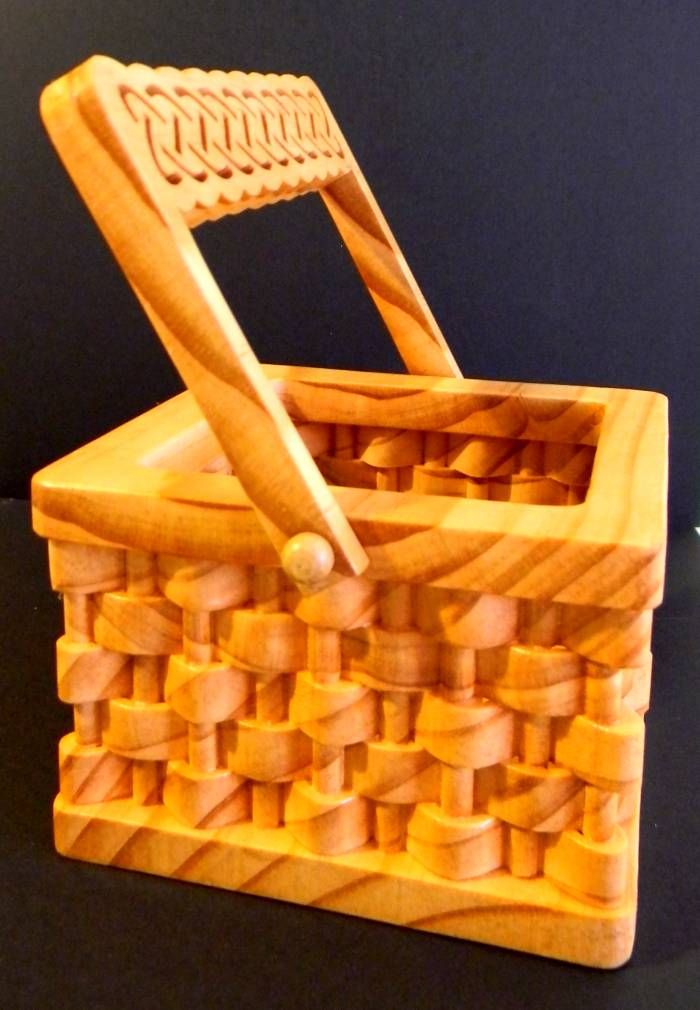
I entered my Fancy Angel and Round Basket into the 'made of wood' category and then my original square basket with the Celtic braid handle into the miscellaneous category. Joe entered 2 of his guitars in each of the same categories.
He beat me for the first place ribbons in both! I got a 2nd place and a 3rd place ribbon in the 'made of wood' category and didn't place at all in the miscellaneous.
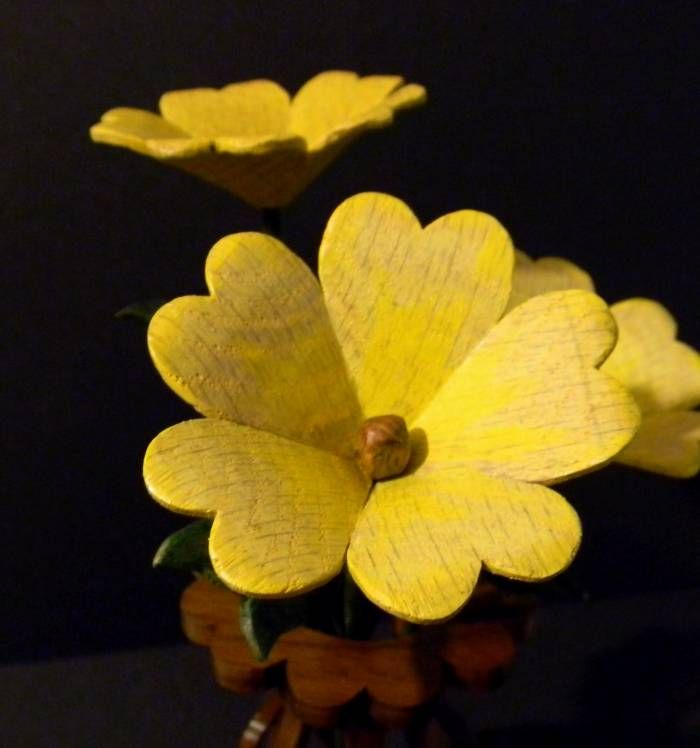
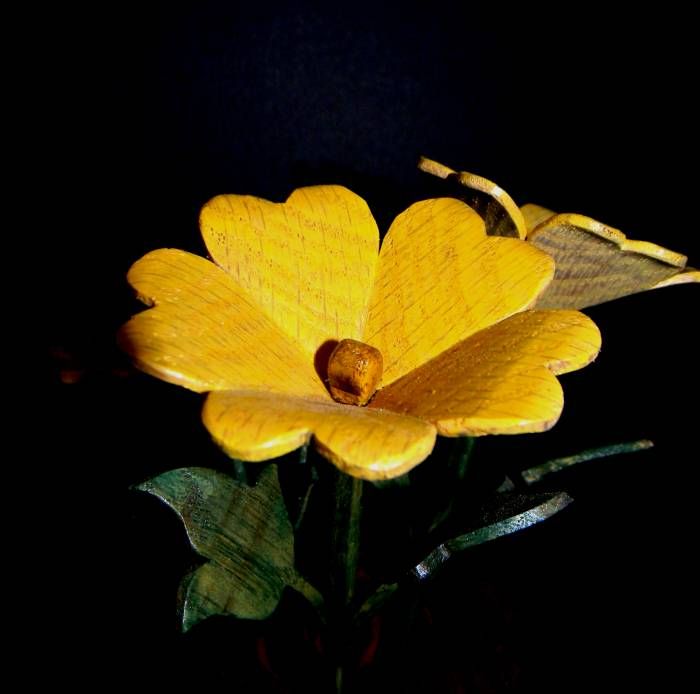
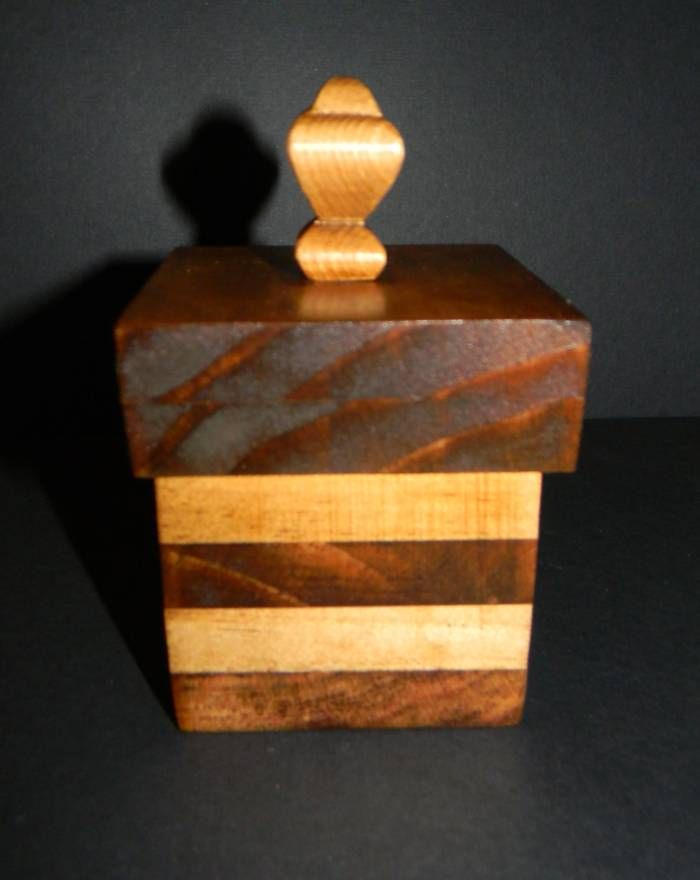
Here are photos that he took of our items on display at the fair:
Coming home from picking up our winnings my husband pats me on the shoulder and tells me, "Thank you for the blue ribbon because you were the one that got me to enter." Yes, I was thinking, that could have been my blue ribbon!
We had a great time and learned a lot about entering items and the different categories that are there. We are both looking forward to next year!
Have you ever entered items into your county fair?
Happy Crafting ! ! !
Brenda