My Family Scrapbook

Monday, August 27, 2012

Santa Ornament

Well it is official, I am addicted to my scroll saw.  I am having so much fun with it.

Here is my newest cut. 


I tried a technique, and put two pieces of wood together and cut both at the same time.  It worked without an issue. 

This is cut from 1/4" Red Oak, and the finished piece is about 4 1/2 inches long and 3 1/2 inches wide.  I found the pattern in a book called, "Scroll Saw Christmas Ornaments," by Tom Zieg. 

There will be more ornaments being cut.  I am practicing with these before I move to bigger things. 

Happy Crafting ! ! !

Brenda

Wednesday, August 22, 2012

Scroll Saw - My First Finished Piece

This is a little off the wall but I am going to share it with you anyway... I am all about showing a failure every now and again.

Although this is not an epic failure as it is a first try but I think it could have been better.

I will start with a little background. My dad who passed away 3 years ago loved to do wood working. I grew up watching him make sawdust.   The man made some of the most amazing things. His projects ranged from cabinets to children's toys. If he saw it made from wood he could duplicate it.

Recently I acquired a scroll saw and decided that I wanted to learn how to use it. Those who know me know that I jump in with both feet and no life preserver! I go for the gusto.

This was no different and I learned a lot in doing this first project. The main thing I learned is that I should have practiced with simple shapes first and then moved to something a little more complicated. BUT that wasn't what I did.... I started with the smallest thing I could find and got a bit frustrated. From that frustration came questions and answers from a pro. I stumbled on Steve's Blog and immediately started emailing him. He was so nice.  (Steve's site is also where you can download the program to make your own key chain!)

Everyone told me that I was very bold in starting with something so small and to start with fret work right out of the gate is unheard of.

Here is my first piece:


It is a key chain.  It is very rough but I learned so much!  Although I will not use this one I will still keep it to be able to see my progress.

I will post more wood projects as I complete them.  Right now I am working on other projects.

I just wanted to share what I had been up to.

Happy Crafting ! ! !

Brenda

Monday, August 13, 2012

Gift Giving Idea - Handmade Photo Drink Coasters

A friend reminded me that Christmas is just around the corner. Oh don't remind me! Then I think it is time to start thinking about those hand-made gifts and the nudge to not wait too long to start making them.

Last year I made many of my gifts. This is one I made for my husband's brother and sister. I really enjoyed making these drink coasters and decided to put together a how-to photo tutorial for the coasters. (My videos are not coming out like I want them to right now and this is the next best thing.)

Supplies:

4" x 4" Ceramic Tiles (Lowe's or Home Depot)
Photos (Saved on a computer)
A Paper Cutter (Scissors are fine)
An Adhesive (I used Tombow)
Sponge Paint Brushes (I only used one)
A Good Spray Polyurethane (I used Minwax Fast Dry Clear Gloss)
Mod Podge
White Tissue Paper (The kind you use to wrap gifts)
Regular White Computer Paper
A Sheet of Thin Cork (I also found this at Lowe's)
Beacon 527 Glue (Or similar glue)


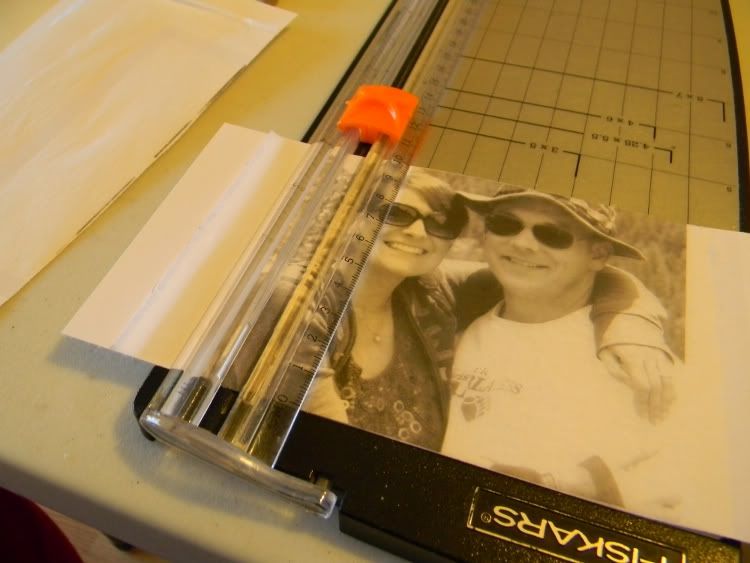
Step 1: Prepare your photos. Select photos that can be cropped into a square. You may leave them in color or convert them to grey scale. If you are doing your coasters as a set, select photos with a common theme or like colors or chose the grey scale option so that they do not clash.

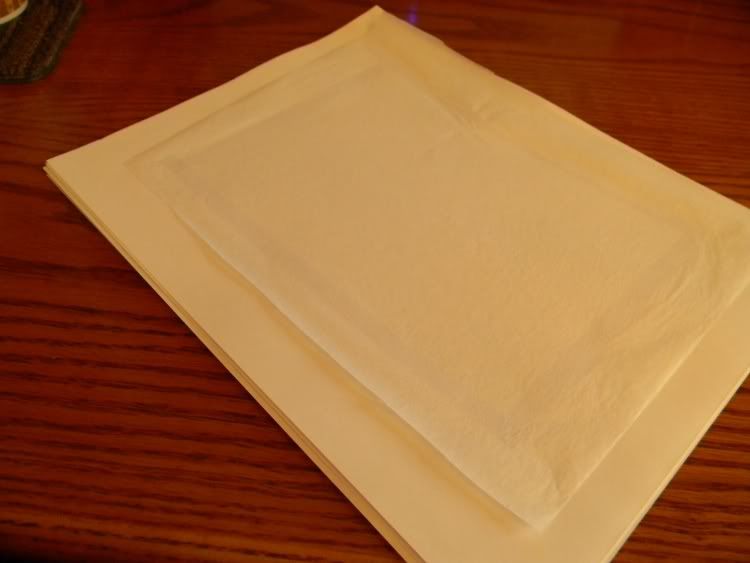
Step 2: To print your photos on the tissue paper you will need to run adhesive on the edges of a sheet of computer paper.


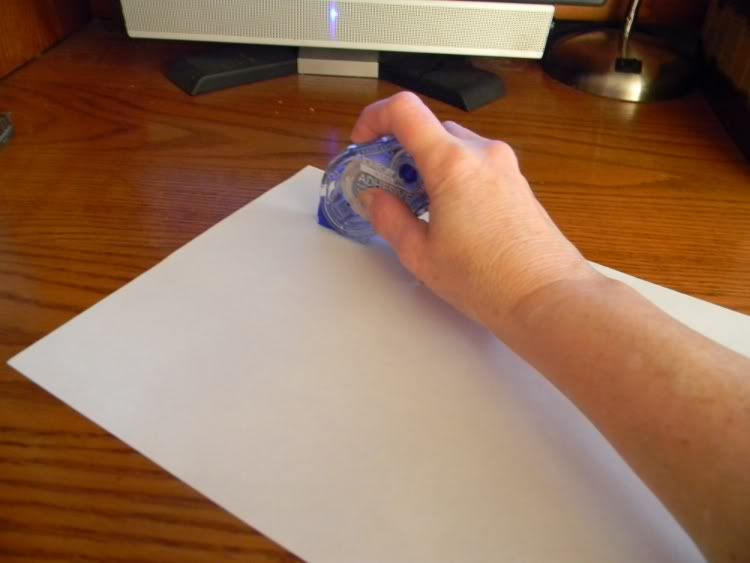
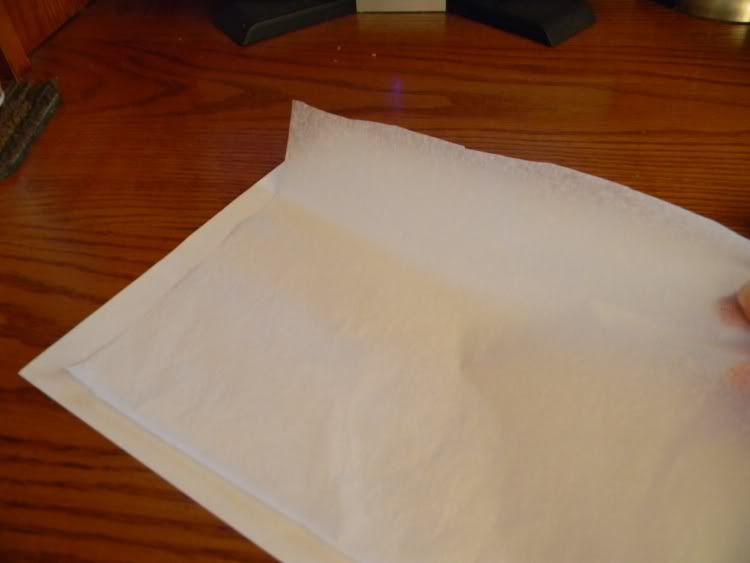
Carefully lay a piece of tissue paper on the sheet of the computer paper, being careful that there are no wrinkles.


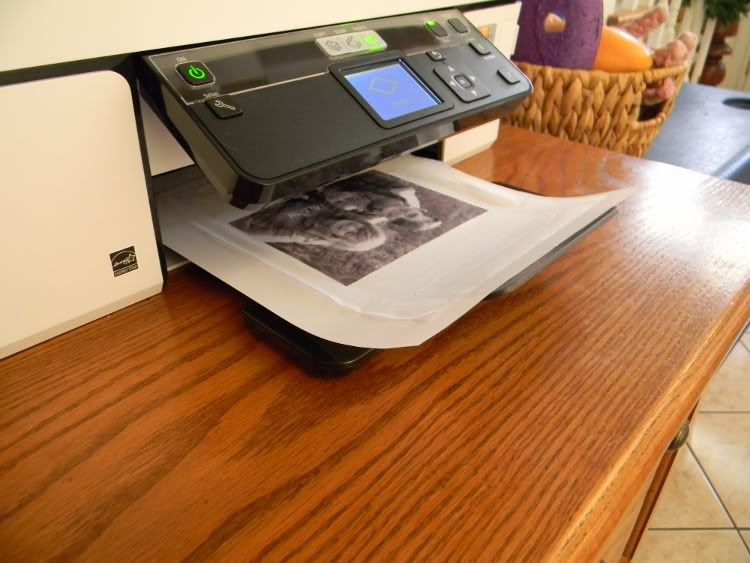
Step 3: Print the photo onto the tissue paper just by running the tissue mounted computer paper through the printer. Most printers will detect the paper and adjust the amount of ink used. In the event that you have to chose, the 600 setting is about right. I sized the photo so that it was just a little larger than the tile and I printed only one photo per sheet, and printed it centered on the page.


Step 4: I took the entire sheet and put it into my cutter. Holding it still in the cutter and cutting through both the sheet of computer paper and the tissue paper at the same time. This does three things; gives you stability when cutting, prevents the tissue from ripping and cuts away the adhesive leaving you with a perfect cut tissue photo. When you cut this you should cut it so it is just a little smaller than you 4 x 4 tile.


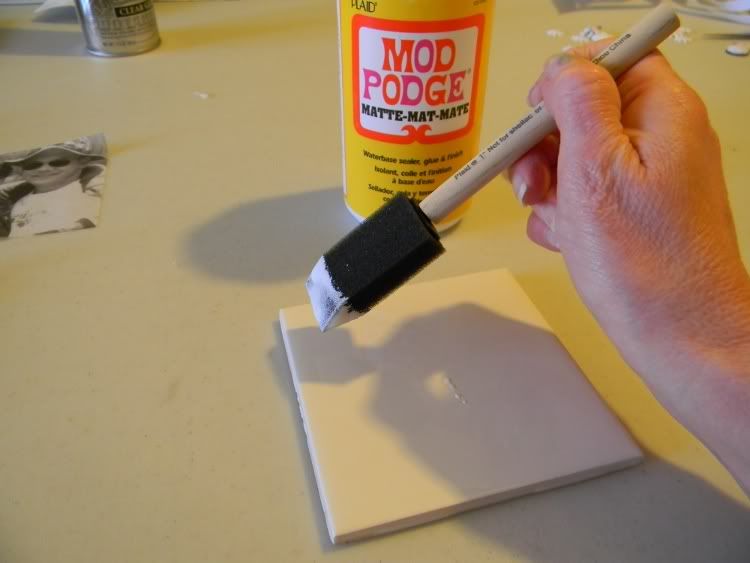
Step 5: Apply a thin, even layer of Mod Podge to the clean 4 x 4 tile. It is very important that this is a thin layer. If you apply the Mod Podge to heavy, it will take forever to dry and could create wrinkles later.


Step 6: Carefully place just the tissue layer photo over the wet layer of Mod Podge on the 4 x 4 tile.


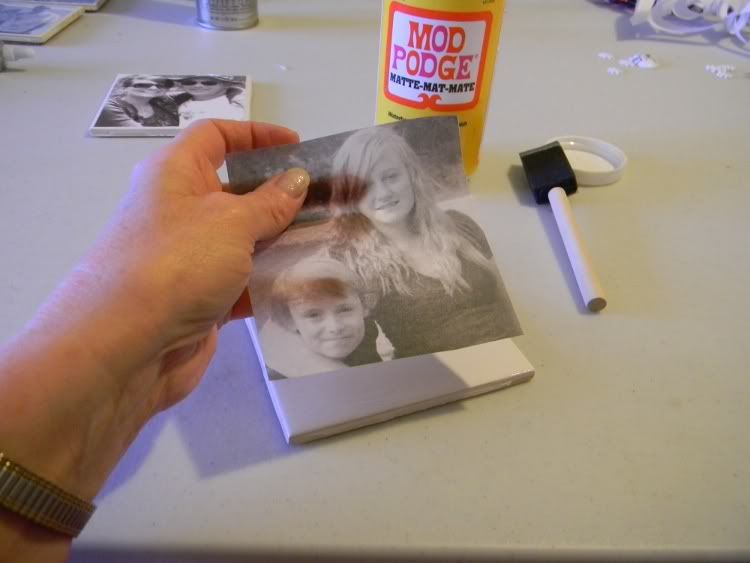
Something that I learned through trial and error is that if you start at one edge of the photo and roll the photo onto the tile you will reduce wrinkles and avoid air bubbles from occurring. Then set the tiles aside to thoroughly dry. This is important. I do several tiles at a time so that I can keep working while the others are drying. BUT they should be completely dry even if these means you have to walk away for a couple of hours.


Step 7: After you are sure that the tissue layer is dry, apply 2 or 3 thin layers of Mod Podge over the tissue. If you have rushed and the tissue photo is not dry you risk tearing the photo and it is very had to repair. Should that happen I suggest that you scrap the tissue photo off with a razor, clean the tile with soap and water, and start over. I use a sponge brush for applying all layers of the Mod Podge. I brush up and down the first layer, and go the opposite direct for each additional layer. Don't be concerned that the Mod Podge is white, it will always dry clear. Allow to completely dry in between coats.


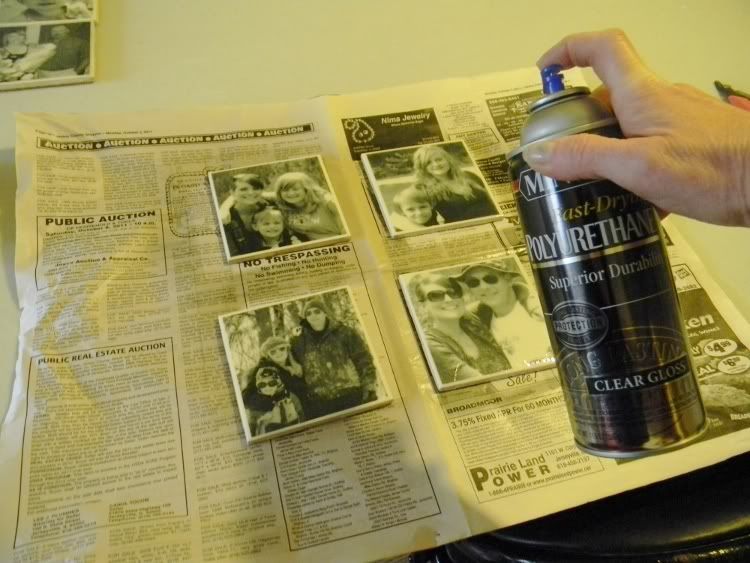
Step 8: After allowing the Mod Podge to completely dry, spay the tiles with at least two coats of a good polyurethane of your choice. DO NOT USE ACRYLIC POLYURETHANE. It was my experience that it will not dry over the Mod Podge. Allow the poly to completely dry. (I can't stress enough how important it is to allow everything to completely dry. Take your time and do not rush each step.)


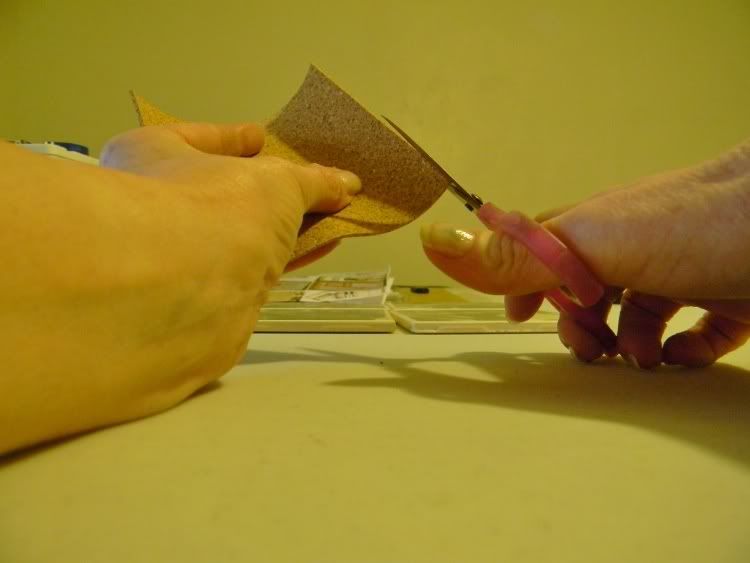
Step 9: Cut the thin cork just slightly smaller than the 4 x 4 tile.


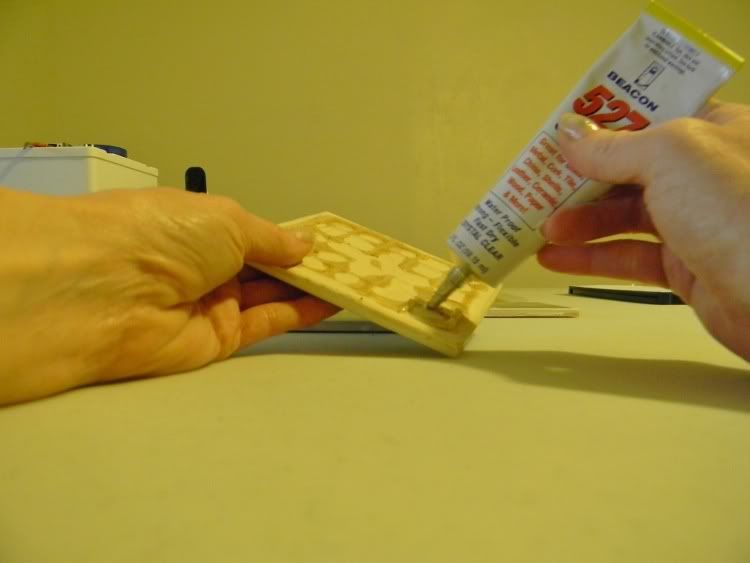
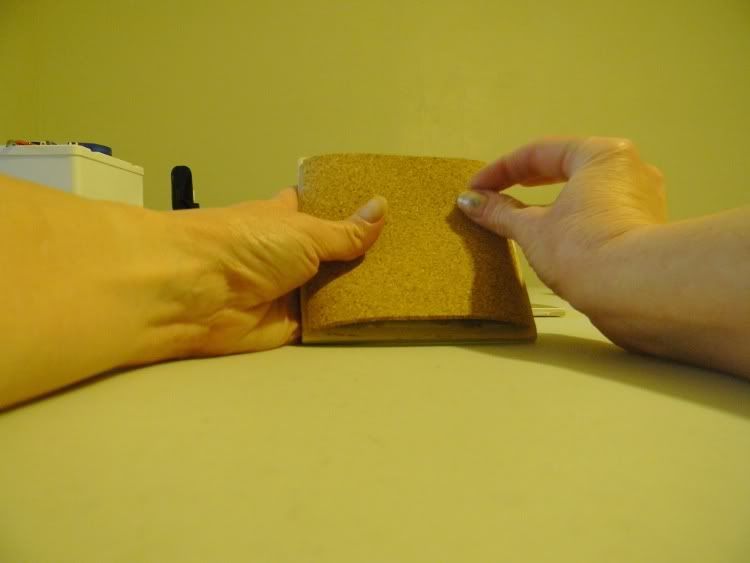
Step 10: Using Beacon 527 Glue, adhere the cork to the bottom of each tile.


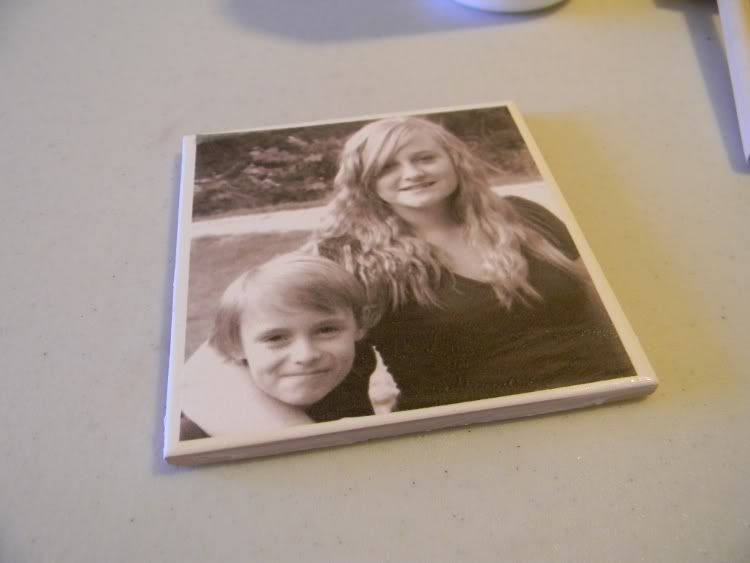
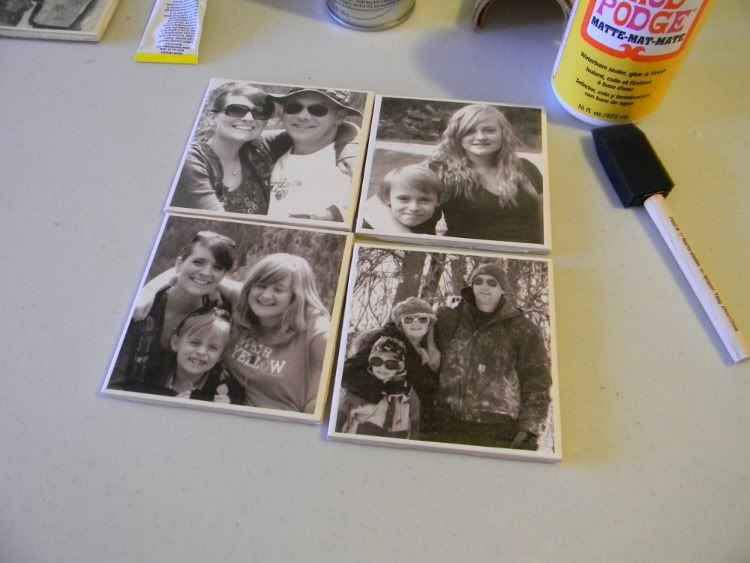
Allow everything to dry and here is the finished coasters.


This sounds like a lot of steps and a lot of work but they are well worth the time and effort. These not only make beautiful functional gifts but they can also be added to a ribbon to make an awesome wall hanging.

To me this is a mixture of crafting and scrapping. So today I say to you as I tell you that hand-made gifts are the best gifts I also say:

Happy Scrap-Crafting ! ! !

Brenda

Monday, August 6, 2012

Another Book Mark

When I start thinking about something it is hard to turn off the mind when I have more than one idea for a project. That was the case when I was asked to join a book mark swap. When my ideas came together I could not resist making more than one book mark for my swap friends.

This is the second idea for the book marks that I had. I have a store bought book mark similar to this that I stole the idea from. Although the idea is not original it was harder to get it to come together than the other book mark because I had to have a continuous elastic band to make it work.

When school shopping with my daughter I ran across a set of headbands (one set was round and the other set was flat.) These headbands were 6 in a set for only one dollar. I also had a choice between a multicolored set or black. I decided to buy the flat set in black and give this a try because a dollar wasn't that much if the idea did not work and my daughter would probably use the headbands.

Luckily the idea worked and came together easily. Here is a picture of the finished book marks.


Each of the medallion is double sided and one side has the person's first name initial and on the reverse side is their last name initial. The medallion moves on the elastic band so that the reader can adjust it to where they want it positioned on the outside of the book.


In order for the medallion to be able to be moved I cut thick chipboard the same size as the medallion and then cut it in half and trimmed about 1/8 of an inch off each side of the center cut and separated the two pieces on the back of the medallion, inserted the elastic band and then put an identical die cut on the back.

After that was completed I could have stopped but I love the idea of a place marker for the inside of the book. What a better marker than an arrow die cut. This too is double sided and I made it the same on both sides. I used the same technique of chip board, cut it the same shape as the arrow, cut it in half so that the arrow would be horizontal but would move vertically.


This arrow can be pointed at either page and can be moved up or down the entire length of the page in order to point to the area where you would like to start reading the page.

What I love most about this type of book mark is that it generally doesn't slip off the book. The thing that I least liked about this one is it works best with thicker books. I am searching for these elastic bands in a smaller size... maybe ones for babies if there is such a thing out there.

If you still read books made of paper (and I am one of those people who have not bought an electronic reading tool yet) these are wonderful book marks and the possibilities are endless!

Happy Scrappin' ! ! !

Brenda