My Family Scrapbook

Monday, June 24, 2013

Back To Wood And An Original Basket

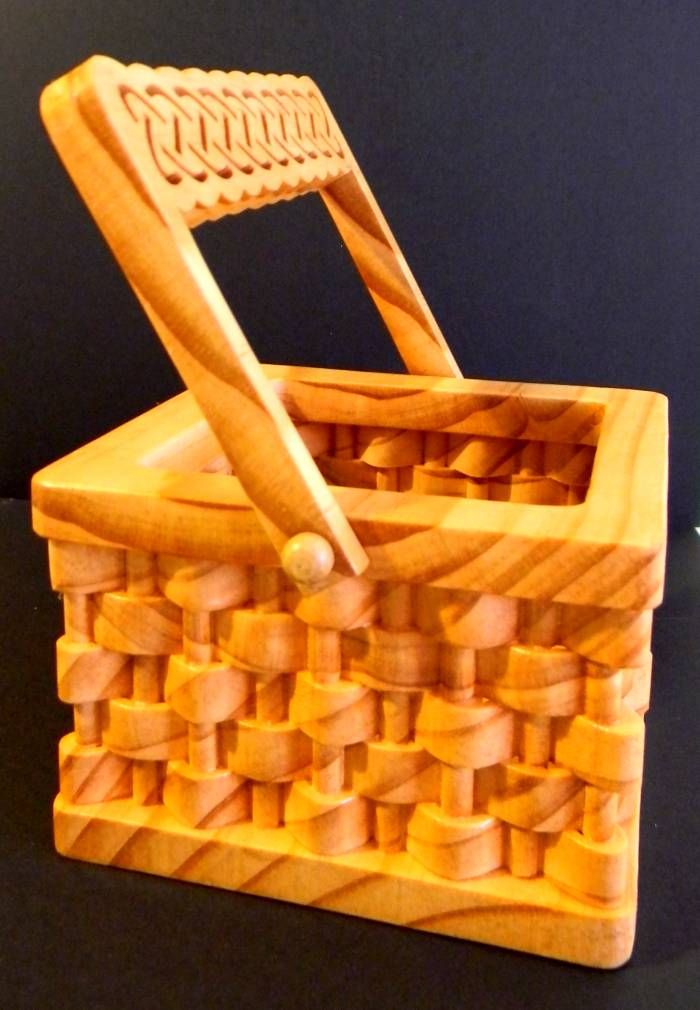
Now that spring is here and I can be in the garage without freezing I have been busy sawing again.  I didn't actually start this project at the saw though.  I put pen to paper and designed this one myself.  It  is somewhat rough in the aspect that because I drew this pattern myself, it is not perfect.  I did not design it using a computer program (although it probably would have been easier if I had that knowledge.)

The piece went together pretty easy for me but I learned a few things while making this.

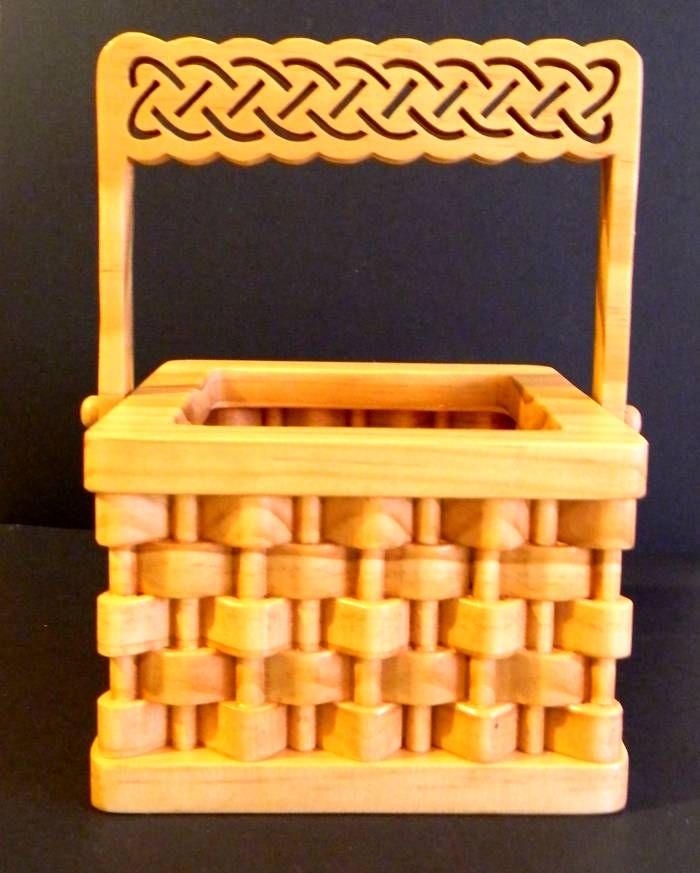
First I will share the pictures of the basket:

Front view:


Side view:


And a view to show you that the handle does move:


The finished basket is fairly small.  The finished dimensions are from table to the top of the handle is about 7 1/4 inches tall.... from table to the top of the basket part is 3 1/2 inches tall. the basket is 5 1/4 x 5 1/4 inches square.

At this point I am not sure how to share the pattern with all of you. I can't get the PDF file to copy here.  I am still learning how the "Blog" works.

I hope that this is an inspiration for all of you to try your hand at designing.  The reason that I decided to do this is I could not find a square basket that I liked and could see the basic concept of the design by looking at other patterns.    

Happy Crafting ! ! !

Brenda
Monday, June 17, 2013

Another Card

As with the previous post this card was made as a sympathy card for a co-worker and the idea came from Pinterest.


This card was a bit more complex in the making than the previous one.  For this one I used a diamond punch, a lace border punch, a butterfly die, several embossing folders, Stickles (glitter glue,) and pearls.  I also went a little to the unconventional side of scrap booking and used my sewing machine with a zig zag stitch and white thread.


This card, as you can see in this picture, has layers, texture, and height to it.


The sentiment in this one came from an Internet site.

I really like the way this one turned out and once I got it all laid out and figured out how to hold things into place so that I could sew it, the process was fast and easy.  By the way, the trick to sewing in order that you don't "gum up the needle" on the machine is to place a small amount of adhesive to only the center of each diamond.  That tip works like a charm.

Now that you've seen the scrap lift, and got a tip on how to make the process easier, go try one of these...  just imagine the possibilities with different colors of card stock, mixing and matching.  This could be used for any occasion as well.

Happy Scrappin' ! ! !

Brenda


Monday, June 10, 2013

Card Making

Recently, at work, I had several co-workers lose family members.  I needed tasteful cards to use as sympathy cards.  For ideas I turned to Pinterest for my inspiration.  Anytime I scraplift I try to give credit where credit is due but in this case I never did find the original post so I am just going to say I found the ideas on Pinterest and leave it at that.

I also want to point out that when I scrap lift nothing ever looks exactly like the original because I never have the same materials.  So with that said I will just share the first card.

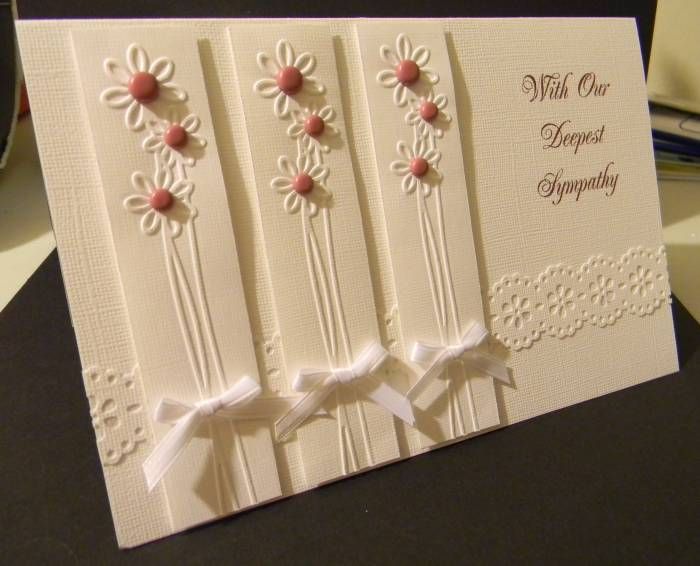
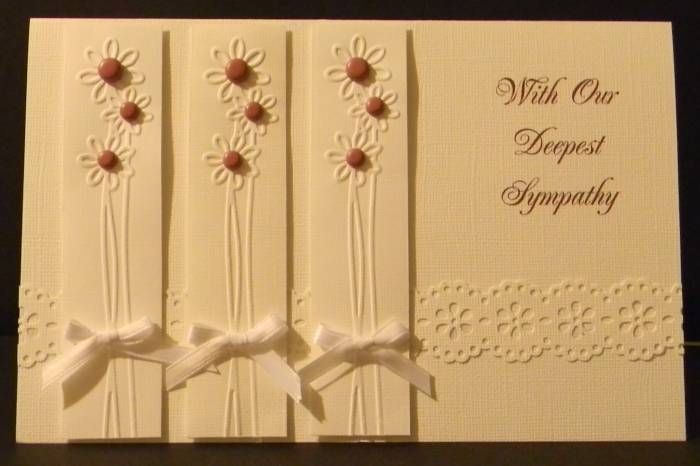
I used embossing folders, ribbon, brads, a punch, and my computer.


A full front view:


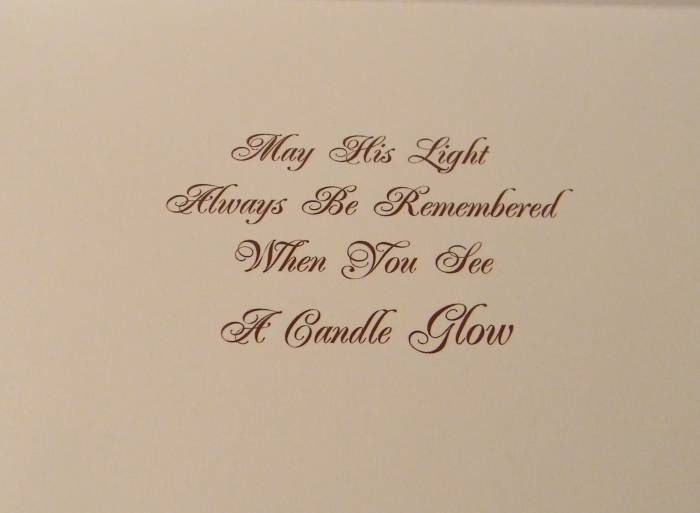
And then the sentiment on the inside of the card:


The sentiment was geared toward the arrangement that the employees went together and purchased and sent to the funeral home, which was a lantern with a flameless candle in it.

This shows you that with the white on white effect that you can make a tasteful handmade card for the most serious occasion.

Happy Scrappin' ! ! !

Brenda.

Monday, June 3, 2013

Going Back

The last project that I shared with you was a ring box. I've learned a lot about making those little boxes since that post.

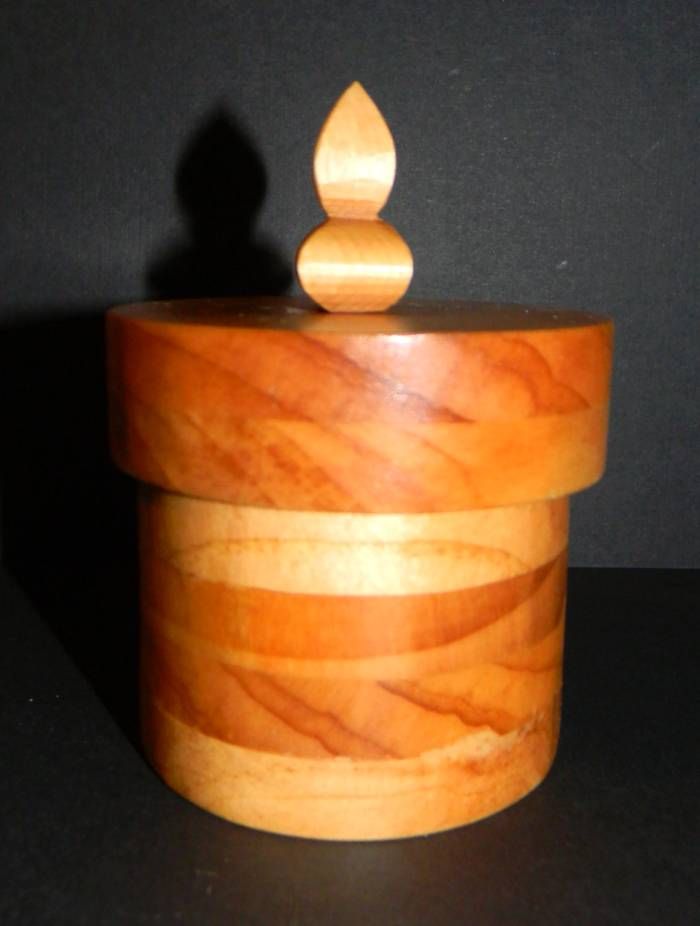
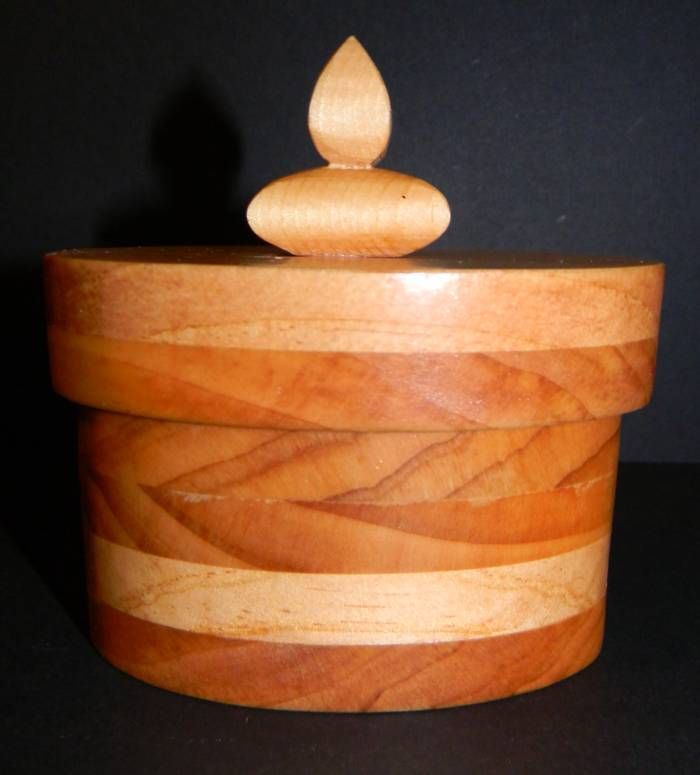
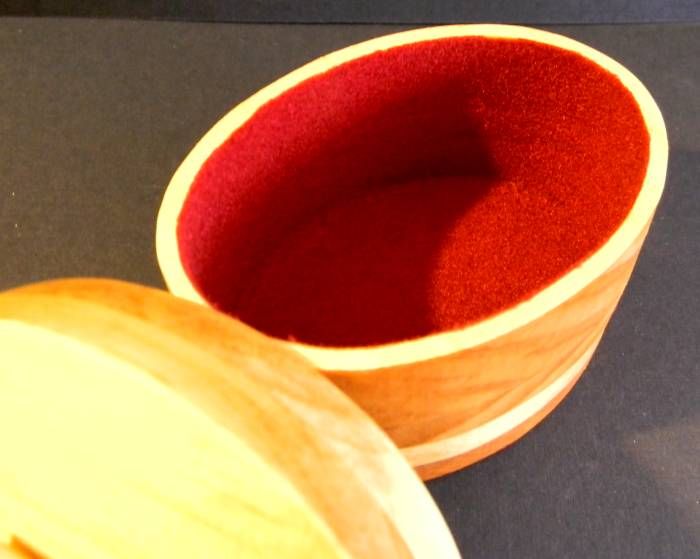
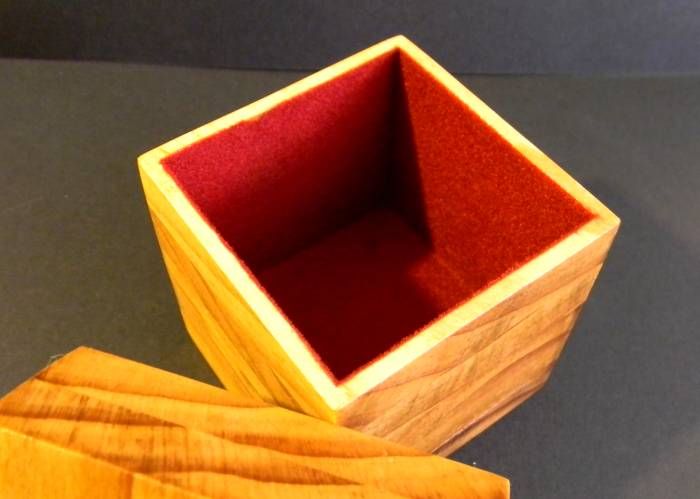
I have made several more of them and expanded on the sizes, shapes, and even finishing them. I've learned to flock the inside, giving them a felted interior.

Today I am sharing all of the boxes that I've created so far... and there will be more in the future because this is one of the ways that I am using scrap wood.

This is the last box that I shared with you:


That box's interior became this:


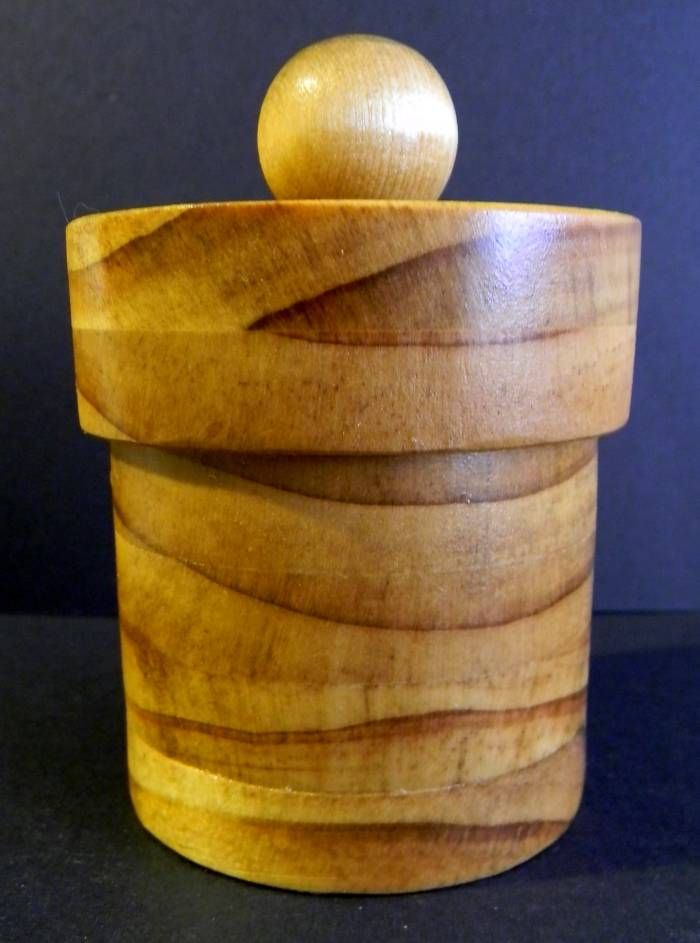
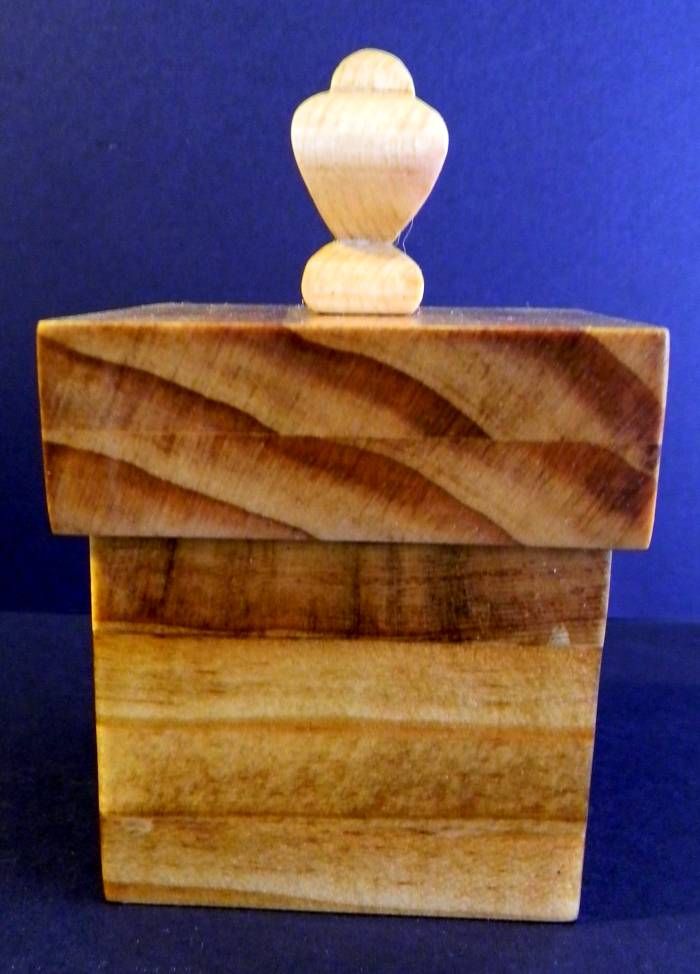
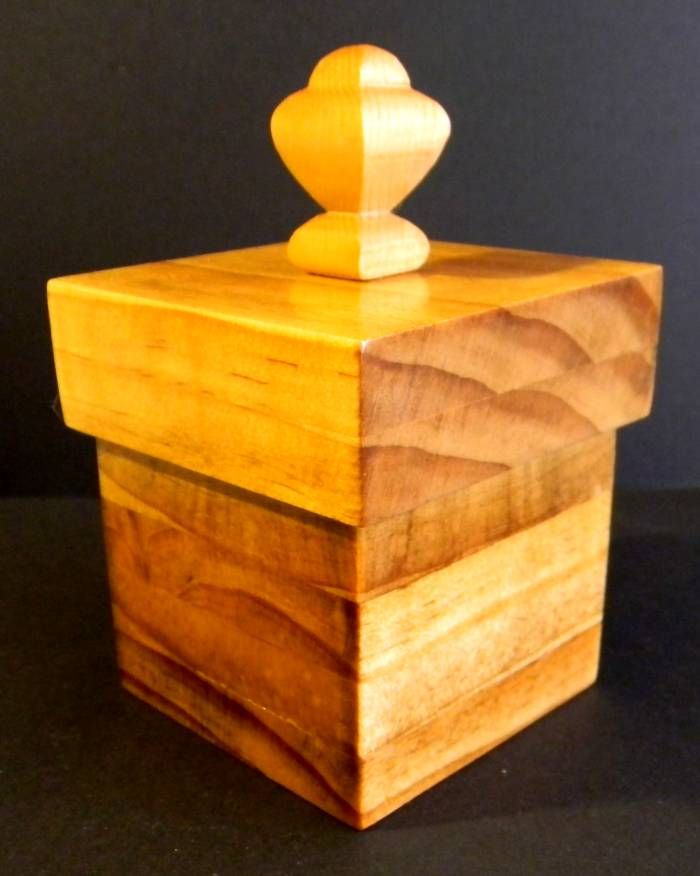
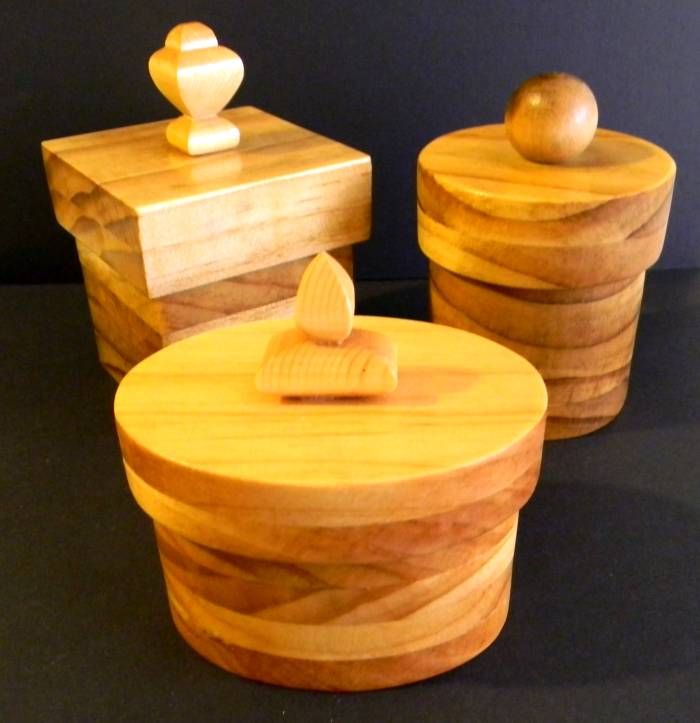
Then I expanded into round and square boxes:


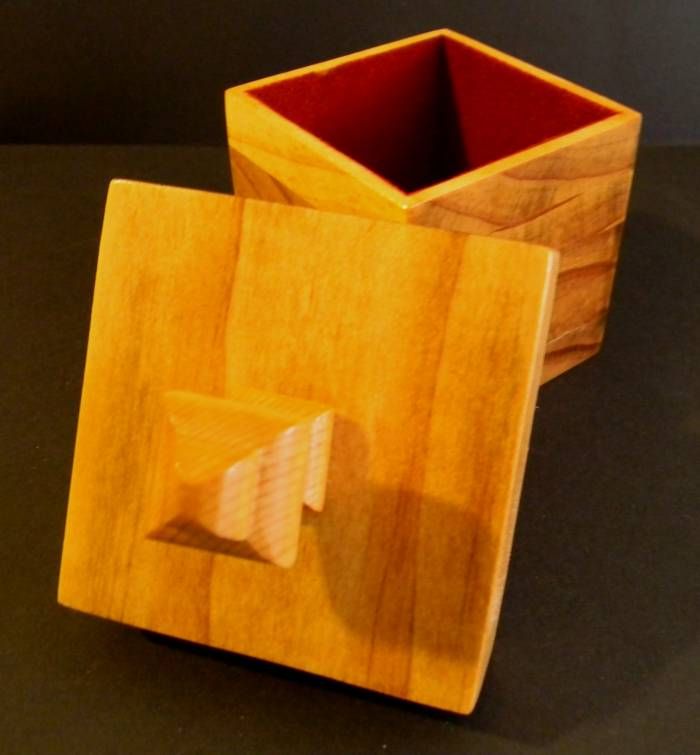
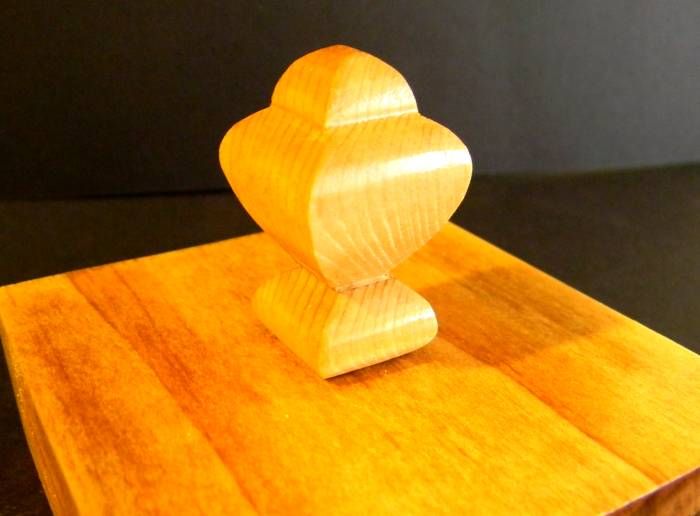
As you can also see all are flocked on the inside and each has a unique knob as well.  My compound cutting is also improving with each project that I do.

One last photograph of all of the boxes that I've completed....  I am hoping next round to do a clover, a heart, and I also want to expand and do a few bandsaw boxes.  I have a list a mile long of projects.


Happy crafting ! ! !

Brenda