Last year I made many of my gifts. This is one I made for my husband's brother and sister. I really enjoyed making these drink coasters and decided to put together a how-to photo tutorial for the coasters. (My videos are not coming out like I want them to right now and this is the next best thing.)
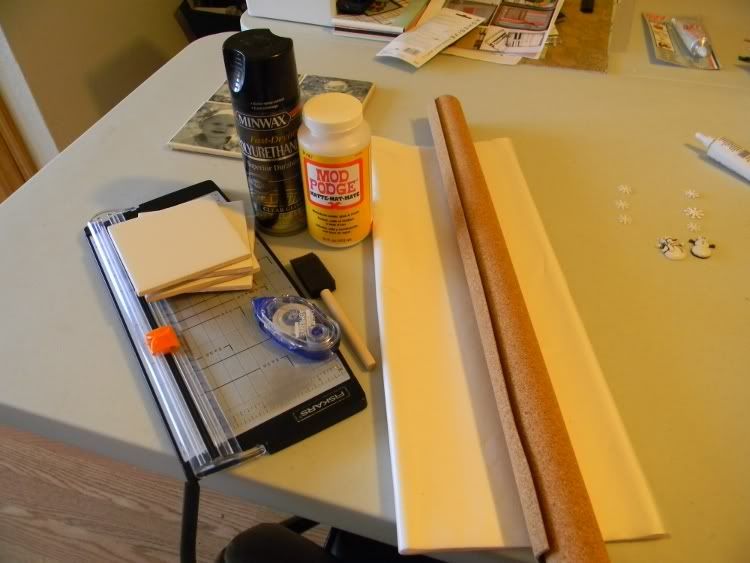
Supplies:
4" x 4" Ceramic Tiles (Lowe's or Home Depot)
Photos (Saved on a computer)
A Paper Cutter (Scissors are fine)
An Adhesive (I used Tombow)
Sponge Paint Brushes (I only used one)
A Good Spray Polyurethane (I used Minwax Fast Dry Clear Gloss)
Mod Podge
White Tissue Paper (The kind you use to wrap gifts)
Regular White Computer Paper
A Sheet of Thin Cork (I also found this at Lowe's)
Beacon 527 Glue (Or similar glue)
Step 1: Prepare your photos. Select photos that can be cropped into a square. You may leave them in color or convert them to grey scale. If you are doing your coasters as a set, select photos with a common theme or like colors or chose the grey scale option so that they do not clash.
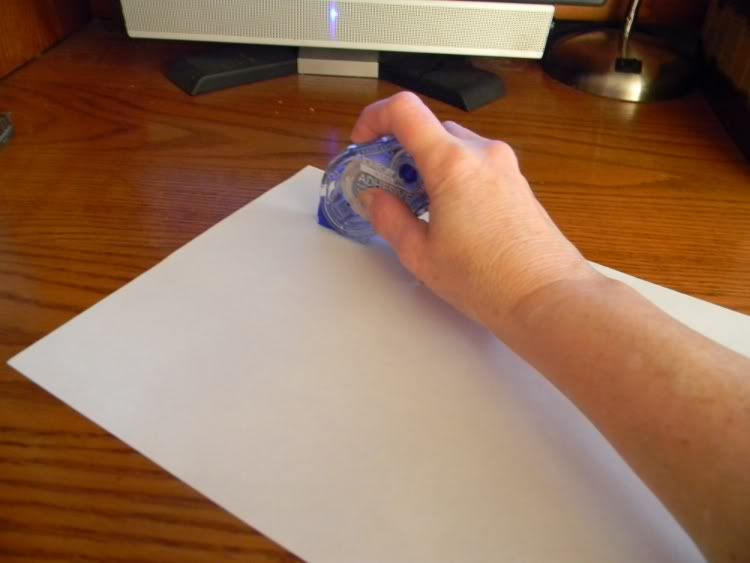
Step 2: To print your photos on the tissue paper you will need to run adhesive on the edges of a sheet of computer paper.
Carefully lay a piece of tissue paper on the sheet of the computer paper, being careful that there are no wrinkles.
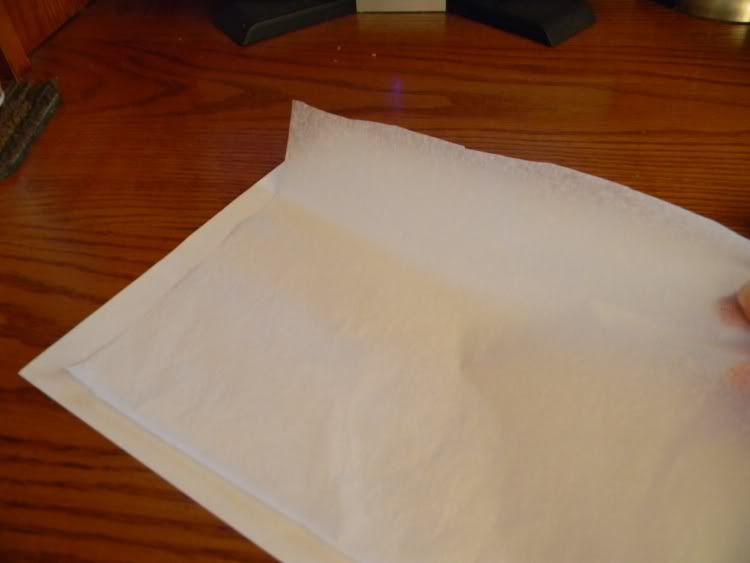
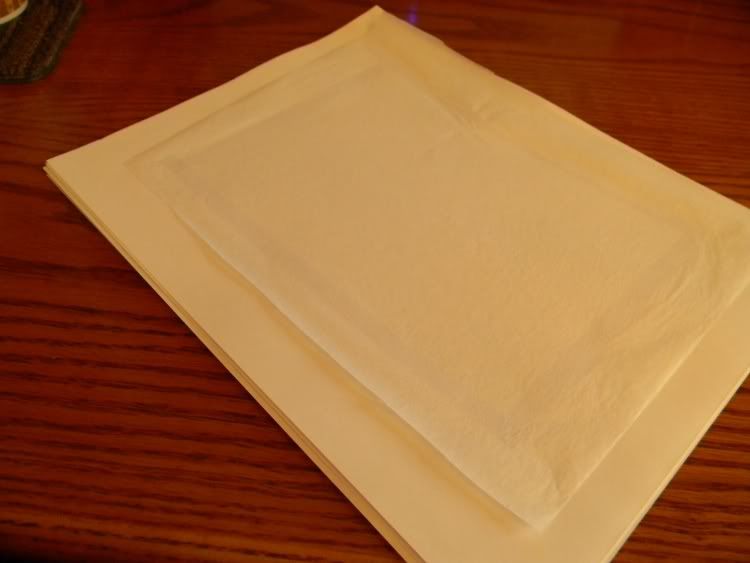
Step 3: Print the photo onto the tissue paper just by running the tissue mounted computer paper through the printer. Most printers will detect the paper and adjust the amount of ink used. In the event that you have to chose, the 600 setting is about right. I sized the photo so that it was just a little larger than the tile and I printed only one photo per sheet, and printed it centered on the page.
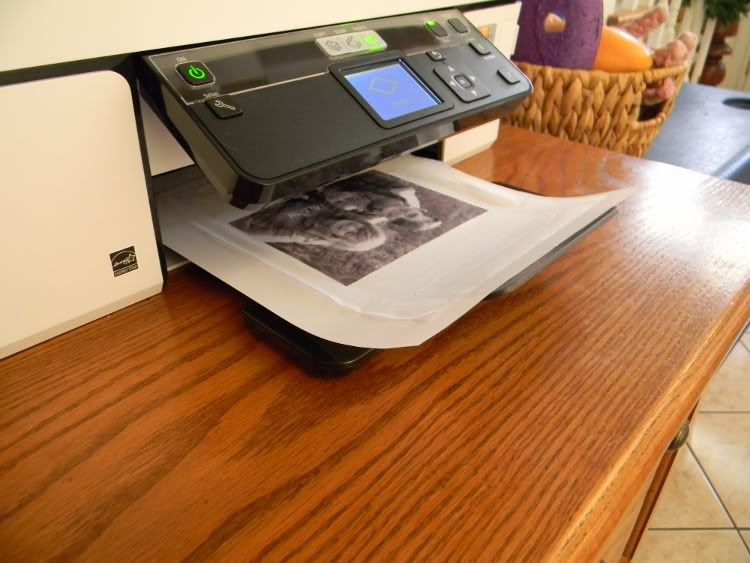
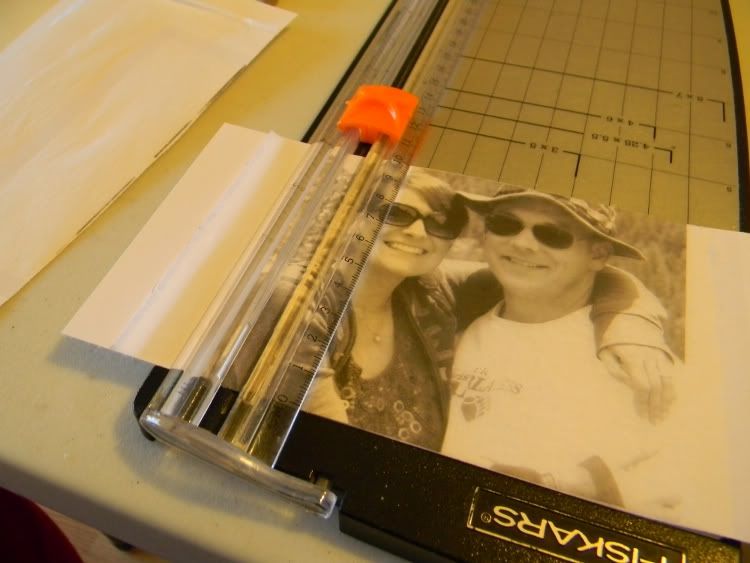
Step 4: I took the entire sheet and put it into my cutter. Holding it still in the cutter and cutting through both the sheet of computer paper and the tissue paper at the same time. This does three things; gives you stability when cutting, prevents the tissue from ripping and cuts away the adhesive leaving you with a perfect cut tissue photo. When you cut this you should cut it so it is just a little smaller than you 4 x 4 tile.
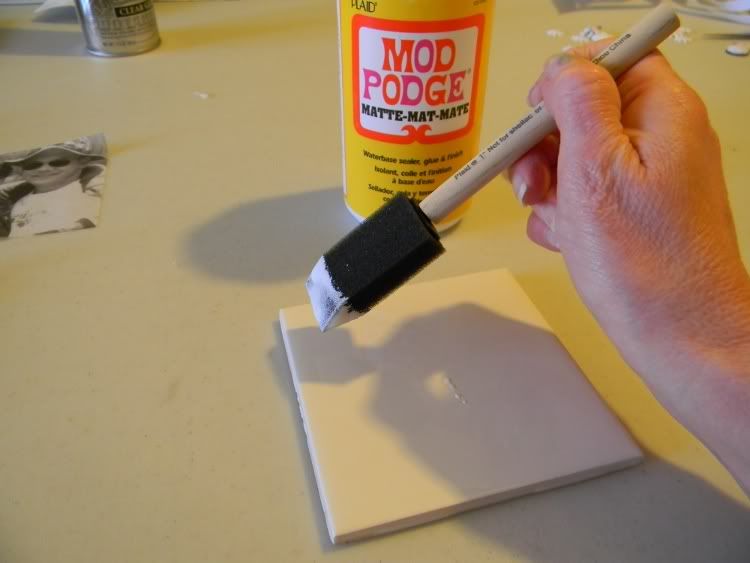
Step 5: Apply a thin, even layer of Mod Podge to the clean 4 x 4 tile. It is very important that this is a thin layer. If you apply the Mod Podge to heavy, it will take forever to dry and could create wrinkles later.
Step 6: Carefully place just the tissue layer photo over the wet layer of Mod Podge on the 4 x 4 tile.
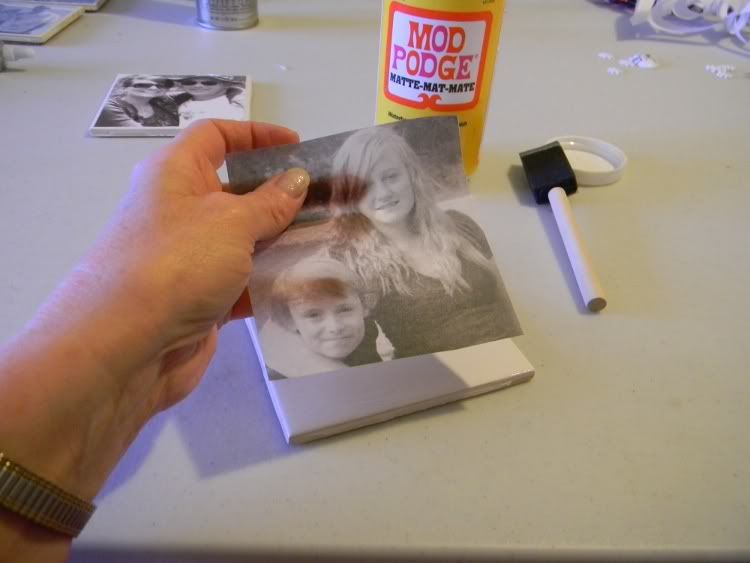
Something that I learned through trial and error is that if you start at one edge of the photo and roll the photo onto the tile you will reduce wrinkles and avoid air bubbles from occurring. Then set the tiles aside to thoroughly dry. This is important. I do several tiles at a time so that I can keep working while the others are drying. BUT they should be completely dry even if these means you have to walk away for a couple of hours.
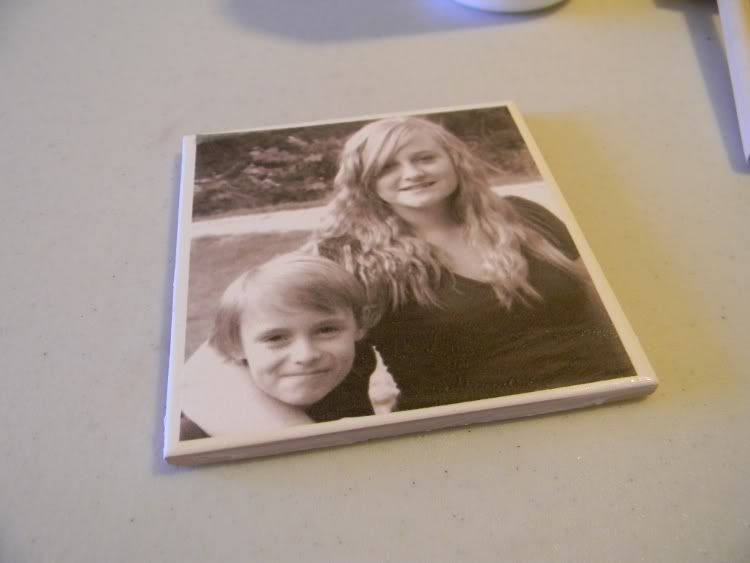
Step 7: After you are sure that the tissue layer is dry, apply 2 or 3 thin layers of Mod Podge over the tissue. If you have rushed and the tissue photo is not dry you risk tearing the photo and it is very had to repair. Should that happen I suggest that you scrap the tissue photo off with a razor, clean the tile with soap and water, and start over. I use a sponge brush for applying all layers of the Mod Podge. I brush up and down the first layer, and go the opposite direct for each additional layer. Don't be concerned that the Mod Podge is white, it will always dry clear. Allow to completely dry in between coats.
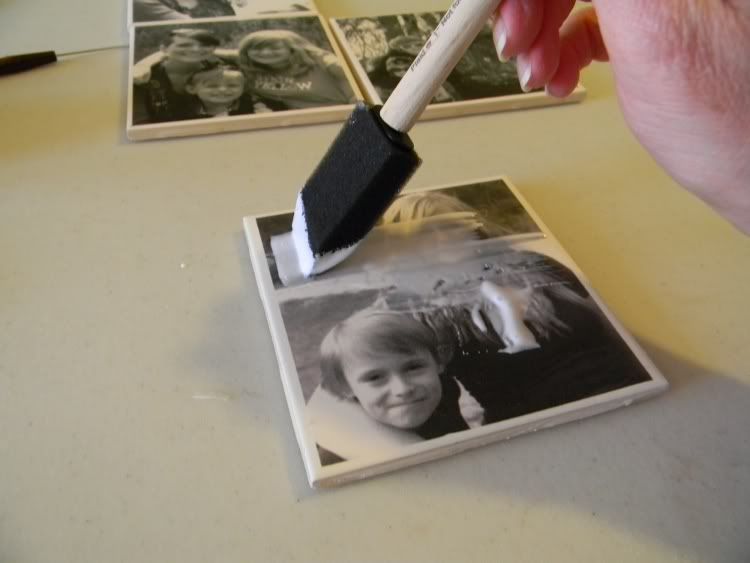
Step 8: After allowing the Mod Podge to completely dry, spay the tiles with at least two coats of a good polyurethane of your choice. DO NOT USE ACRYLIC POLYURETHANE. It was my experience that it will not dry over the Mod Podge. Allow the poly to completely dry. (I can't stress enough how important it is to allow everything to completely dry. Take your time and do not rush each step.)
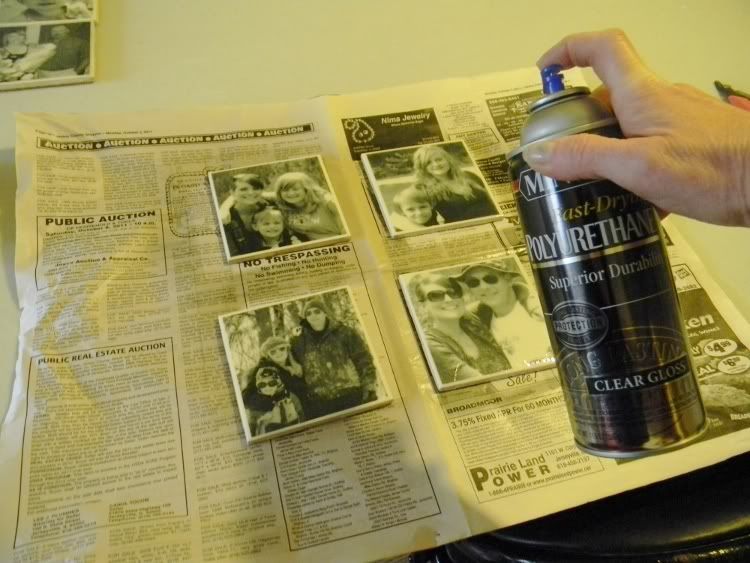
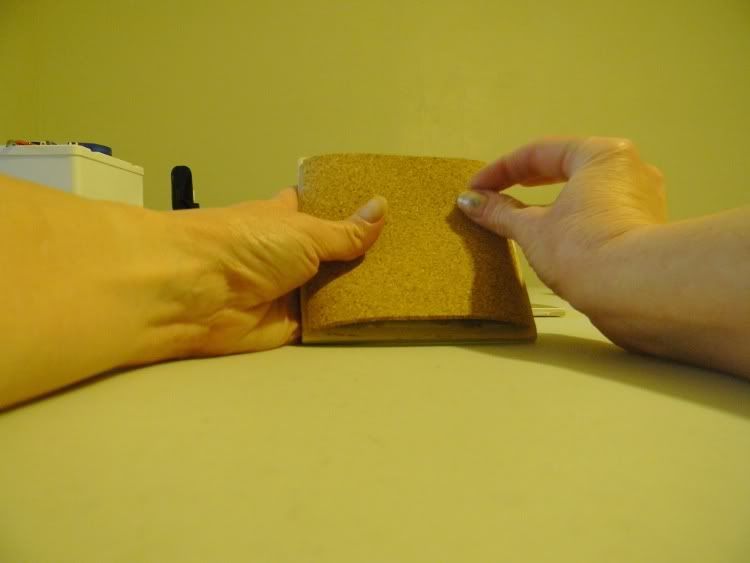
Step 9: Cut the thin cork just slightly smaller than the 4 x 4 tile.
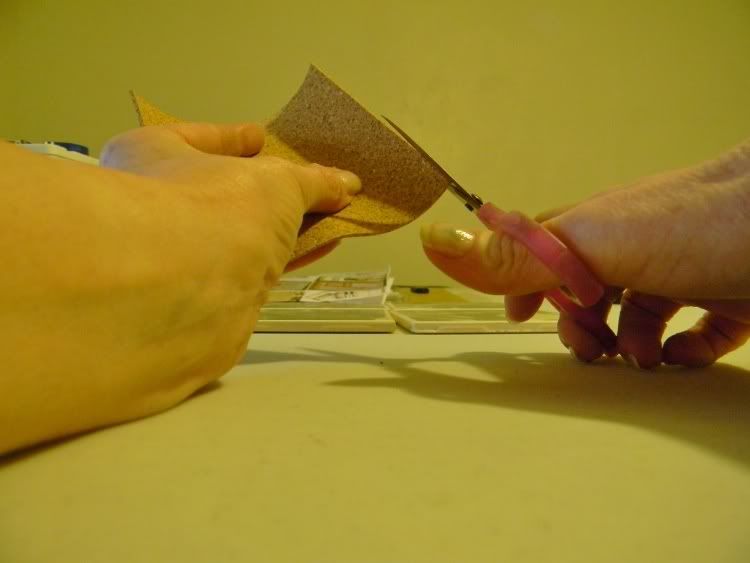
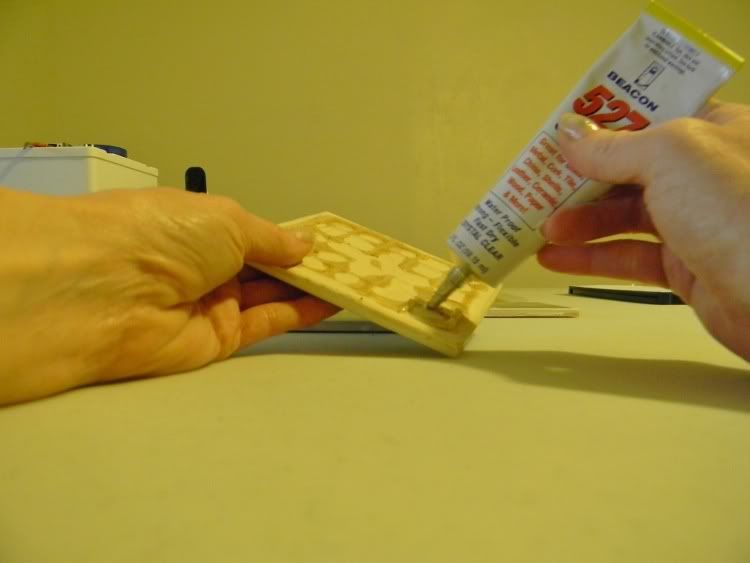
Step 10: Using Beacon 527 Glue, adhere the cork to the bottom of each tile.
Allow everything to dry and here is the finished coasters.
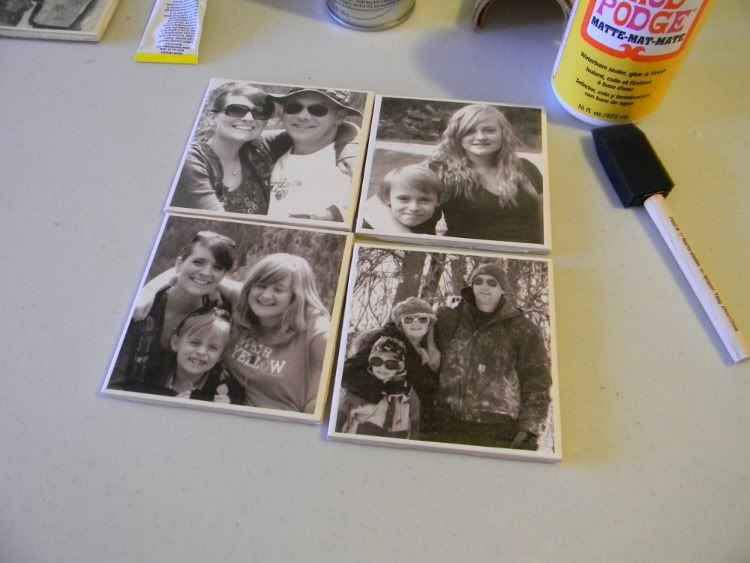
This sounds like a lot of steps and a lot of work but they are well worth the time and effort. These not only make beautiful functional gifts but they can also be added to a ribbon to make an awesome wall hanging.
To me this is a mixture of crafting and scrapping. So today I say to you as I tell you that hand-made gifts are the best gifts I also say:
Happy Scrap-Crafting ! ! !
Brenda

No comments:
Post a Comment