I have so many other things to share that I have made and am making that after this post I will be sharing my Christmas ornaments. But first one last trivet.
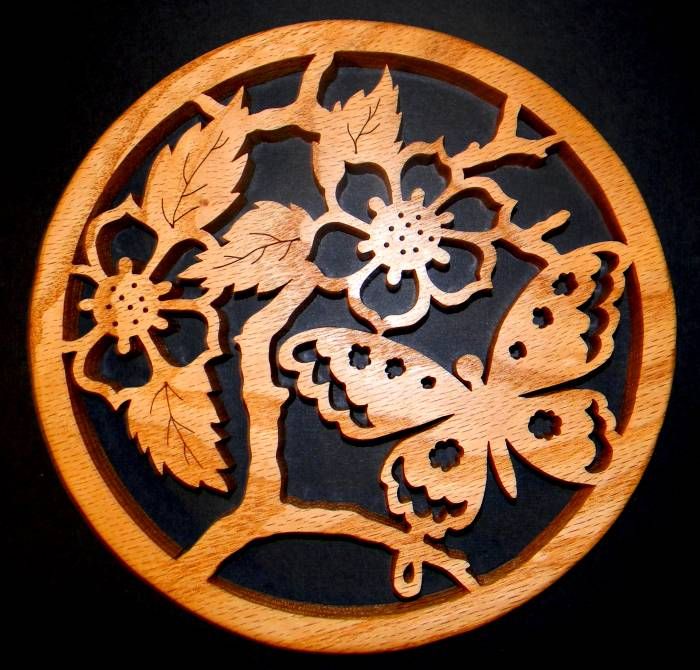
I was approached by a very dear friend to make something, anything for a benefit auction to help a local young man that has a brain tumor. I thought about it and decided to make a "dog and butterfly trivet" for the silent auction.
Here is the finished piece. Like the last trivet that I shared, I rountered the upper edge so that it has a rounded finished look.
I am praying for a cure for this great young man.
I also that by sharing this with you that it inspires you to reach out and help others. God gives us these talents for a reason. I only hope that I am using my talent the way God wants me to.
Happy Crafting ! ! !
Brenda
My Family Scrapbook
Wednesday, November 7, 2012
Monday, November 5, 2012
Only 2 Trivets Left To Share
This is the next to the last Trivet that I will be sharing for awhile.
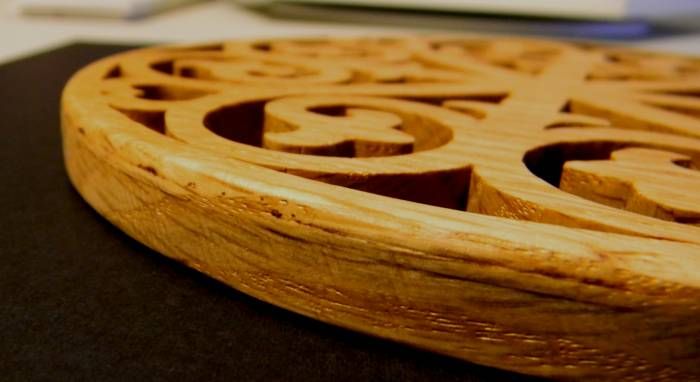
This one also has my first attempt at using a router. I am all for trying new and different things. I love the rounded edge that the router provides that I could not get my sanding alone.
The pattern for this came from an internet site called: Free Scroll Saw Patterns by Arpop This site is full of free downloadable patterns.
Here is the wooden trivet that I made using one of his trivet patterns:
This one also has my first attempt at using a router. I am all for trying new and different things. I love the rounded edge that the router provides that I could not get my sanding alone.
The pattern for this came from an internet site called: Free Scroll Saw Patterns by Arpop This site is full of free downloadable patterns.
Here is the wooden trivet that I made using one of his trivet patterns:
Here is a closer look at that routered edge that I talked about before:
There is only one more trivet left this round and then I am moving on to so me of the Christmas ornaments that I am making!
Happy Crafting ! ! !
Brenda
Friday, November 2, 2012
Trivet - Also From An Ornament Pattern
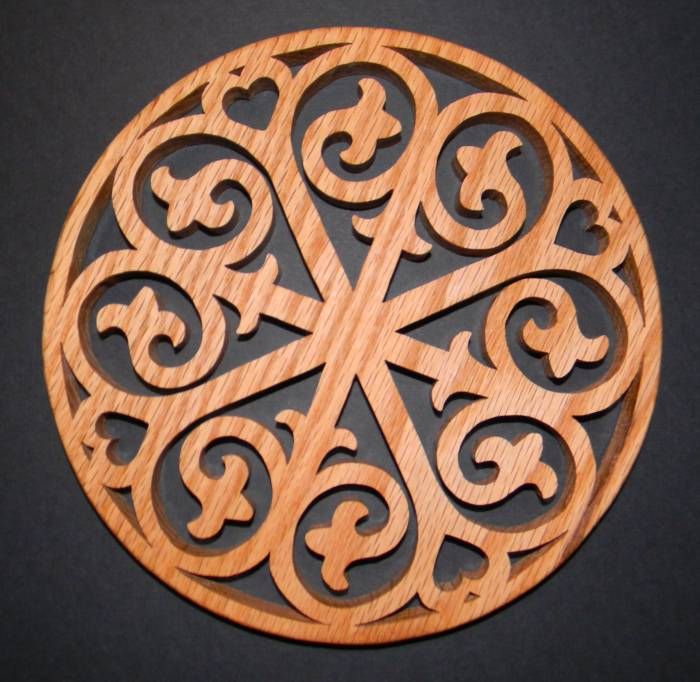
This is one of my favorites that I have made so far. The pattern came out of a book called "Holiday Ornaments for the Scroll Saw." So you can see where this is going, right? The difference is that I did not make any changes to this pattern. I just made it bigger!
The book is evidently an out of print book. I found the book at my local library but fell in love with the patterns. I did a little research and could find it on Amazon BUT the prices for this out of print book there range from $46 to $225, which I personally think is outrageous but I am sure there are people out there that would pay that if they wanted it bad enough. I took a second route in finding the book and decided to check out eBay. I got it for a mere $9.95 plus $3.95 shipping, which was less than the original price of the book.
Here is the finished trivet:
The book is evidently an out of print book. I found the book at my local library but fell in love with the patterns. I did a little research and could find it on Amazon BUT the prices for this out of print book there range from $46 to $225, which I personally think is outrageous but I am sure there are people out there that would pay that if they wanted it bad enough. I took a second route in finding the book and decided to check out eBay. I got it for a mere $9.95 plus $3.95 shipping, which was less than the original price of the book.
Here is the finished trivet:
Like I said this is my favorite to date.
Happy Crafting ! ! !
Brenda
Wednesday, October 31, 2012
More Wooden Trivets
This trivet has also been made as a Christmas Gift.
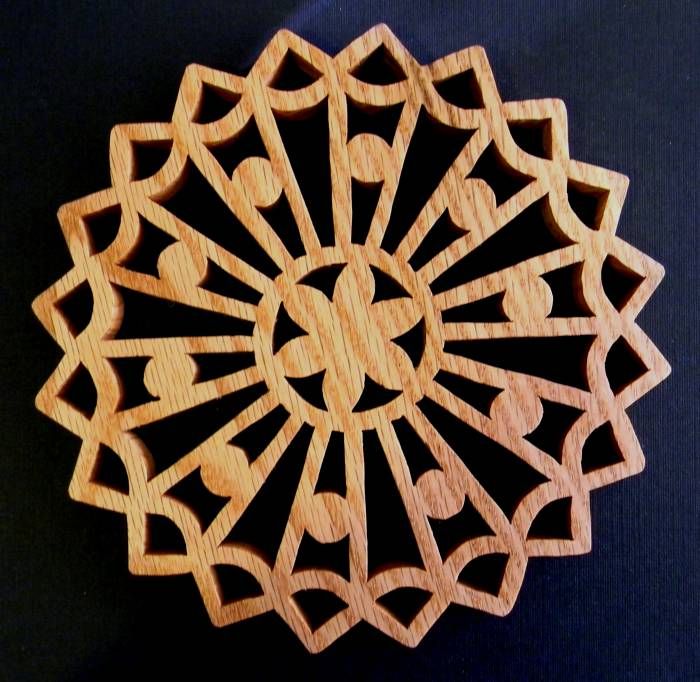
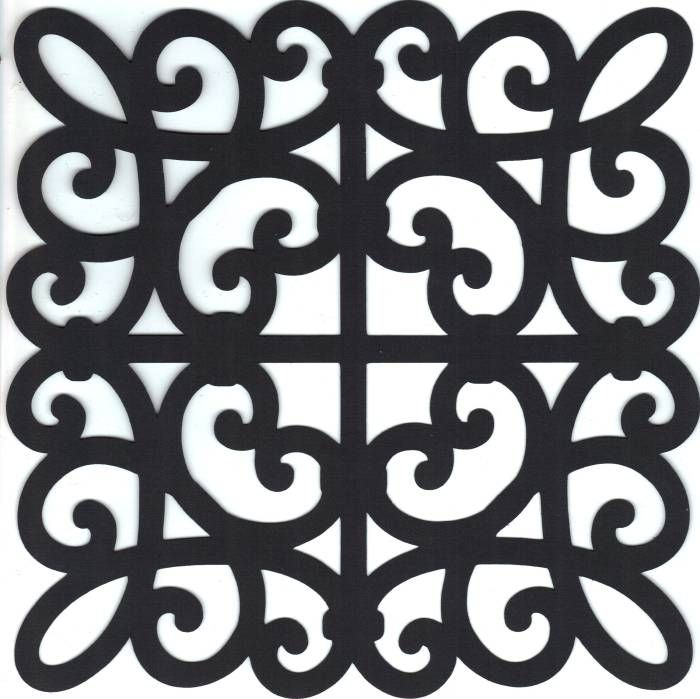
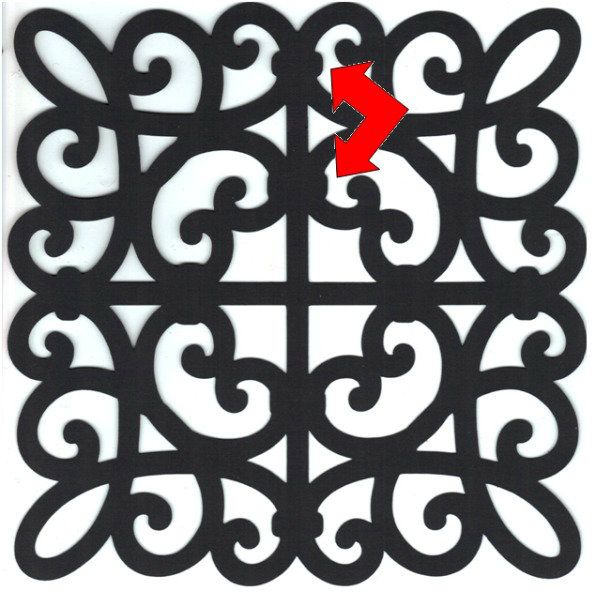
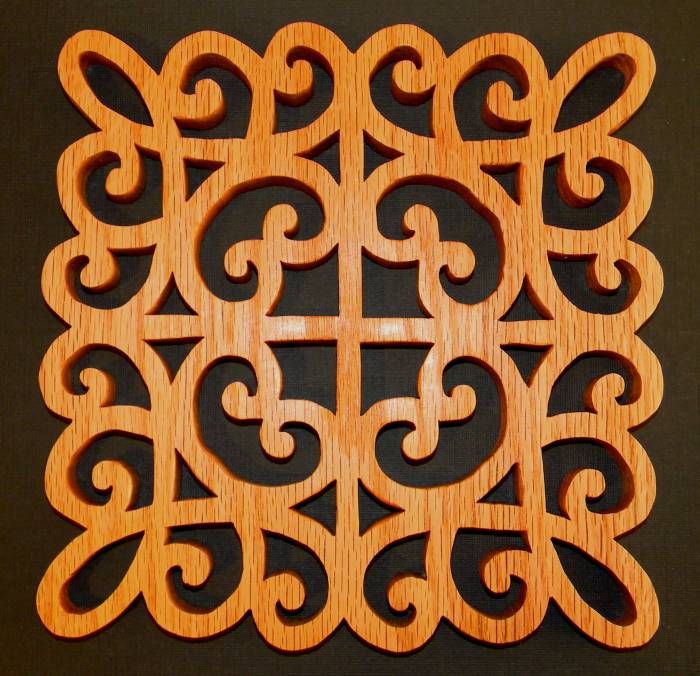
I purchased a set of "Iron Works Ornaments" from Scroller On-Line but didn't like them for ornaments and decided to change it slightly in order to use it as a trivet pattern instead. So I made sure that the pattern was uniform all the way around. I deleted the hanger hold and added a triangle shape to match the other cut outs. I was pleased with the end results.
You can see a picture of the original "ornament" by clicking the above link. Here is a picture of the altered pattern:
Here is a picture of the finished trivet:
I was surprised by the variations of color in this piece of red oak. I used a butcher block stain on it so that it can be used in the kitchen and be food safe.
Thanks for taking time to look at my work and visit my site.
Happy Crafting ! ! !
Brenda
I purchased a set of "Iron Works Ornaments" from Scroller On-Line but didn't like them for ornaments and decided to change it slightly in order to use it as a trivet pattern instead. So I made sure that the pattern was uniform all the way around. I deleted the hanger hold and added a triangle shape to match the other cut outs. I was pleased with the end results.
You can see a picture of the original "ornament" by clicking the above link. Here is a picture of the altered pattern:
Here is a picture of the finished trivet:
I was surprised by the variations of color in this piece of red oak. I used a butcher block stain on it so that it can be used in the kitchen and be food safe.
Thanks for taking time to look at my work and visit my site.
Happy Crafting ! ! !
Brenda
Thursday, October 25, 2012
I Am Very Honored
Recently I noticed on the Fantabulous Cricut Challenge Blog that they were doing a challenge for farm animals so I entered my farm animal birthday banner into the mix for that week's challenge. I made the top 5!
I have to admit I do not know how to OR where to display the "blinkie" they gave me. If I could figure it out I certainly would display it.
Here is a link back to the Birthday Banner and here is one to the Fantabulous Cricut Challenge Blog where I won!
If anyone knows how to display that "blinkie" and cares to leave me a comment on how do it I would appreciate the help! (Computer savvy I am not!)
Happy Crafting Everyone!
Brenda
I have to admit I do not know how to OR where to display the "blinkie" they gave me. If I could figure it out I certainly would display it.
Here is a link back to the Birthday Banner and here is one to the Fantabulous Cricut Challenge Blog where I won!
If anyone knows how to display that "blinkie" and cares to leave me a comment on how do it I would appreciate the help! (Computer savvy I am not!)
Happy Crafting Everyone!
Brenda
Monday, October 8, 2012
Another Of Many Wooden Trivets
I've been back in the wood shop making more Christmas Gifts.
A friend of mine seen these and said, "they are to pretty to set a hot pan on. If I get one I think I will hang it on the wall"
To that I said I don't know why you could not do both. Use it for it's intended purpose and/or for a decoration.
This patten also came from my Cricut. It is from "Paper Lace."
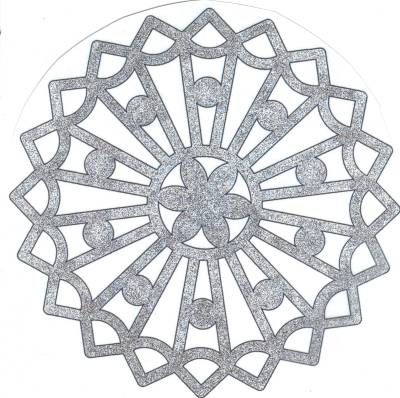
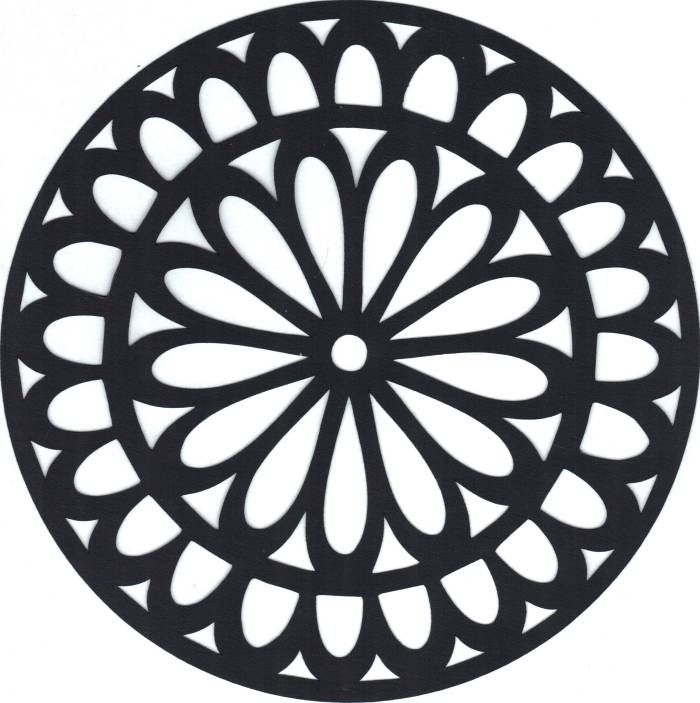
Here us a picture of the pattern:
This pattern, as in the ones I have used from Cricut before, has also been altered. At 12, 3, 6, and 9 o'clock on the pattern's 2nd outer layer, was a three point tulip that, I felt, threw off the design, so I hid the contour on my Cricut Design Studio, and cut the design without those "flowers" in the pattern. Then I took on of the arch cuts, put in into the space, traced, and cut another arch into the pattern so that it was fluent.
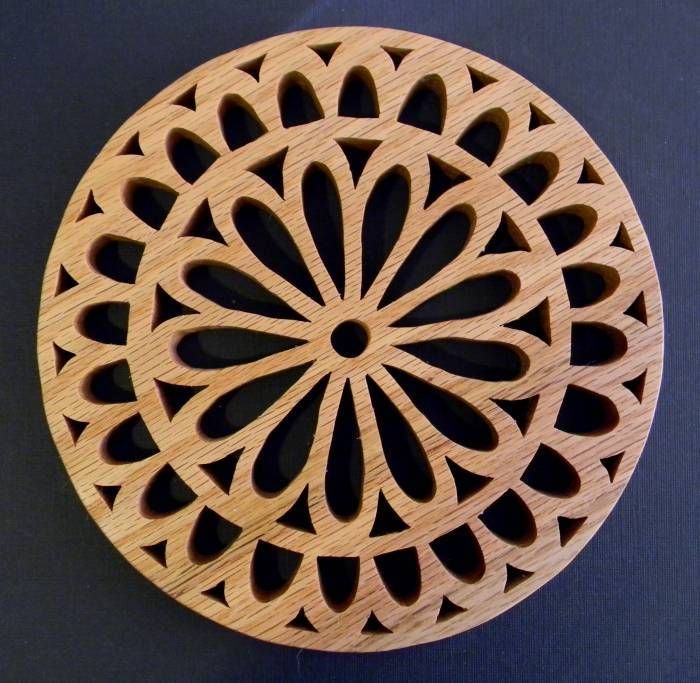
My only challenge to cutting this on the scroll saw was that the small triangles on the outer most ring were fairly small. The smallest cuts that I have done to date. The more of them I cut the more nature the cuts became and the easier it was to do.
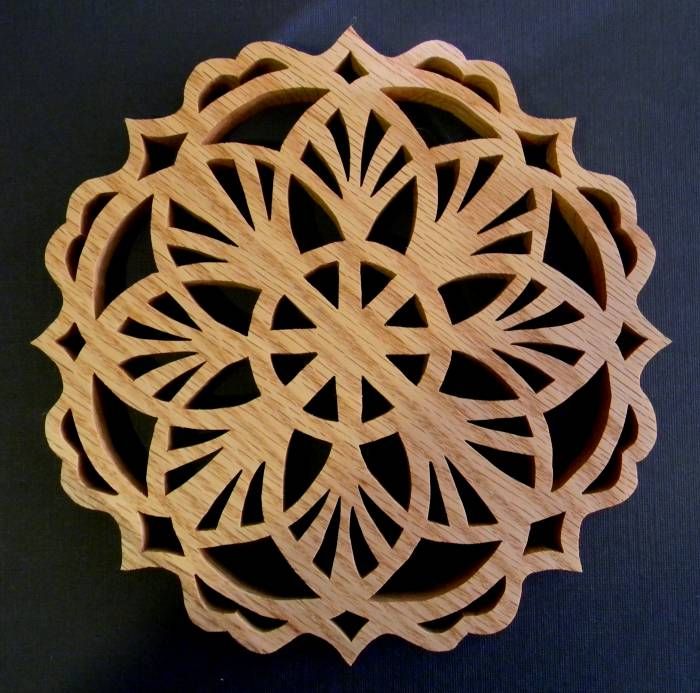
Here is a picture of the finished Wooden Trivet:
I am very pleased with the way this turned out. The cuts are improving with practice and time.
Happy wood working ! ! !
Brenda
A friend of mine seen these and said, "they are to pretty to set a hot pan on. If I get one I think I will hang it on the wall"
To that I said I don't know why you could not do both. Use it for it's intended purpose and/or for a decoration.
This patten also came from my Cricut. It is from "Paper Lace."
Here us a picture of the pattern:
This pattern, as in the ones I have used from Cricut before, has also been altered. At 12, 3, 6, and 9 o'clock on the pattern's 2nd outer layer, was a three point tulip that, I felt, threw off the design, so I hid the contour on my Cricut Design Studio, and cut the design without those "flowers" in the pattern. Then I took on of the arch cuts, put in into the space, traced, and cut another arch into the pattern so that it was fluent.
My only challenge to cutting this on the scroll saw was that the small triangles on the outer most ring were fairly small. The smallest cuts that I have done to date. The more of them I cut the more nature the cuts became and the easier it was to do.
Here is a picture of the finished Wooden Trivet:
I am very pleased with the way this turned out. The cuts are improving with practice and time.
Happy wood working ! ! !
Brenda
Monday, October 1, 2012
Challenge Completed
I love challenges. I belong to a scrapbooking message board where each month we post one challenge and then if we can we do something to meet that challenge and post our results.
The challenge this time was to use at least one thing or multiple things that we have purchased but have not used or rarely use. This was a great challenge because I have a ton of things that I loved when I seen them but then got them home and put them on the shelf and never touched them.
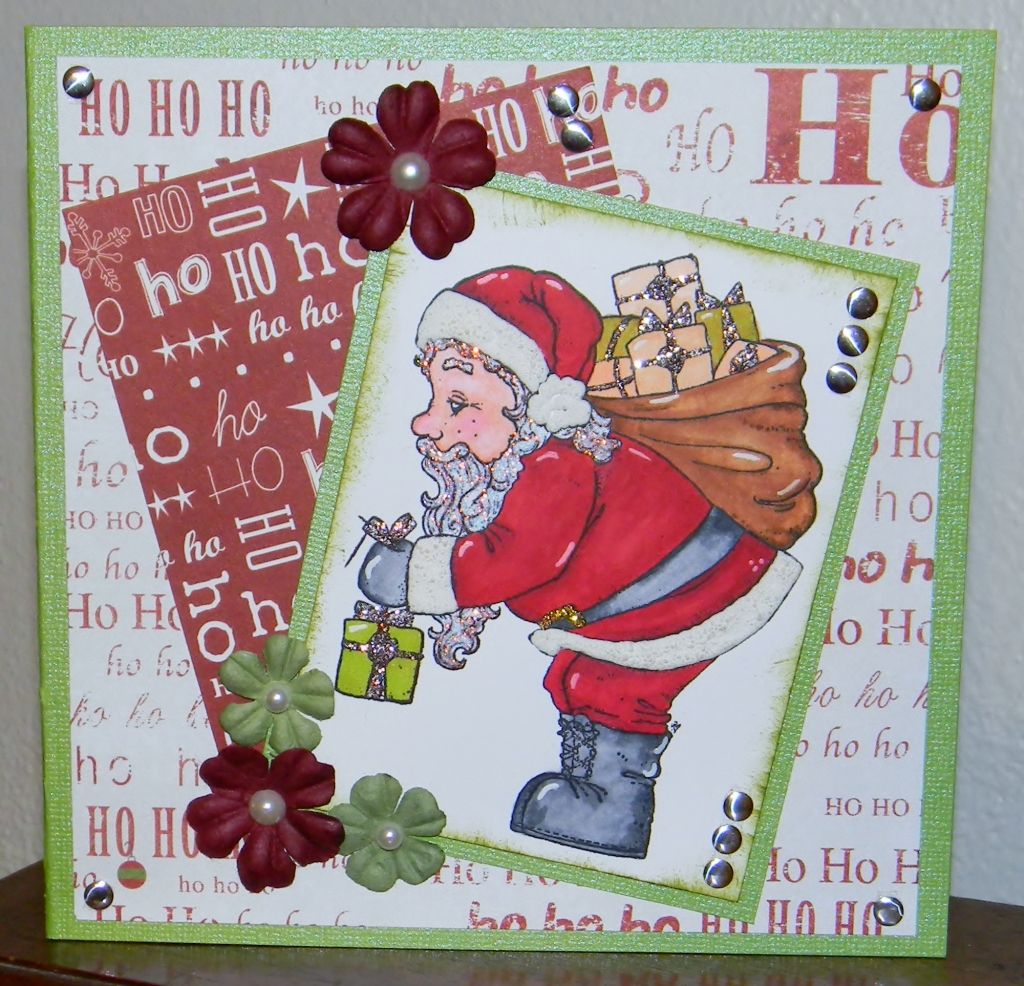
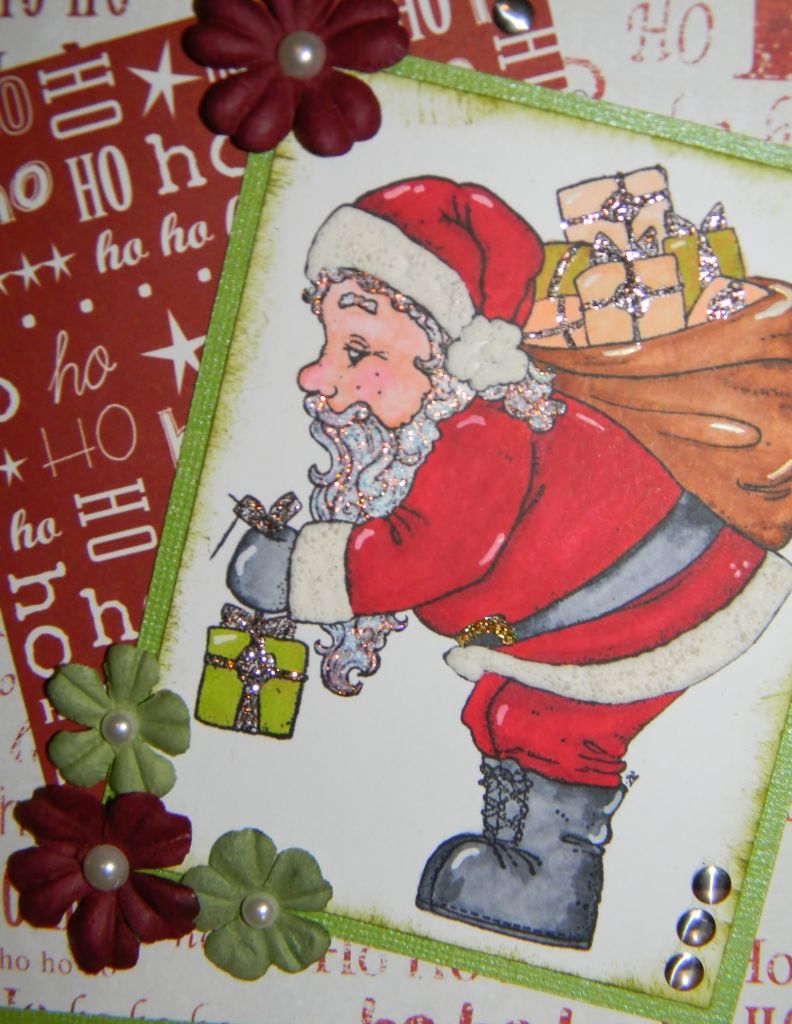
Here is my completed challenge item:
I made a card using the following items that were previously purchased and not used or rarely used:
Santa Stamp (never used)
Copic Markers (rarely used)
Stickles (Glitter) (rarely used)
Liquid Applique (rarely used)
Nails Heads (rarely used)
Paper Flowers (rarely used)
Half Pearls (rarely used)
2 Printed Papers (never used)
Shimmer Lime Green Cardstock (never used)
Heat gun (rarely used)
Copic Markers (rarely used)
Stickles (Glitter) (rarely used)
Liquid Applique (rarely used)
Nails Heads (rarely used)
Paper Flowers (rarely used)
Half Pearls (rarely used)
2 Printed Papers (never used)
Shimmer Lime Green Cardstock (never used)
Heat gun (rarely used)
Here another view so that you can see some of the details.
Happy Scrappin' ! ! !
Brenda
Monday, September 24, 2012
Vacation Lay-outs Part 2
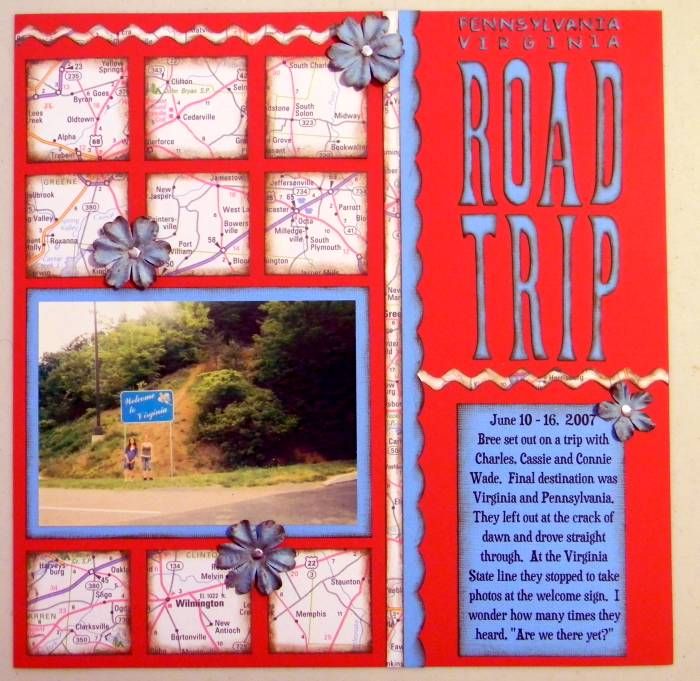
A little more of Bree's vacation photos.
When they went on vacation, some of the things that they did was what the adults wanted to do. The history part. I had to laugh because Bree never wants to go places where she will learn something about the past. She is more of a live in the present kind of person and doesn't want to look back. She complained about the history part of the vacation but went on and on about the ocean and the "spooky" parts of it.
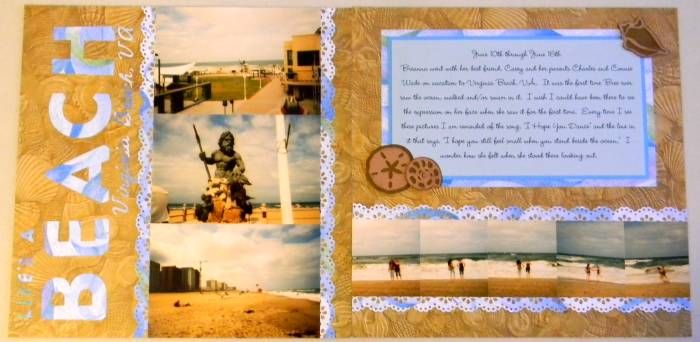
This 2 page lay-out is all about her first trip to the ocean.
I kept things simple and clean on the lay-out and used the items I had on hand which included a Martha Steward border punch, various dies, and Cricut Cartridges. Two beach themed printed papers make up the background and accents.
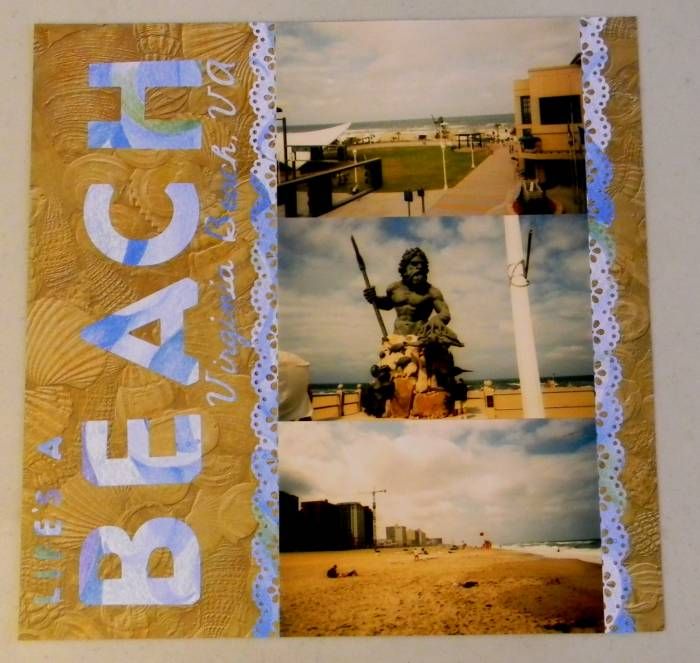
Page one is the view from their hotel and various sites on the beach.
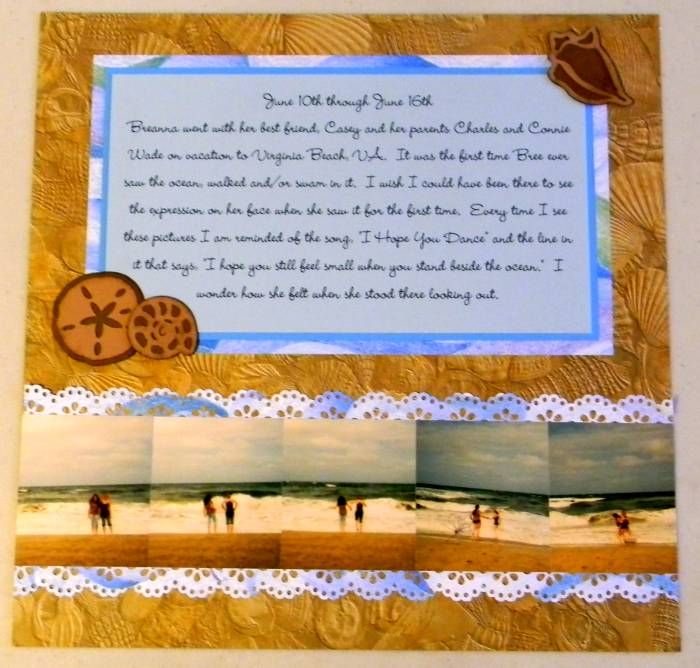
Page 2 of the lay-out was her and her friend playing in the ocean for the first time.
It may be awhile before I get back to the scrap-room to do the last lay-out but I will post it when I get there. I have one challenge to complete and one Christmas Ornament exchange to complete before I scrap again. Not to mention work on Christmas gifts.
I can't believe that Christmas is less than 90 days away.
Brenda
Wednesday, September 19, 2012
Simple Vacation Scrapbooking Lay-Out
Several years ago, Bree, our daughter was invited to go on a vacation with one of her friends and family. We allowed her to go and she surprised me with many photos of her trip.
Today I am sharing a very simple lay-out of part of her trip. (There will be another lay-out or two soon but for now just the one 2-page spread.)
Here is the first page:
Today I am sharing a very simple lay-out of part of her trip. (There will be another lay-out or two soon but for now just the one 2-page spread.)
Here is the first page:
I use a sheet of 12 x 12 printed paper to do the squares and pulled out the colors in that paper for the cardstock to mat her photos and make the journalling box. To make the title, ric-rac, and scallop boarder, I used various dies that I had on hand. I used paper flowers with silver brads in the center for accents on the page.
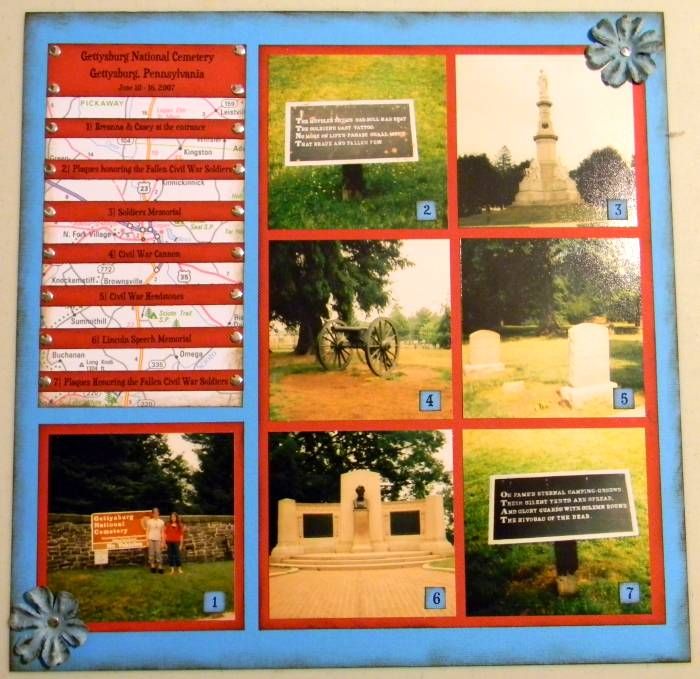
Here is the second page:
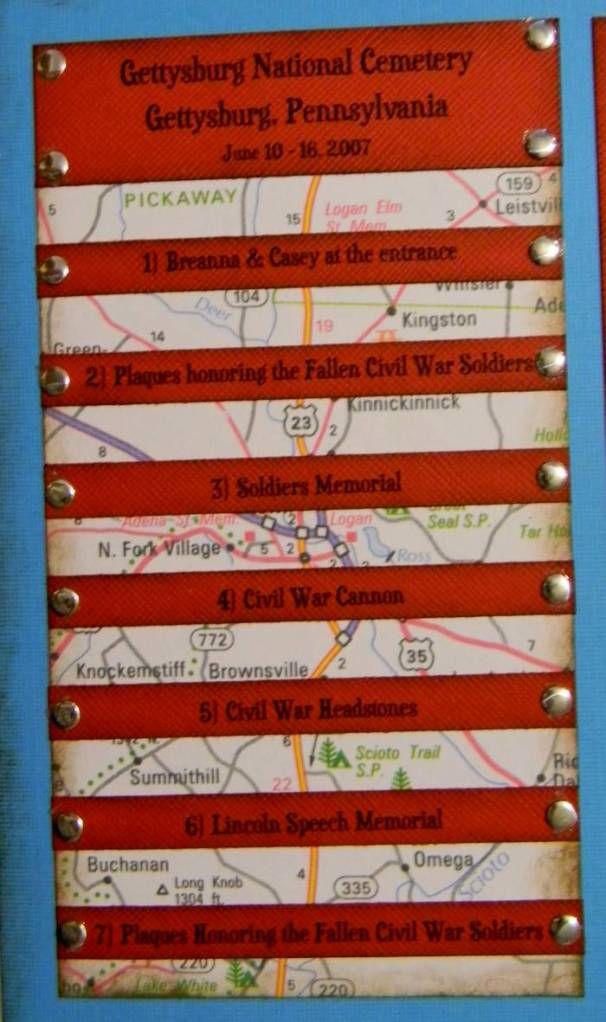
On this page I numbered the pictures and they coincide with numbers in the journalling box. Here is a closer picture of just the journalling box:
I use brads to accent the landmarks.
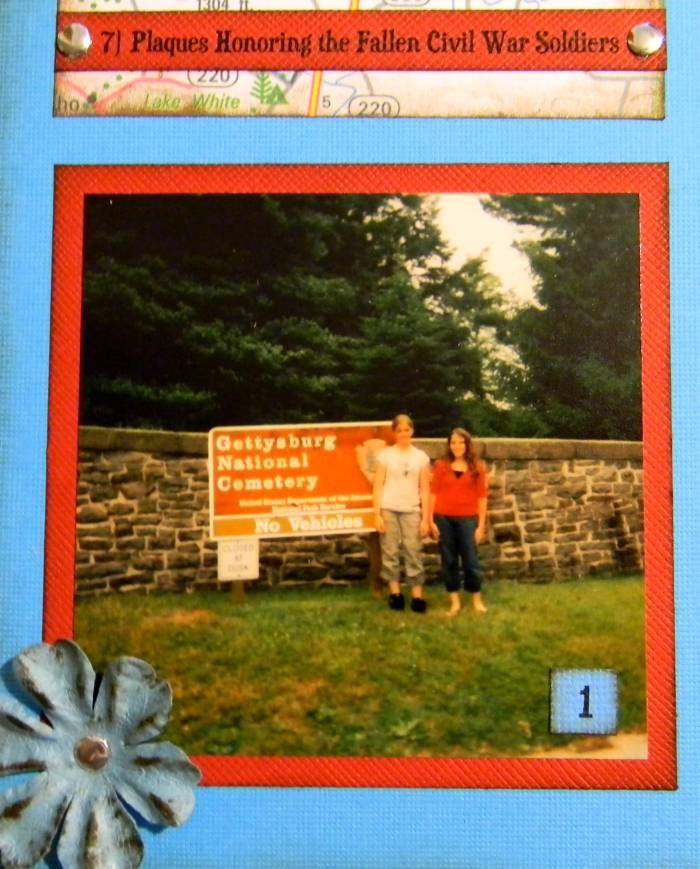
And here is a close up of just one of the photo boxes so you can see the number in the corner:
In order to pull the two pages together I used the same colors, same map paper and same flowers. I also used ink to "dirty" things up. I do not like those flowers when they are plain.
It felt good to be back at my scrap table.
Happy Scrappin' ! ! !
Brenda
Wednesday, September 12, 2012
Another Fret Work Trivet Using A Cricut Pattern
Once again I am using my Cricut to produce a pattern for wood working.
Here is the original cut pattern:
And once again to stream line the pattern I need to remove certain parts of the pattern:
So that pattern became this:
Now with the pattern changed and easier to cut I got busy. I am feeling better about my finished pieces and I am ready to start saying they are going to be gifts for Christmas. Here is the finished Pan/Pot Trivet:
I have a few more of these to make before I am done and I am on a mission to make each one different for each person I work with. I would also like to do more ornaments.
Happy Crafting ! ! !
Brenda
Here is the original cut pattern:
And once again to stream line the pattern I need to remove certain parts of the pattern:
So that pattern became this:
Now with the pattern changed and easier to cut I got busy. I am feeling better about my finished pieces and I am ready to start saying they are going to be gifts for Christmas. Here is the finished Pan/Pot Trivet:
I have a few more of these to make before I am done and I am on a mission to make each one different for each person I work with. I would also like to do more ornaments.
Happy Crafting ! ! !
Brenda
Subscribe to:
Posts (Atom)