My Family Scrapbook

Monday, June 24, 2013

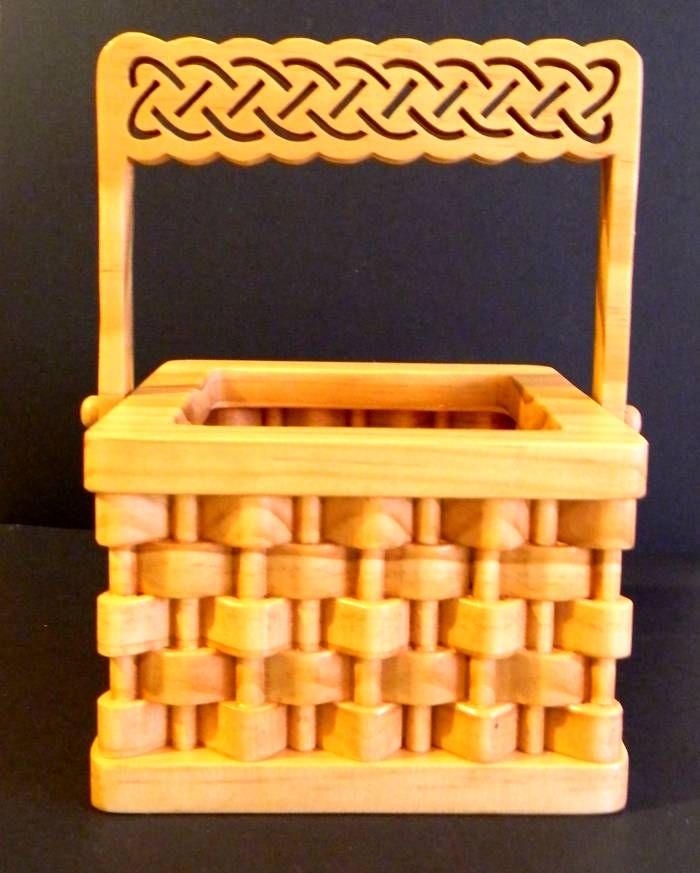
Back To Wood And An Original Basket

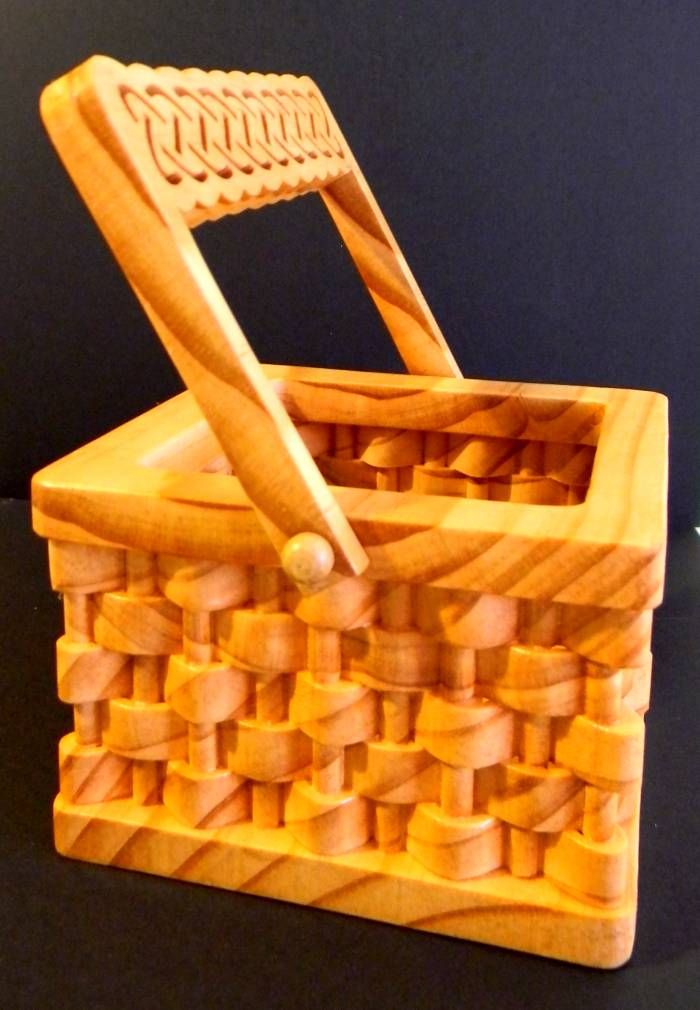
Now that spring is here and I can be in the garage without freezing I have been busy sawing again.  I didn't actually start this project at the saw though.  I put pen to paper and designed this one myself.  It  is somewhat rough in the aspect that because I drew this pattern myself, it is not perfect.  I did not design it using a computer program (although it probably would have been easier if I had that knowledge.)

The piece went together pretty easy for me but I learned a few things while making this.

First I will share the pictures of the basket:

Front view:


Side view:


And a view to show you that the handle does move:


The finished basket is fairly small.  The finished dimensions are from table to the top of the handle is about 7 1/4 inches tall.... from table to the top of the basket part is 3 1/2 inches tall. the basket is 5 1/4 x 5 1/4 inches square.

At this point I am not sure how to share the pattern with all of you. I can't get the PDF file to copy here.  I am still learning how the "Blog" works.

I hope that this is an inspiration for all of you to try your hand at designing.  The reason that I decided to do this is I could not find a square basket that I liked and could see the basic concept of the design by looking at other patterns.    

Happy Crafting ! ! !

Brenda

Monday, June 17, 2013

Another Card

As with the previous post this card was made as a sympathy card for a co-worker and the idea came from Pinterest.


This card was a bit more complex in the making than the previous one.  For this one I used a diamond punch, a lace border punch, a butterfly die, several embossing folders, Stickles (glitter glue,) and pearls.  I also went a little to the unconventional side of scrap booking and used my sewing machine with a zig zag stitch and white thread.


This card, as you can see in this picture, has layers, texture, and height to it.


The sentiment in this one came from an Internet site.

I really like the way this one turned out and once I got it all laid out and figured out how to hold things into place so that I could sew it, the process was fast and easy.  By the way, the trick to sewing in order that you don't "gum up the needle" on the machine is to place a small amount of adhesive to only the center of each diamond.  That tip works like a charm.

Now that you've seen the scrap lift, and got a tip on how to make the process easier, go try one of these...  just imagine the possibilities with different colors of card stock, mixing and matching.  This could be used for any occasion as well.

Happy Scrappin' ! ! !

Brenda


Monday, June 10, 2013

Card Making

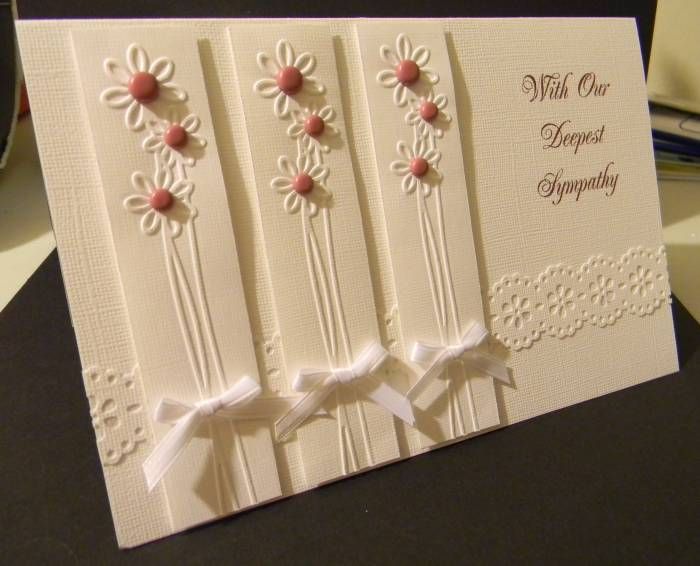
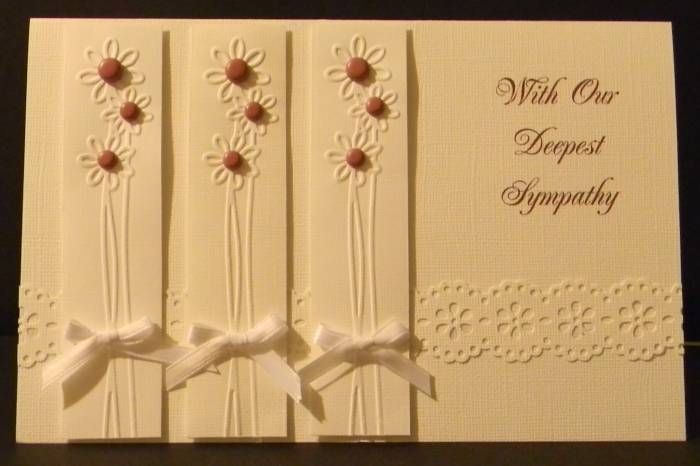
Recently, at work, I had several co-workers lose family members.  I needed tasteful cards to use as sympathy cards.  For ideas I turned to Pinterest for my inspiration.  Anytime I scraplift I try to give credit where credit is due but in this case I never did find the original post so I am just going to say I found the ideas on Pinterest and leave it at that.

I also want to point out that when I scrap lift nothing ever looks exactly like the original because I never have the same materials.  So with that said I will just share the first card.

I used embossing folders, ribbon, brads, a punch, and my computer.


A full front view:


And then the sentiment on the inside of the card:


The sentiment was geared toward the arrangement that the employees went together and purchased and sent to the funeral home, which was a lantern with a flameless candle in it.

This shows you that with the white on white effect that you can make a tasteful handmade card for the most serious occasion.

Happy Scrappin' ! ! !

Brenda.

Monday, June 3, 2013

Going Back

The last project that I shared with you was a ring box. I've learned a lot about making those little boxes since that post.

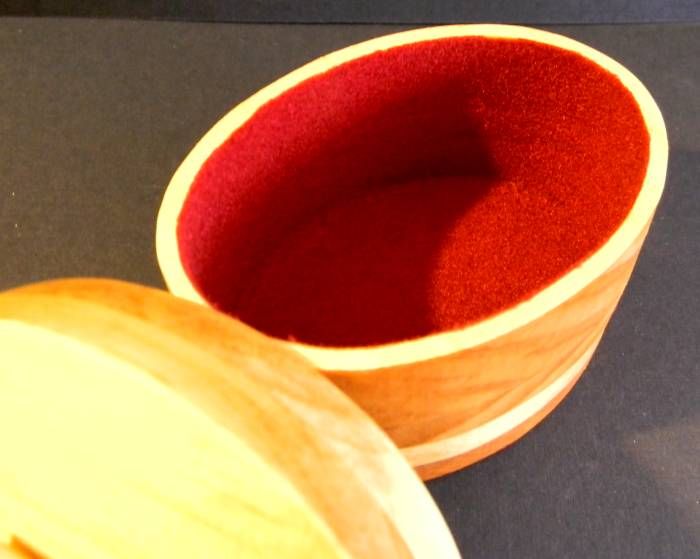
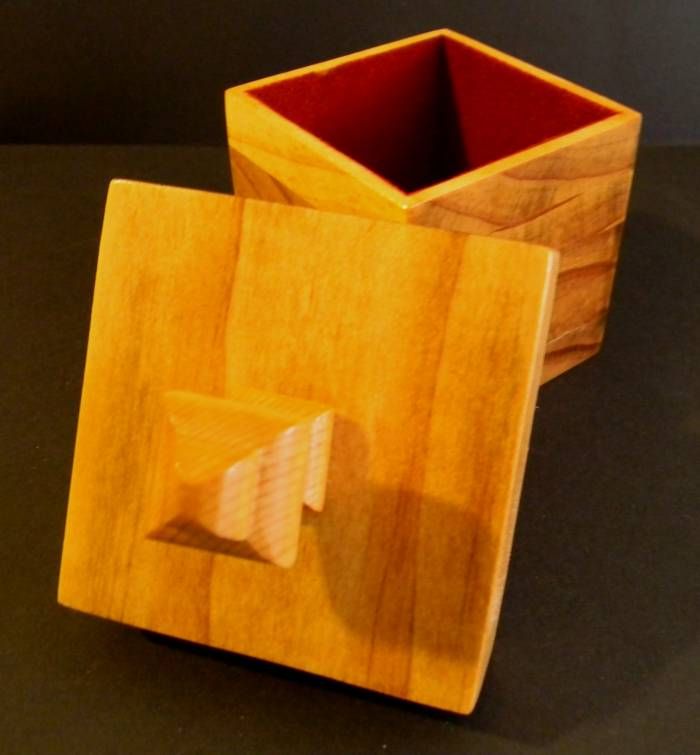
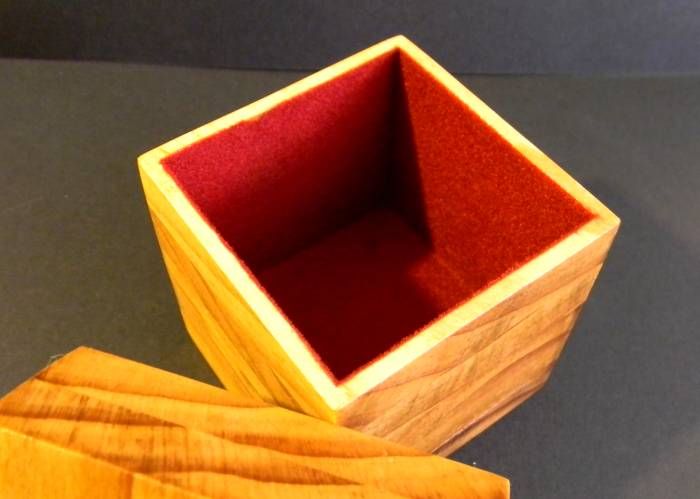
I have made several more of them and expanded on the sizes, shapes, and even finishing them. I've learned to flock the inside, giving them a felted interior.

Today I am sharing all of the boxes that I've created so far... and there will be more in the future because this is one of the ways that I am using scrap wood.

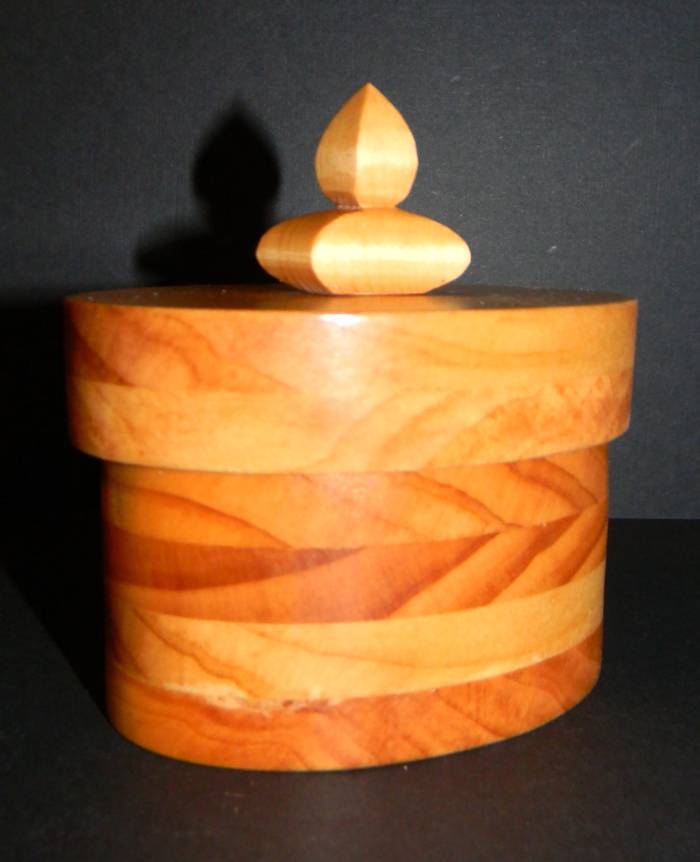
This is the last box that I shared with you:


That box's interior became this:


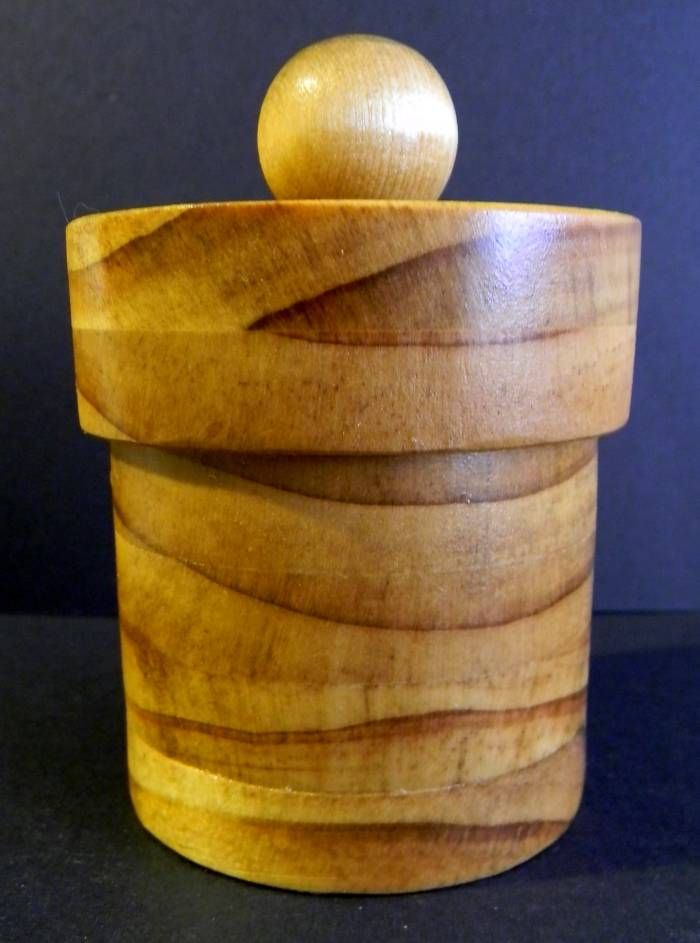
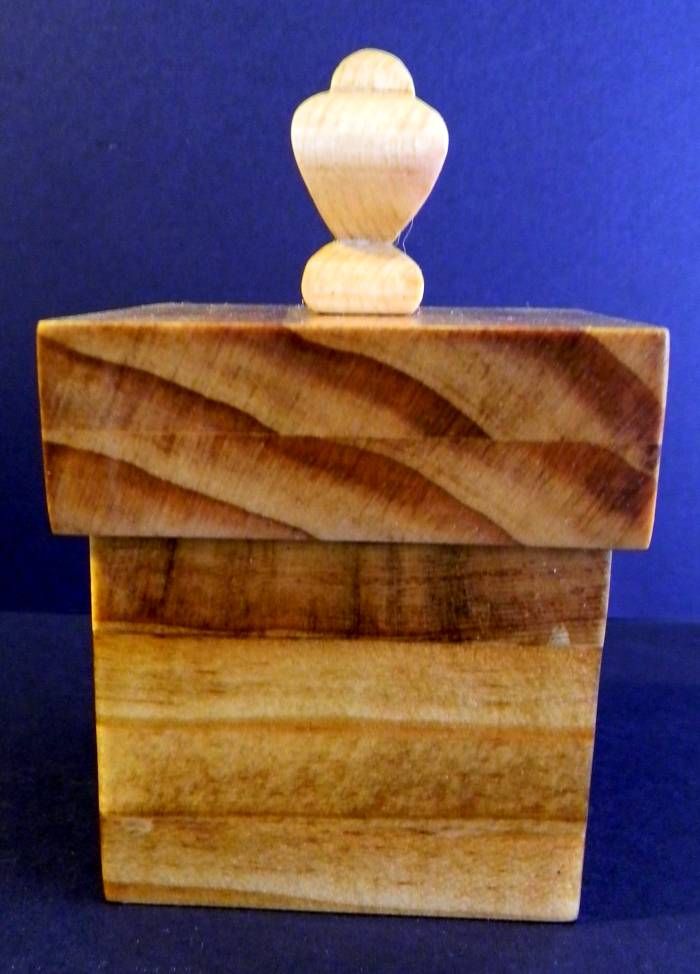
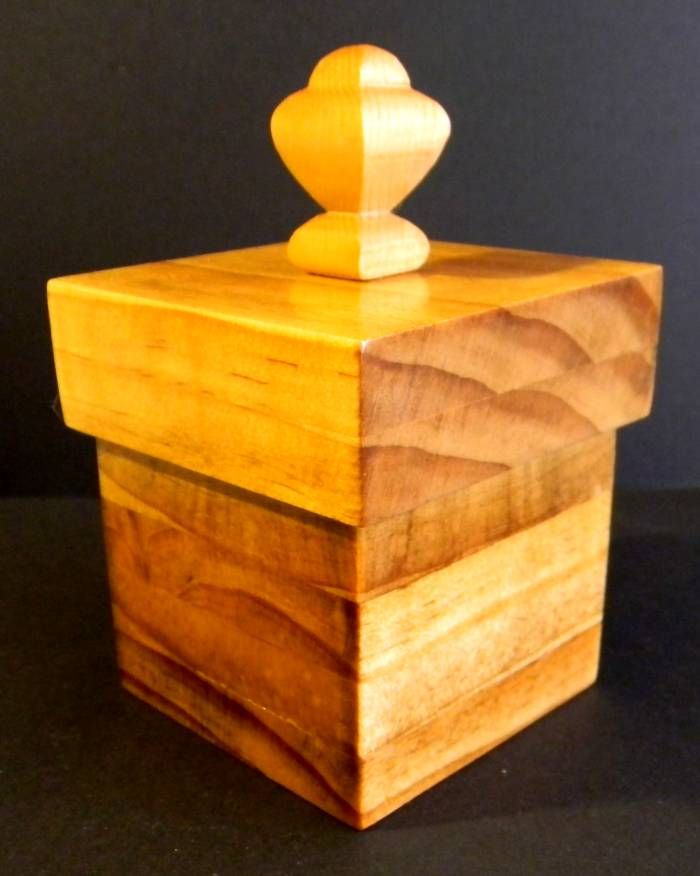
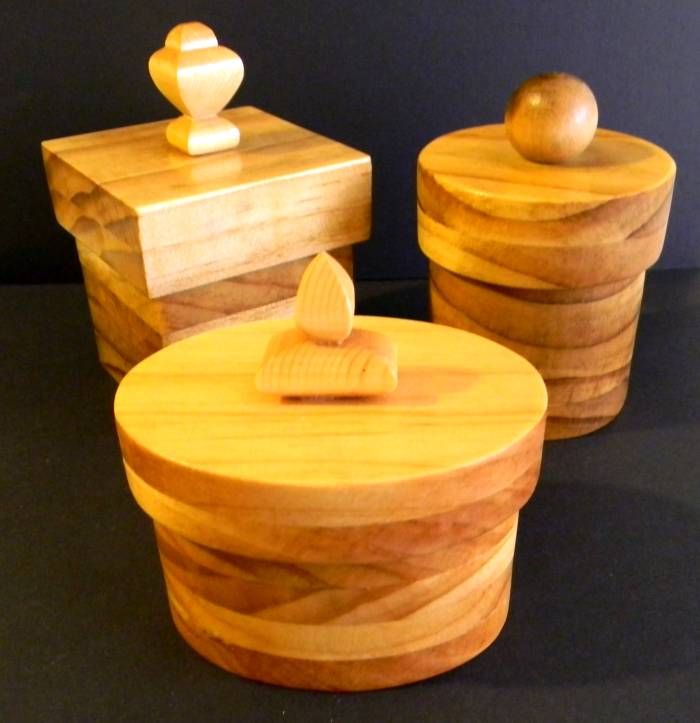
Then I expanded into round and square boxes:


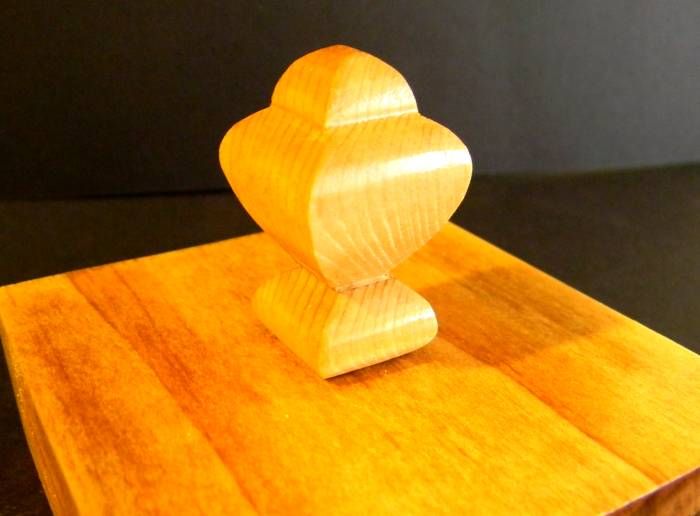
As you can also see all are flocked on the inside and each has a unique knob as well.  My compound cutting is also improving with each project that I do.

One last photograph of all of the boxes that I've completed....  I am hoping next round to do a clover, a heart, and I also want to expand and do a few bandsaw boxes.  I have a list a mile long of projects.


Happy crafting ! ! !

Brenda


Thursday, May 30, 2013

Been Busy

As you all know life gets so busy sometimes. Mine is no exception and I tend to forget about my blog when that happens.

My daughter's Senior year of high school has flown by. She is now a graduate.

My nephew had a horrible motorcycle accident. He is going to recover but has a long road ahead of him. I had to shake my head and smile. When I asked him if he was going to ride again his response was "can't wait."

New posts are coming your way. New projects in both paper crafting and wood working.

I am trying to get a few things together and try to post at least once a week.

Stay tuned and keep crafting.

Brenda

Friday, January 11, 2013

Welcoming 2013 And Using What I Have - Small Oval Box


I have learned over the years to never throw away something that might be able to be used. I learned this from my dad, Cecil. We always joked with my dad and told him to "throw that away." His response was always the same, "I might need that someday or worse, you might." He took saving things to the extreme! Although I do not save everything, when I am working with wood and I see a scrap of wood from a scroll cut and I always think to myself, "do I save that or throw it in the kindling pile?"

I love the thought of using odd items or scraps and making them into something. With that thought in mind, my scrap wood pile was getting a bit larger that what I have room to store so I started searching for a project to use some it.

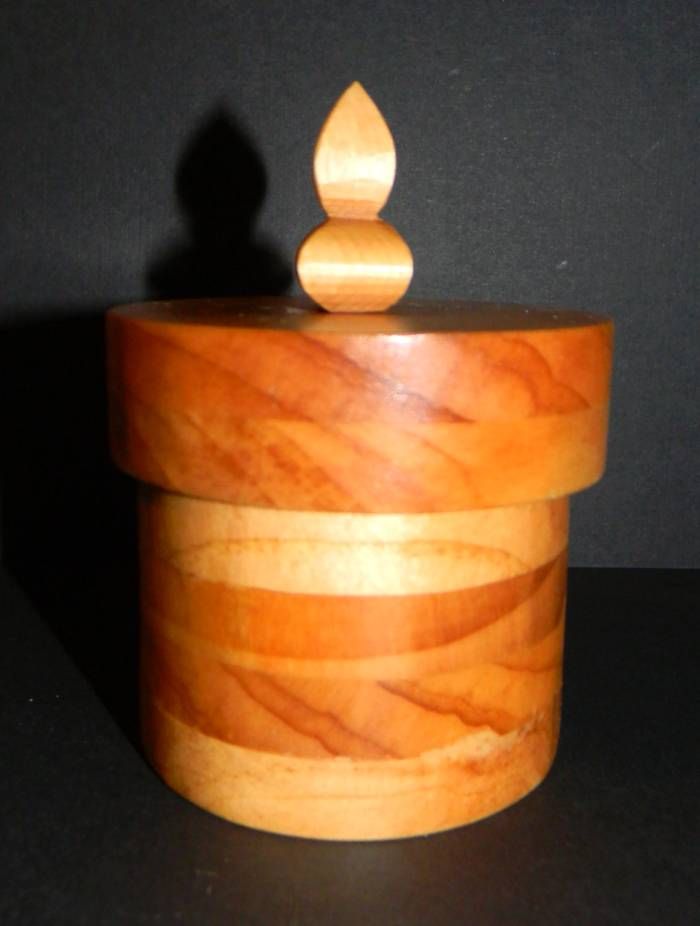
That is when I thought about my Christmas gift from my son. He and his wife, Kim gave me a scroll saw pattern book called "Custom Wooden Boxes For The Scroll Saw." This book has all kinds of wooden boxes for the beginner to the advanced scroller. In that book I found a few small boxes in different shapes that were perfect for the scraps that I wanted to use.

These boxes can be made from any wood and a person can make them in several different ways. I glued scrap boards together to form a block and then cut the rings to form the box sides and a scrap of 1/4 inch scrap cut into an oval formed the box bottom.


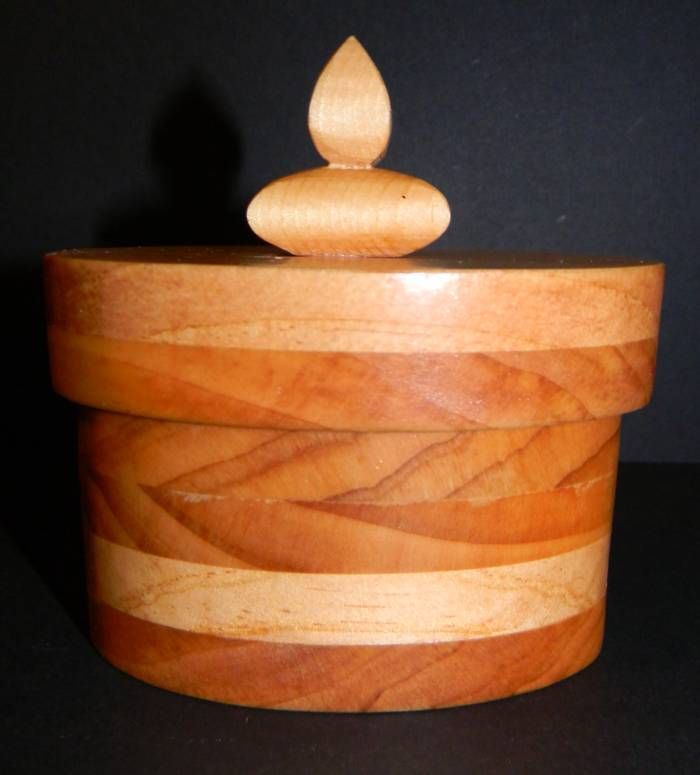
The top of the box is formed in the same manner except only one ring is attached to the box top and it is slightly larger than the box rings from the bottom of the box. The knob on the top of the box is a compound cut.


Here are several views of finished box. The first is an angle shot of the box so that you can see that the knob is compound cut.


A side view:


And lastly a front view:


This is a relatively a small piece measuring 3 1/2 inches from the table to the top of the knob and about 3 1/2 inches at the widest part of the oval.

I love the way that the grain in the wood really shows in the ring layers and that each ring (even though the entire box is made of pine and is stained all in the same stain) is a different shade. I was very happy with this project and being able to use some of my scrap wood and turn it into a useful made this project all the sweeter.

I love taking a page out of my dad's book and saving those pieces of wood that are somehow just to big to throw away and then finding a use for them. I also love the fact that this project did not cost me anything to make.

Happy Crafting ! ! !

Brenda
Monday, December 24, 2012

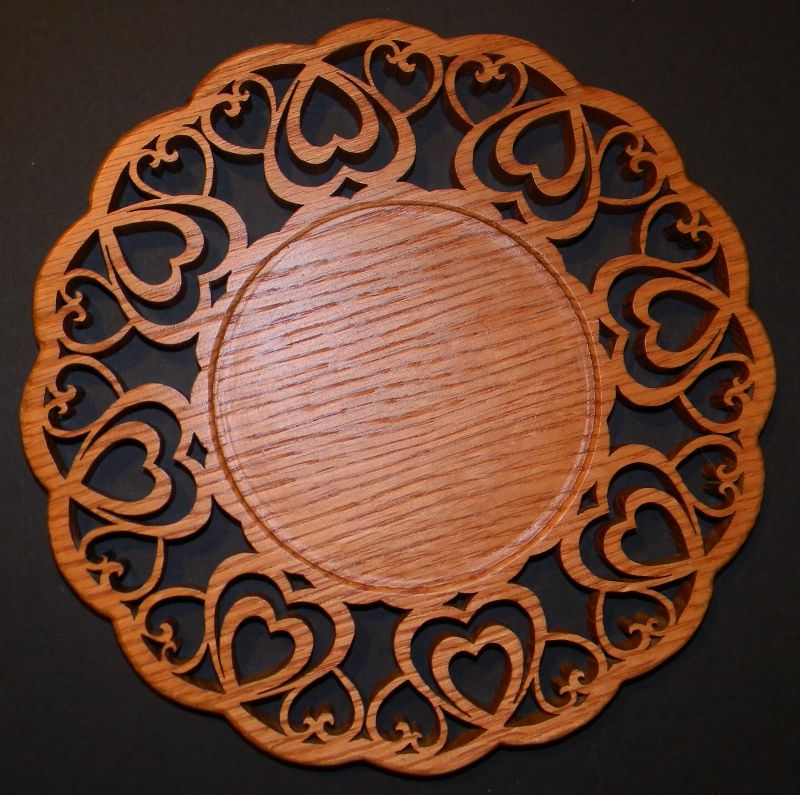
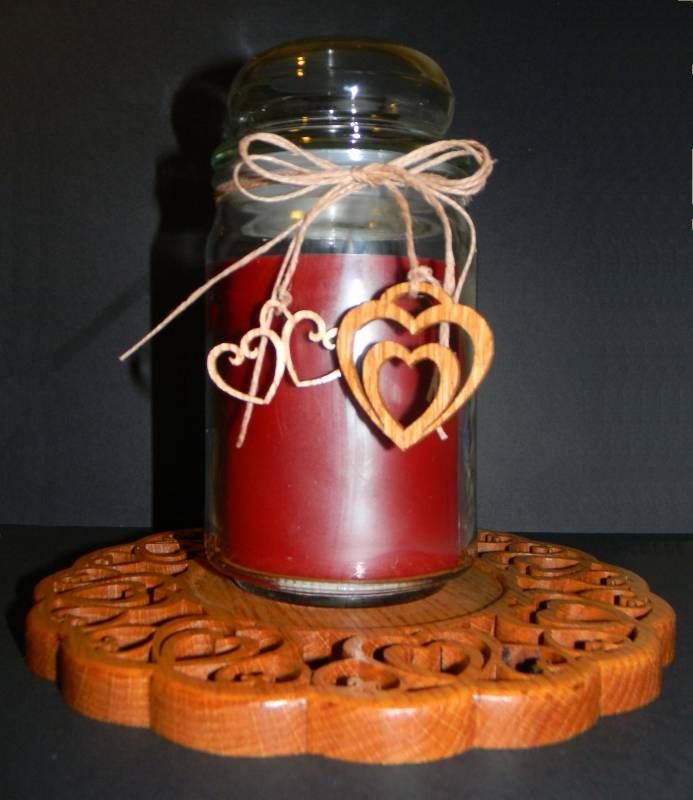
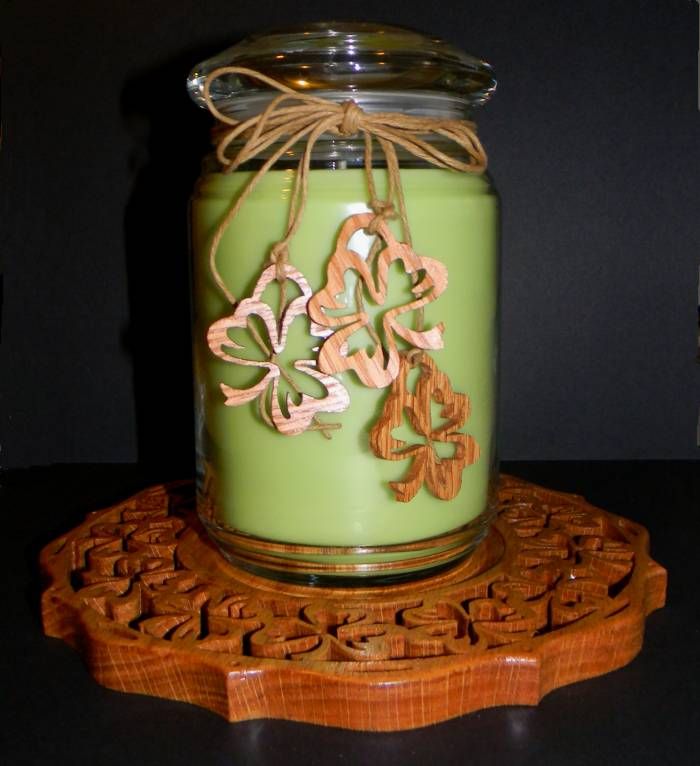
Heart Candle Base With Charms

This will probably be my last post until after the New Year. This also concludes the items that I have made for Christmas gifts. I made two of these heart candle bases with matching charms. One of them is going to my husband's brother and his wife, and the other to his sister and her husband. I just could not come up with a gift idea for them so I made them something and purchased the candle to go with it.

I am not going to get long winded on this post but rather get right to the wood working.

Here is a picture of the just the base:


And here is a picture of the candle on the base with the charms tied to it with jute:


I hope that they like them as I put a lot of time and effort into these.

Happy Crafting ! ! !

Brenda
Friday, December 21, 2012

Quick Gifts - Change Of Pace - Sewing

I needed a quick and easy little something to give as a gift. This was more or less to fill in and make my gift look a little bigger. I had previously posted that I made each of the girls in my office a wooden trivet.

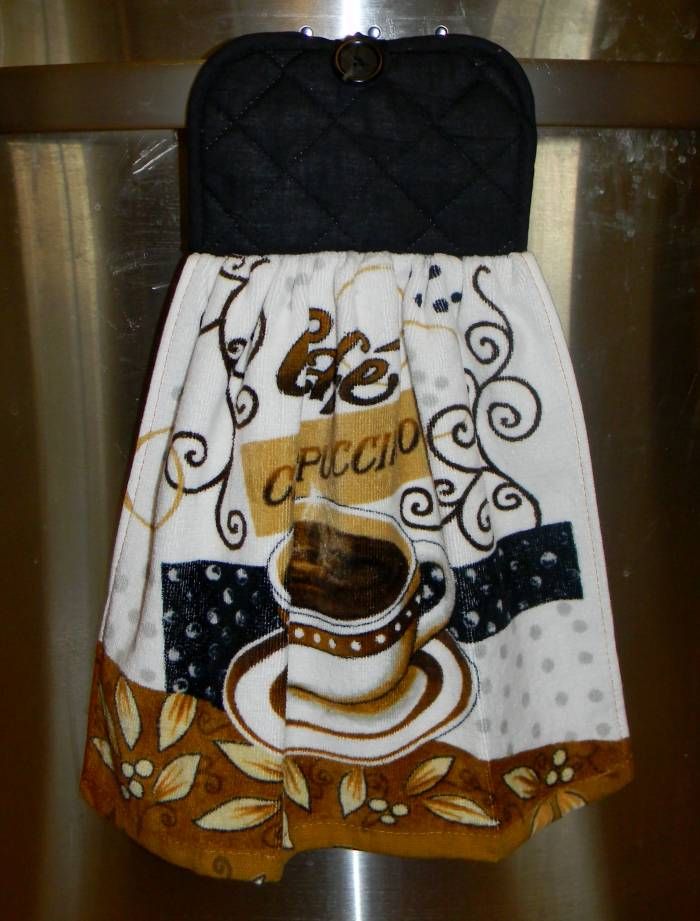
I did a little research after seeing these towels at a local craft bizarre. I found a great step-by-step tutorial on you-tube.com and having some sewing experience these looked so easy.

Materials were inexpensive, readily available, and I had some of the supplies on hand such as thread and buttons. My materials list was potholders with a loop on the side and they could be round, square, or rectangle. Matching or coordinating kitchen hand towels, color coordinating buttons, thread and of course my sewing machine.

Here is a the LINK to the you-tube tutorial. You will find that the directions that the girl gives are very easy to understand.

Here is a picture of my finished hanging towels that will be given with the hand made trivets.


Just a quick share of another craft that I enjoyed making and would like to get as a gift myself.

My motto is always give something that you would like to receive.

Happy Crafting ! ! !

Brenda


Tuesday, December 18, 2012

More Bottle Cap Ornaments

I spray painted way too many bottle caps white when I was making the snowflake face snowmen, so with that in mind I decided to surf the web to see what I could find to make with white bottle caps. I didn't have to look to far. I went as far as Pinterest. That site is a wealth of pinned items that people have found on the Internet.

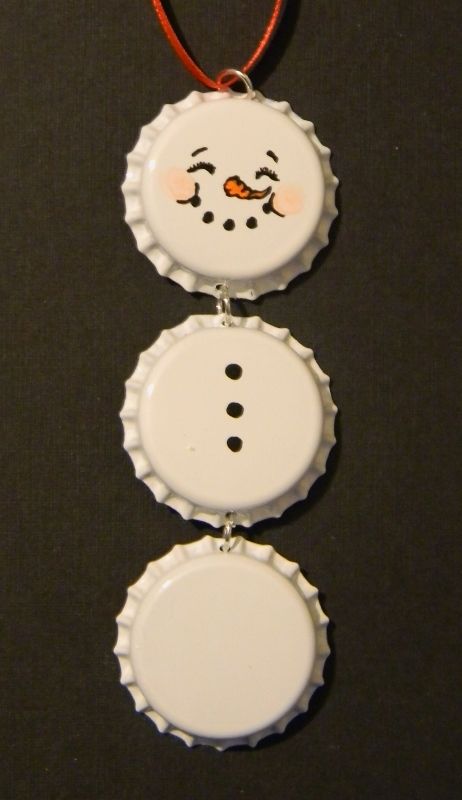
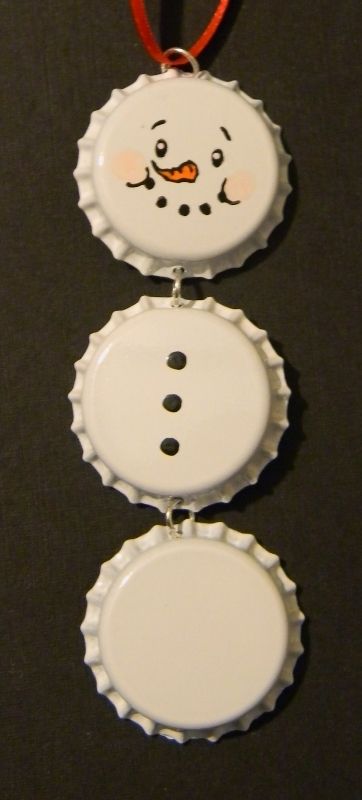
I found an ornament using 3 bottle caps that were glued to a a ribbon but the bottle caps were inverted and harder to work with, so with a flip of the cap I had a smooth surface to work with. Here is a link to that original snowman ornament.

As in my previous post with the snowflake ornaments, I had some crafting supplies that allowed me to stamp the faces for the snowmen. I love that little face!

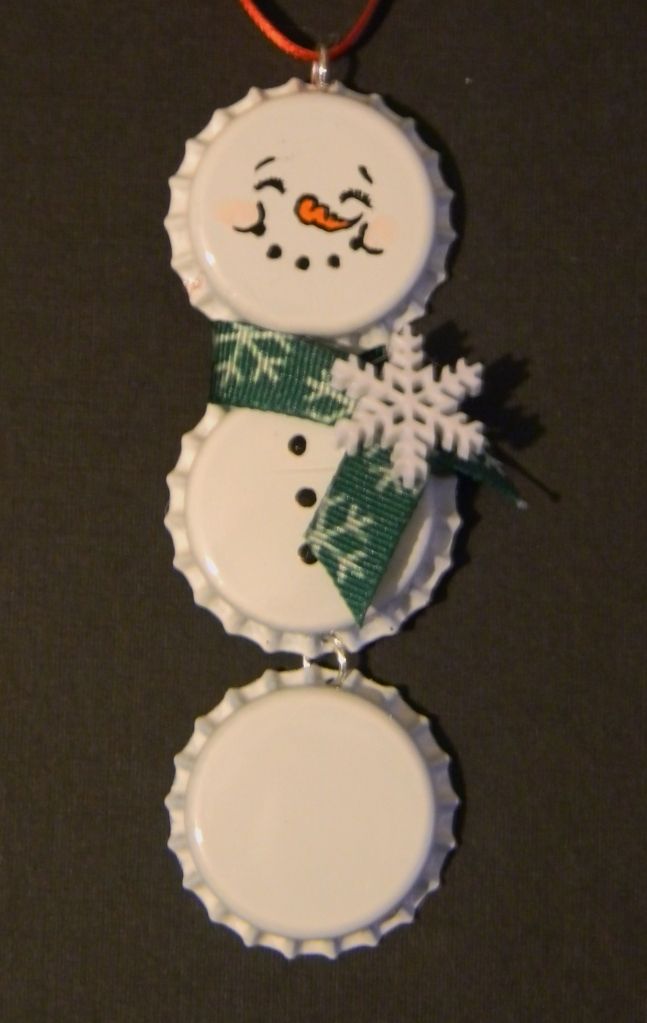
Instead of using a ribbon, I drilled holes in the bottle caps and used jump rings to attach one to the next. I also made some plain as in the original that I found on Pinterest, and I made a few dressed up by adding ribbon and snowflake buttons and a few with each style of face.

Here are my finished ornaments:


It amazed me how a little piece of ribbon and a button dressed these up.

So next time you prepare more of an item that what you can use for one craft, do a little searching to see what else you can make using that item and double up your productivity.

Happy Crafting ! ! !

Brenda
Friday, December 7, 2012

Gift: Clover Candle Base With Charms

Today I am sharing a gift that is partially hand-made and partially store bought.

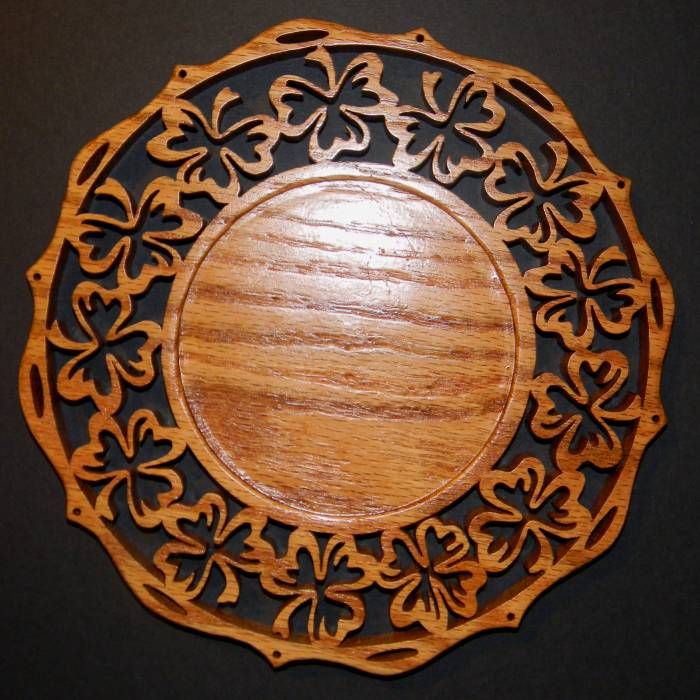
The wood base with charms is a pattern that I purchased when I ordered my wood. I purchased 2 patterns (one with clovers and one with hearts)  for these candle bases.

This first one is a Christmas gift  for a very special couple (my son and his wife.) My son is very proud of our Irish Heritage and I wanted to make something that they both would like. Kim, my beautiful daughter-in-law, loves candles.

This has many hours involved and the cuts became tedious because progress was very slow to see, BUT, the I really love the end result.

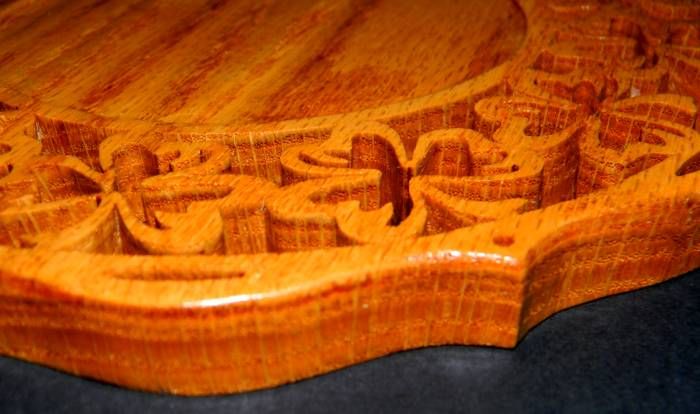
Also a side note for this project, I did not follow all of the directions that came with the pattern because I did not understand them. I do now because of the wonderful men and ladies at the wood working message board. I am exploring and going to try the self-framing method, but for now what I did worked and gave me more practice with my router.

Here is a picture of the candle base:


Another photo of the edge so you can see the router work on the edge:


And one last photo of the finished piece with the candle in place. I used jute string to tie a decorative bow and hang the charms from the stings.


One of these days I will make myself one of these. I have yet to make myself anything.

Happy Crafting ! ! !

Brenda