My Family Scrapbook

Monday, January 25, 2010

While I'm At CHA . . .

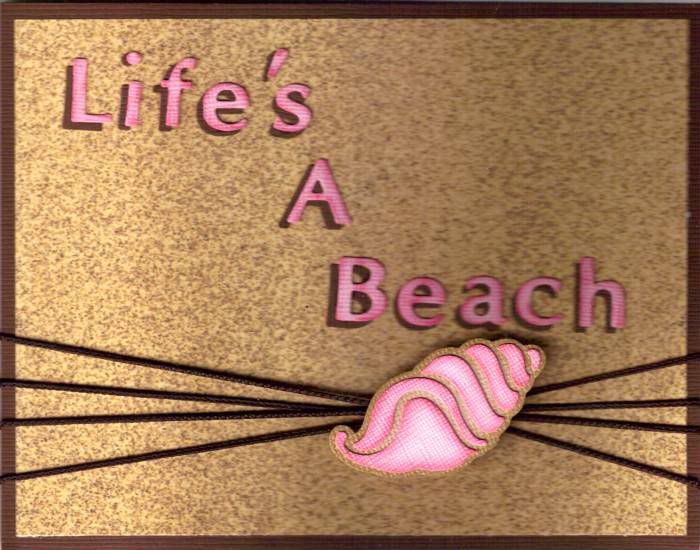
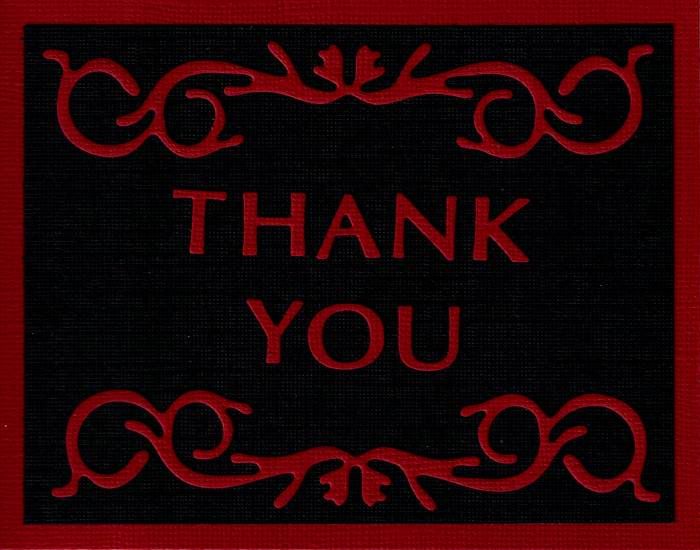
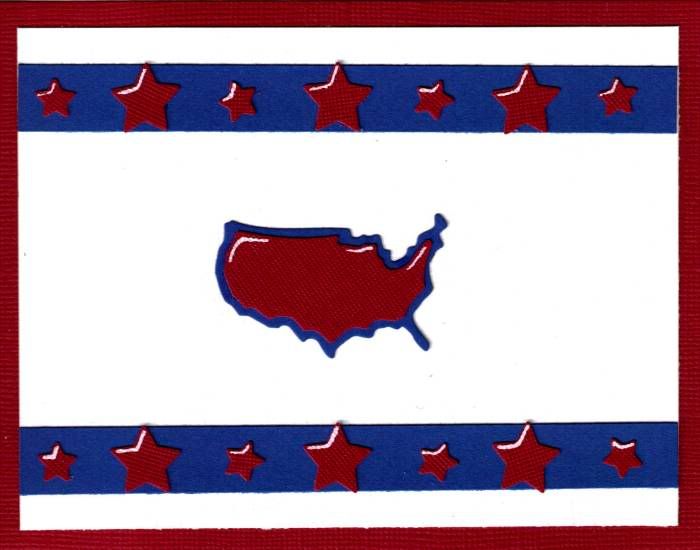
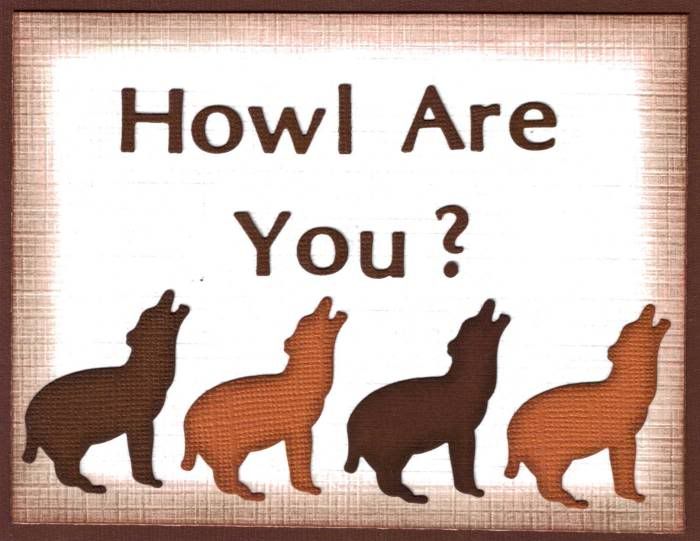
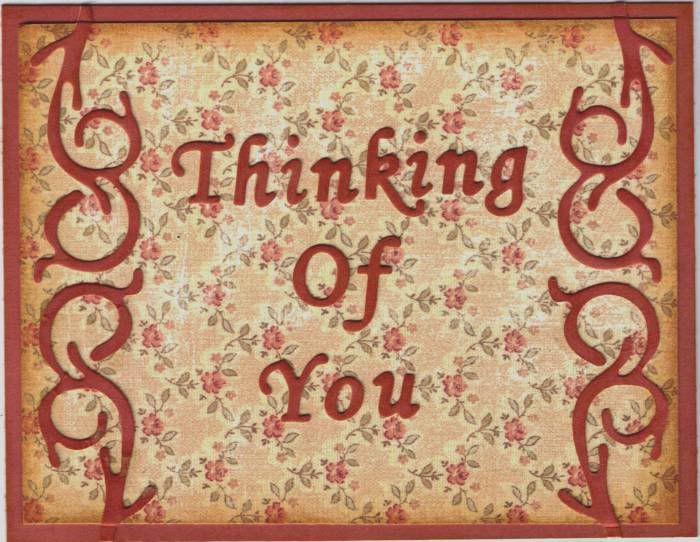
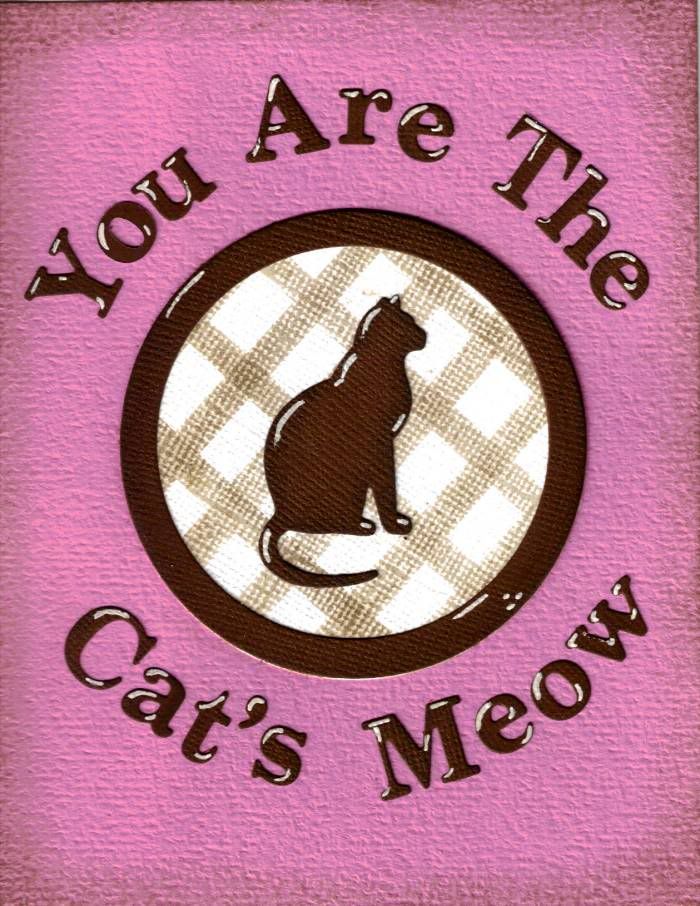
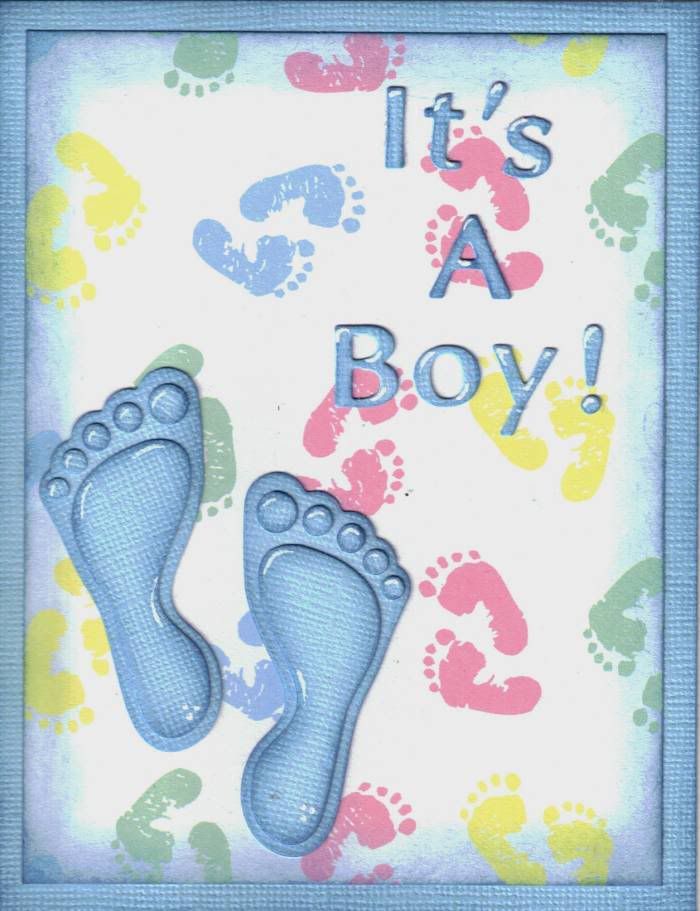
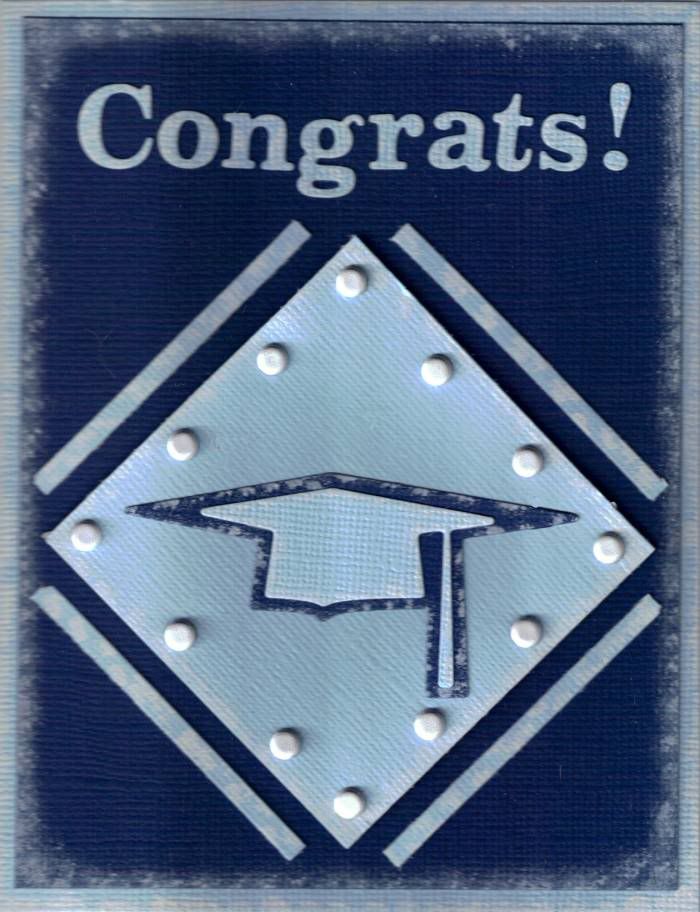
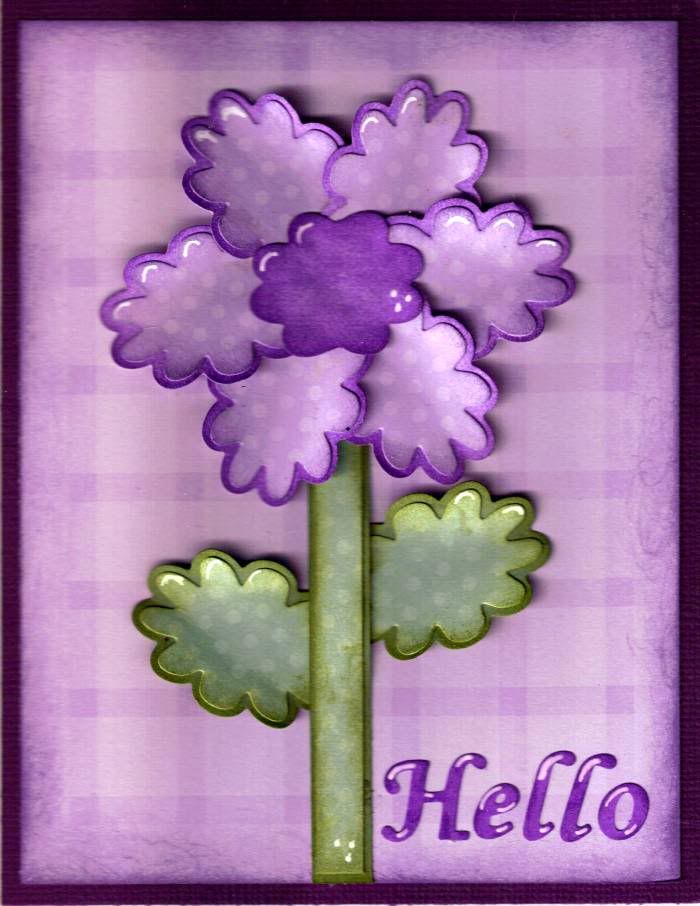
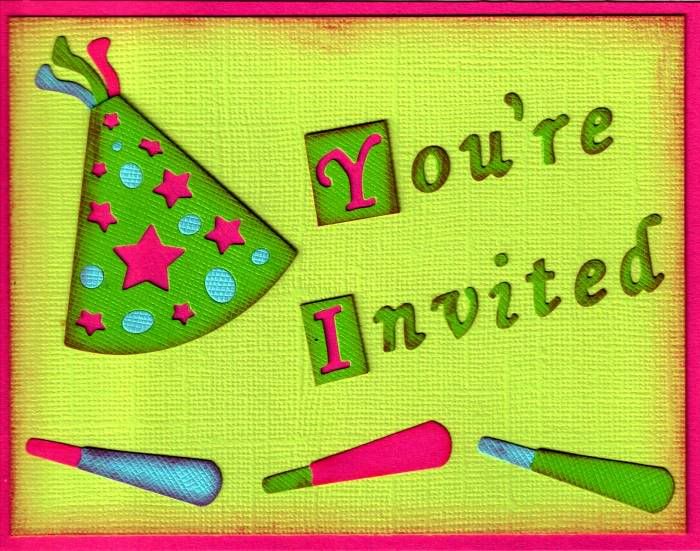
I thought I'd share some of the cards that I made with the dies that I posted on Friday. Now you know me I can't leave a die alone - some of the dies became something else... like the New Year's Eve hat became a birthday party hat or the conversation bubble became a leaf and flower pedal and the mantel decoration became a fancy scroll. Plus I took components of one die and used it else where - you will see the stars from that party hat on several of the cards.

These are all A2 (note or invitation) sized cards.


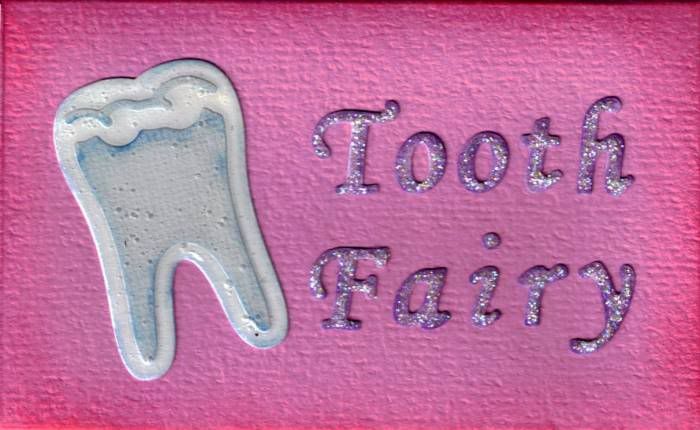
I also made a small envelope for a child to put a tooth in and leave for the tooth fairy.


I also made a sign for the booth because afterall we want to promote that this company is American. (Which I just LOVE!!!)


The wonderful thing about this company is that they will do exclusive dies for a business for a fraction of other die companies and the minimum order on those dies are also a fraction.

There will be many new dies from this company in the coming months so if you don't see something that you like check back often because they will be dynamite in the coming year!

Happy Scrappin' ! ! !

Brenda

Friday, January 22, 2010

Leaving On A Jet Plane

I am so excited !!! Today is a huge day for me. In just a little while I will be on my way to Lambert International Airport, St Louis, Missouri, to board a plan to Phoenix, Arizona. From Phoenix I will go to Gilbert to spend one night and then Saturday morning I will be off to Anaheim, California for CHA. I not only will get to meet and work with Susan (from the ScrapyLand Blog,) but I will be working for a company called Dies Direct.

This company used to manufacture dies for QuicKutz and Spellbinders before they decided to take their business to China. Let's face it I love those two companies dies but I am a huge advocate of American made products and I buy American Made products whenever I can.

That is why I am so excited about this company. Not only is this company located here in the USA but they are GREEN!!! I am all about recycling and reusing. I love the thought that the dies I am buying are not causing harm to the environment and should they go bad, they too can be recycled, but I've never had a die wear out yet.

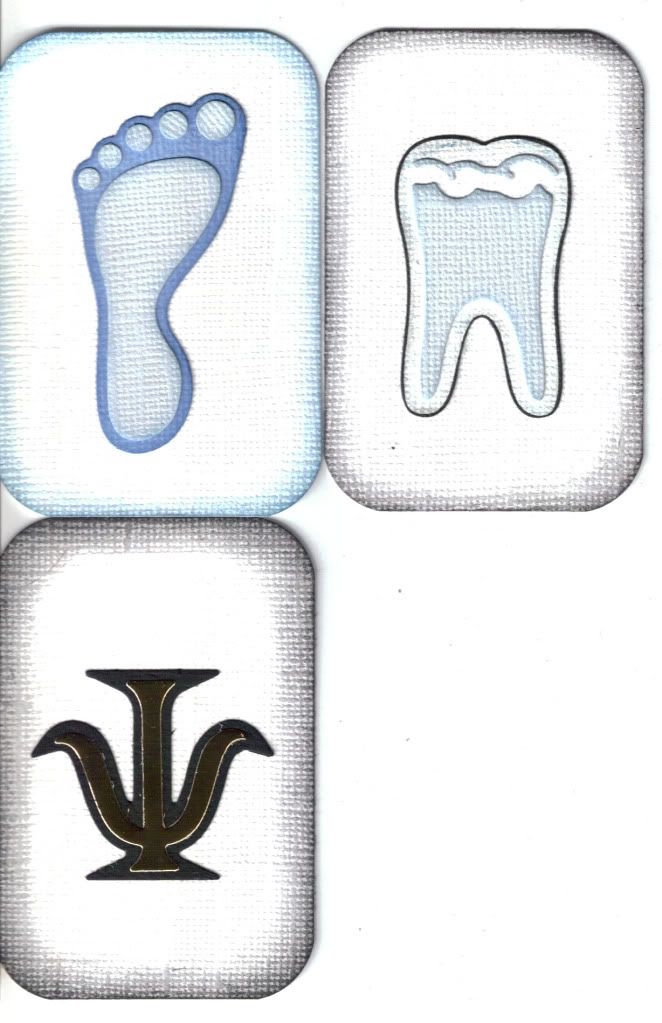
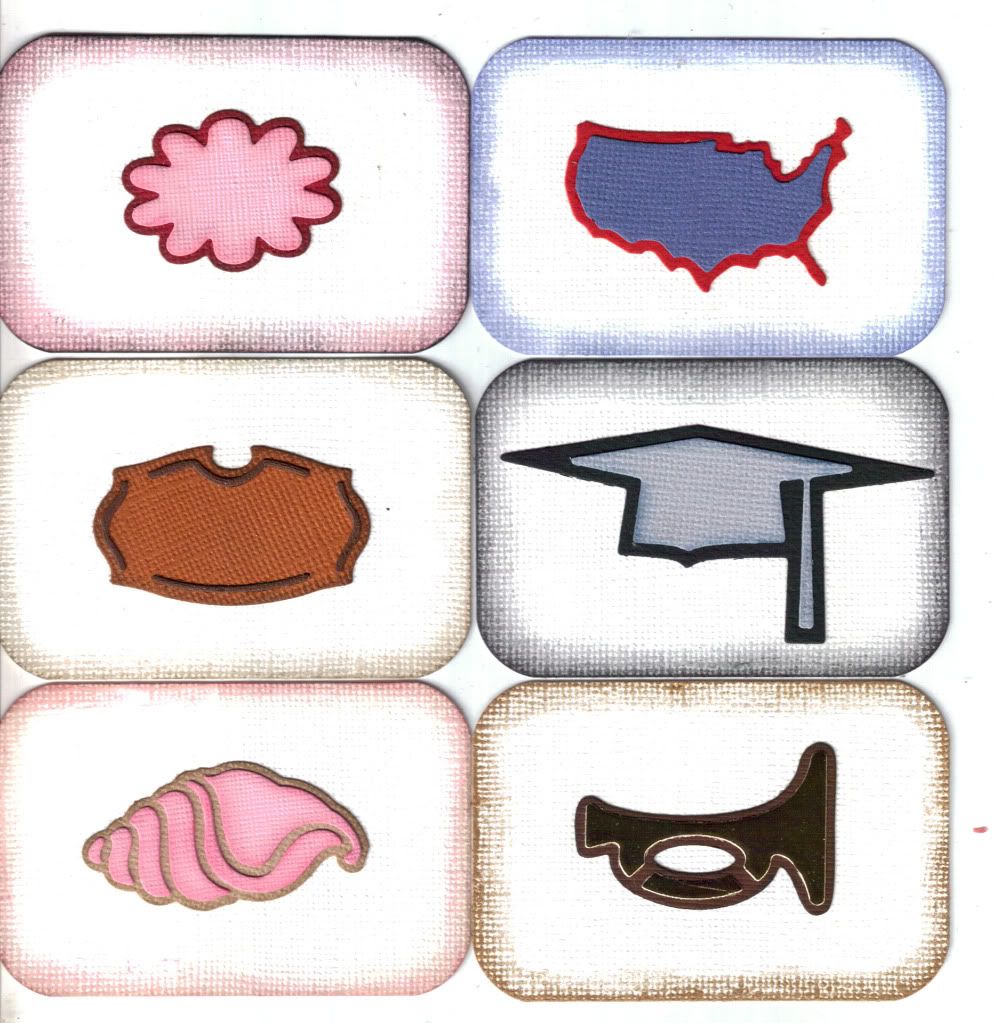
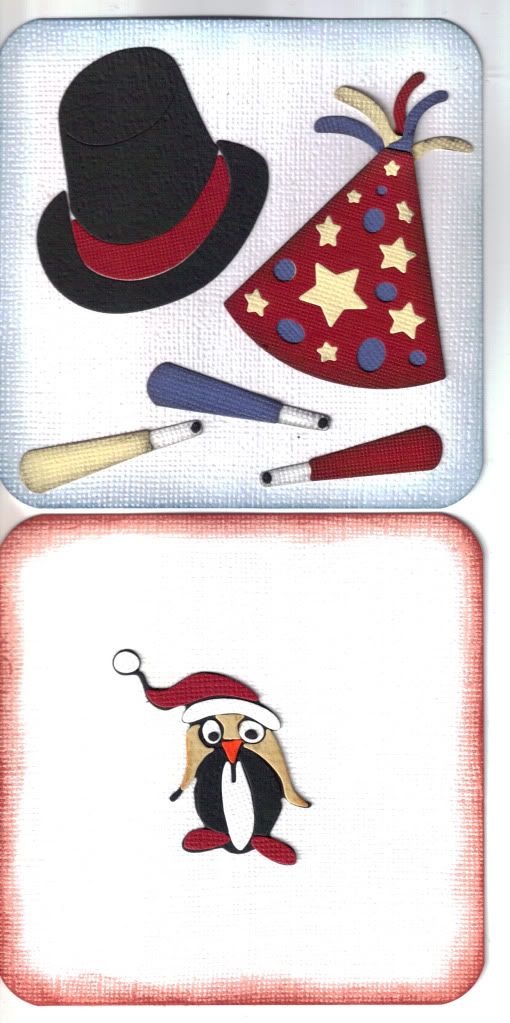
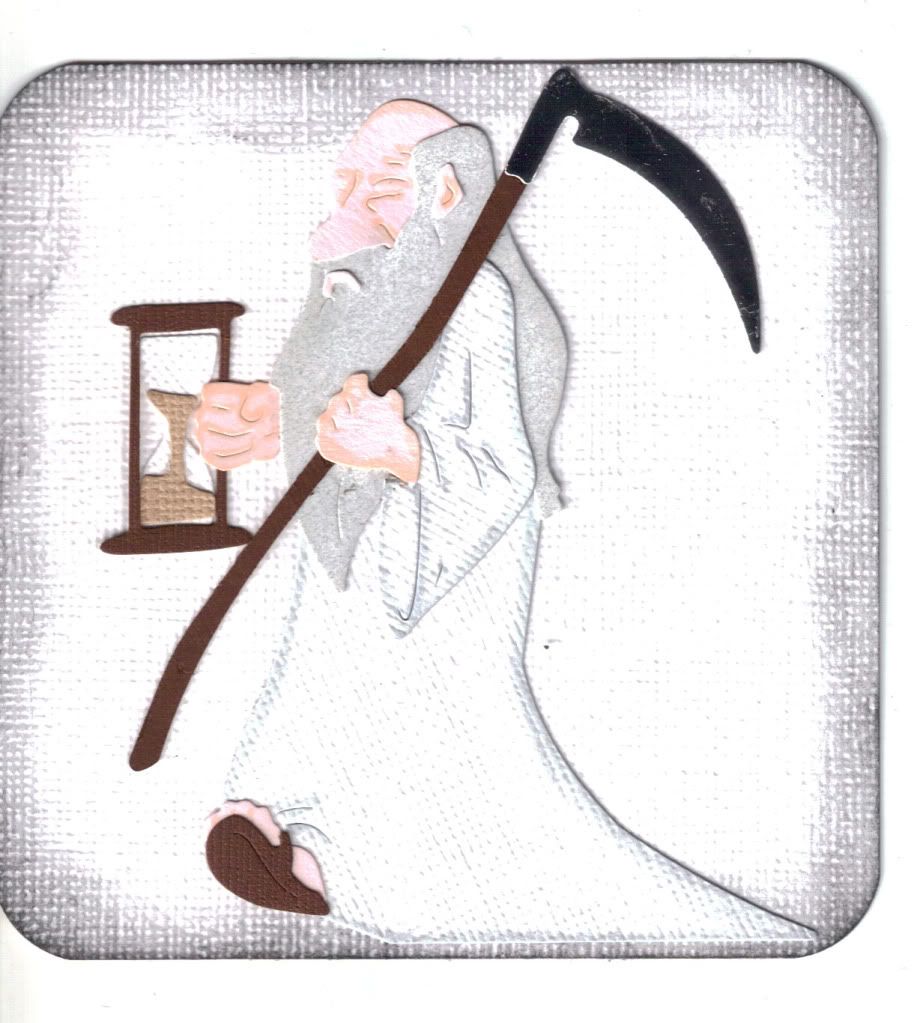
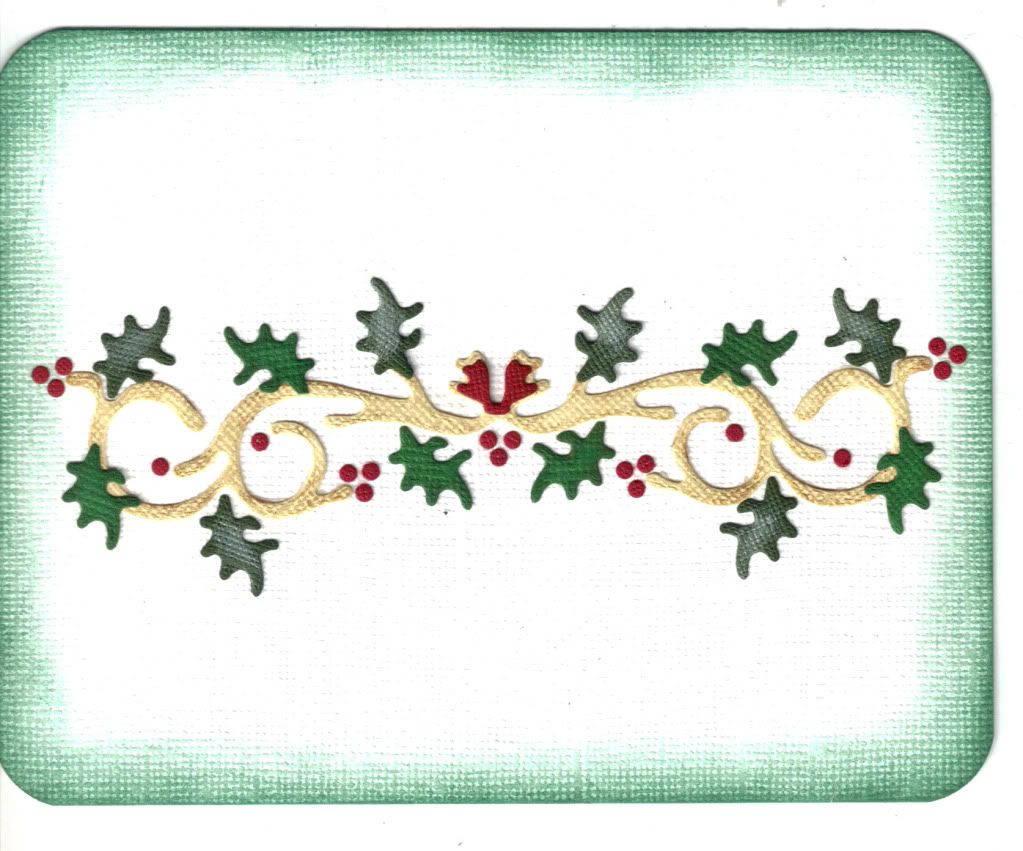
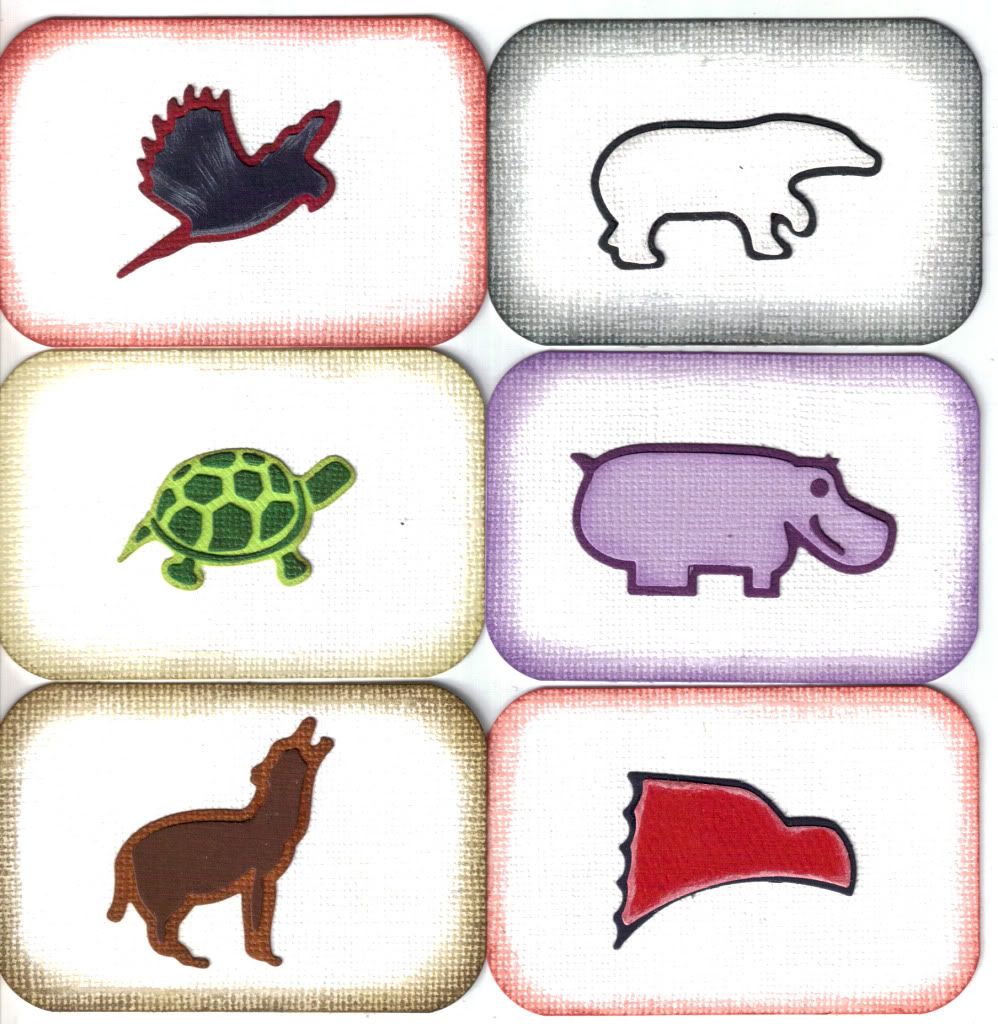
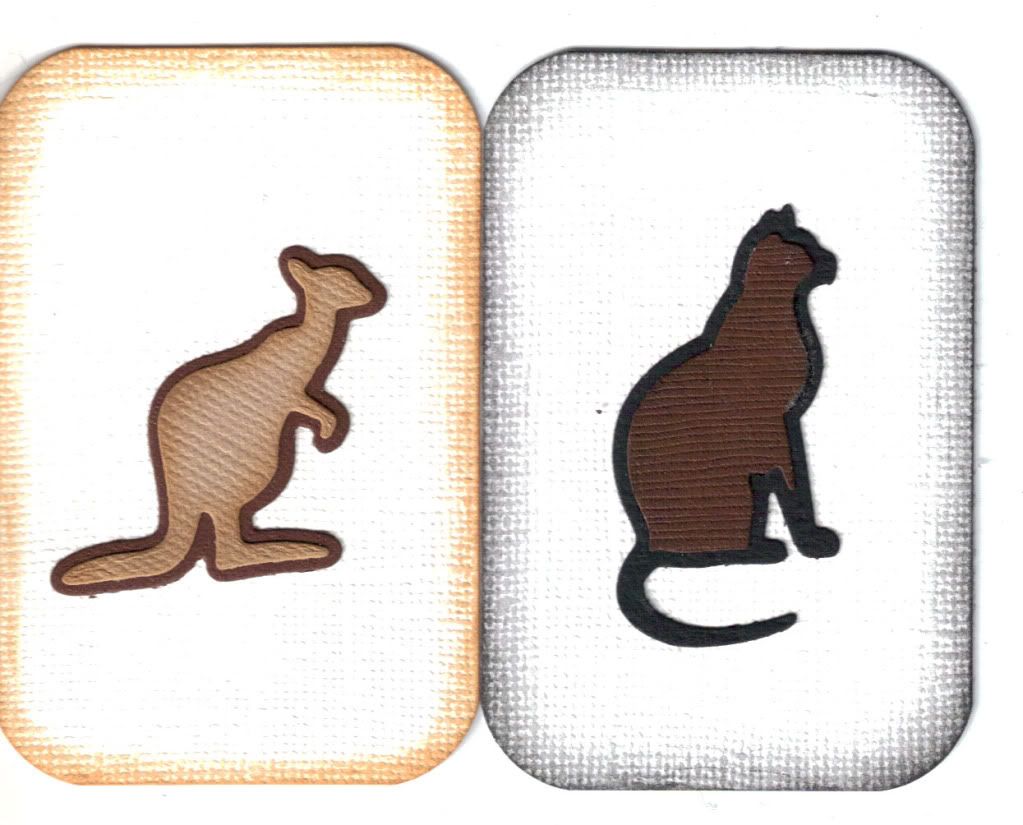
I was sent a box of dies to use and create with and I had a lot of fun doing so. Now when you look at what I have made here these are just "hang tags." I created the die exactly as it printed on the package, the only difference might be the colors I used or the fact that I did use a little chalk or ink to enhance them.

This first sets of dies were all 2" x 3":


These are all 4" x 4" dies"


And this is an A2 die which measures 5 1/2" x 4 1/4"


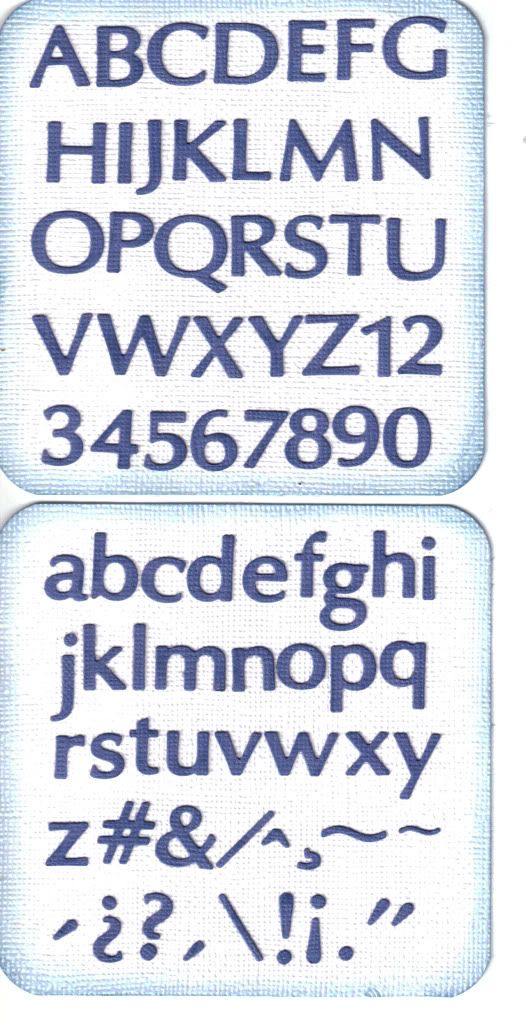
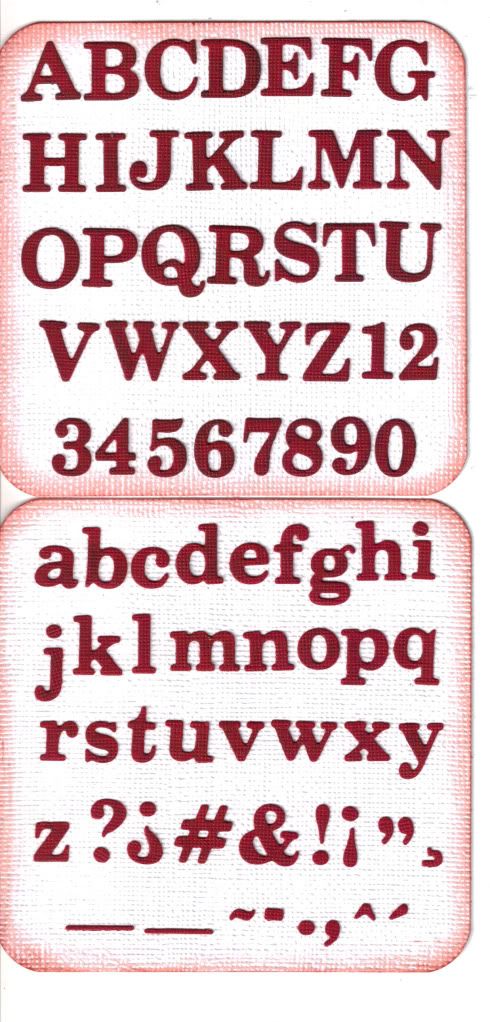
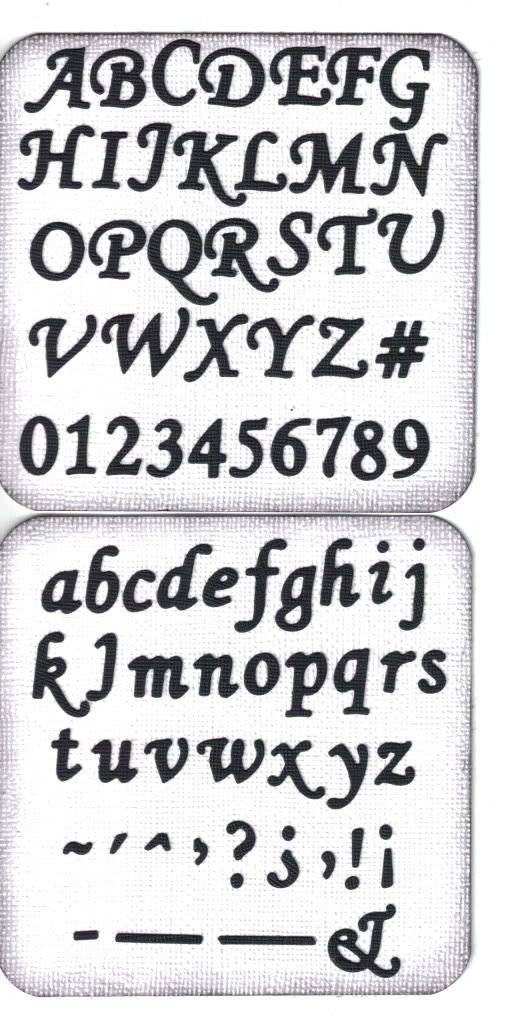
And finally there are the Fonts. Now these fonts are on strips but the strips are connected and there are 5 strips that make up a 4" x 4" die. I left them together but you can break them apart if you would like to. Each font is 1/2 inch tall. Yes these are small fonts but they are wonderful. Great for a title on a journaling box or perfect for a card.


Now with these dies, keep in mind this is their premiere line and these are just a few of the dies that they have. If you would like to see more go to Dies Direct to see the entire line and for the prices. You can order on-line now if you like what you see!

I have never been to CHA much less been on the inside where I will be working for a manufacturer and getting to rub elbows with the retailers. I am truly looking forward to this trip and the entire experience.

I guess this is where I say California or Bust!

I will post more a little later but for now that is a sneak peek at a new company that is going to be putting products on the store shelves soon!

Happy Scrappin' ! ! !

Brenda
Thursday, January 21, 2010

Keeping With The Snowflakes

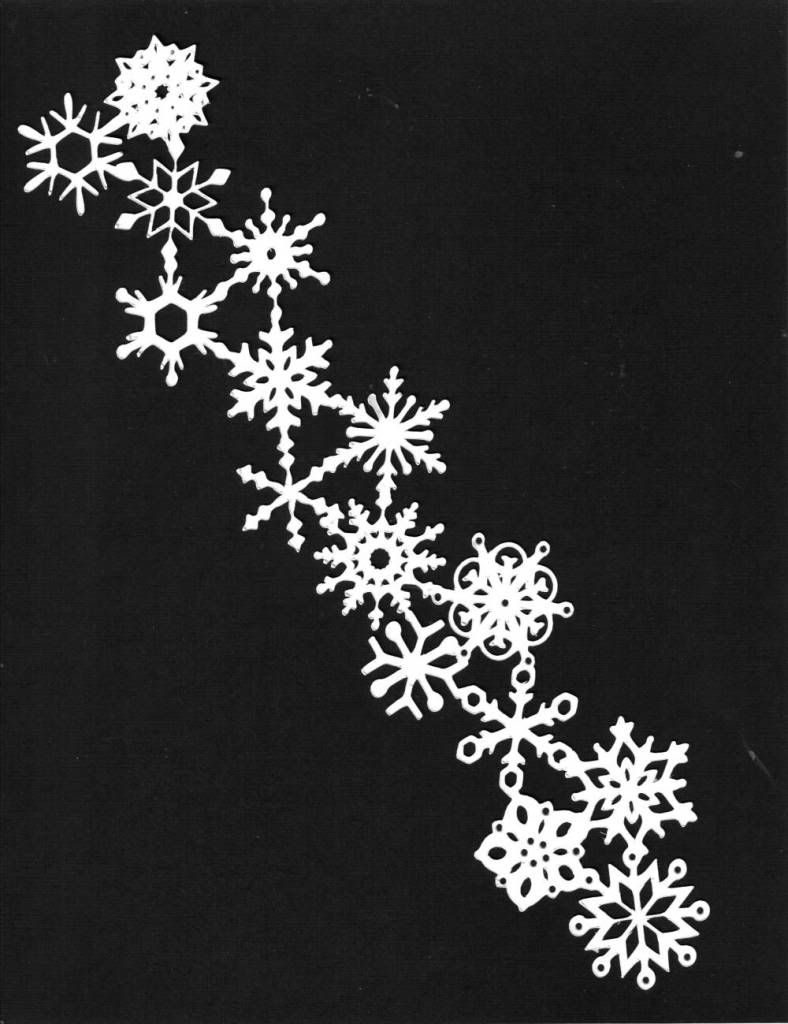
After the cards in my last post I decided that I wanted to make a 12" border of snowflakes for a scrapbooking lay out. I continued to play with my Gypsy. I have fallen in love with this thing because I can take it anywhere, save my project, and pick it up at a later time or day and then to make things even better when I am ready to cut the design that I have created I no longer have to pull 12 or more cartridges off the shelf and then change them in and out of my Cricut machine. The Gypsy does that for me. I love it.

I do not remember how many cartridges are used for this border but I know it was a lot of them because I wanted each snowflake to be different. The finished snowflake border is 11 3/4 inches long and 3 inches wide.


It is my plan to use this on a page and then take a few more individual snowflakes (either made with the Cricut or with some of my punches) and scatter them on the pages to accent. I also plan on using some Stickles on them so that my snowflakes all sparkle the way a newly fallen snow does when the sun hits it.

I guess today my challenge for you is to play, experiment, and enjoy creating something that is truly just "you."

Happy Scrappin' ! ! !

Brenda
Wednesday, January 20, 2010

These Are Long Over Due

I have been a little lazy about blog posting lately.

I made these and mailed them the first week of January but am just now getting around to showing them to all of you.

I received several wonderful Christmas gifts from some very special CCD/PSR students. I am so blessed with this class. They work hard to learn their prayers and are so well behaved. I love each of them.

Anytime that I get a gift I try to make a special thank you note. Don't you just love getting something unexpected in the mail? I know I do. When I mailed each of these I wrote a special note to each student and included a stick of gum with each and it just so happened that the wrapper on the gum also had snowflakes on it.

I used my Gypsy to create this while I was away from home and then cut it. I used 7 different cartridges (each snowflake and the "thank you".) It took me several tries because I had to adjust the pressure and speed settings and I ended up having to replace my Cricut blade for this very lacy snowflake border. Once I got the settings correct I copied the border and cut 6 of them all at the same time.


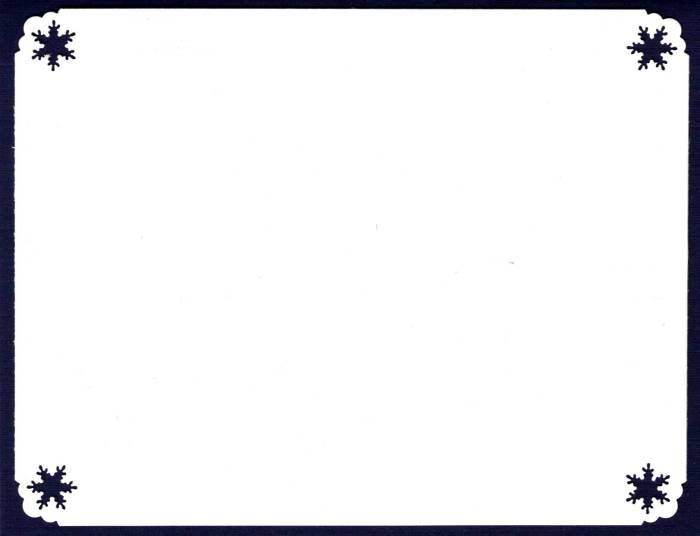
On the inside of the thank you card I used a Fiskar corner snowflake punch to create a place to write a personal note to each child.


When we went back to class I received several hugs from students who whispered quietly in my ear, "I loved the card and thank you for the gum."

I went with the snowflakes for this thank you note, because let's be real, Christmas was over but it is still winter. I thought it was perfect for the season and evidently so did the children that received them.

Surprise someone, make a little note card, it doesn't have to be a "thank you" card. It could be a "thinking of you," "I miss you," or a little "how do you do" card. Drop it in the mail to a neighbor, friend, or someone that you haven't seen for a while who lives away from you. It always brightens my day to receive an unexpected note.

Happy Scrappin' ! ! !

Brenda
Saturday, January 2, 2010

A Year In Review

I am very glad to be saying Good-Bye to 2009. It was a hard year for me and my entire family. We endured my mom being in a horrible car accident on February 21, 2009. That accident almost took her life. She endured surgery to rebuild her legs, had to learn to walk again, and faced coming home to an empty house.

While my mom was in the hospital and rehab, my father's illness became worse. I was traveling between his hospital and my mom's hospital or rehab center. Dad lost his courageous battle to cancer on May 11, 2009.

I wish that 2009 had been a better year but it wasn't and there is nothing any of can do about what is in the past.

So in saying good-bye to 2009 I also applaud my mom for her perseverance to recover and sadly say good-by to my dad. (But I know that I will see him again!)

I am not one for setting big goals at the turn of a new year. I don't plan too far into the future because I am a "take one moment at a time" type of person. I take this minute, hour, day at a time and pray that I get to see the next... and if I don't get to do that I know that there are other people waiting for me in heaven.

So with that said I did not set a weight loss goal, a scrap booking goal, or career goal. I did not make any promises that I can not keep nor did I say I would take on more than what I can handle. I look forward to 2010 with the enthusiasm of a child looking forward to a birthday (although I never look forward to my own birthday.)

I hope to get to continue to scrapbook, spend time with my family and friends, and have a renewed sense of faith.

Here is to 2010 ! ! !

Brenda

Monday, December 21, 2009

Last Minute Gift For Someone Who Has Everything

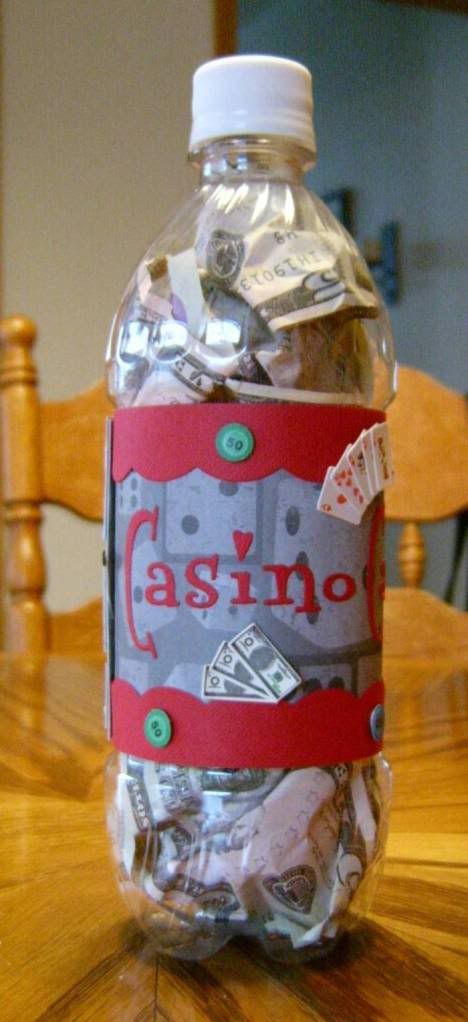
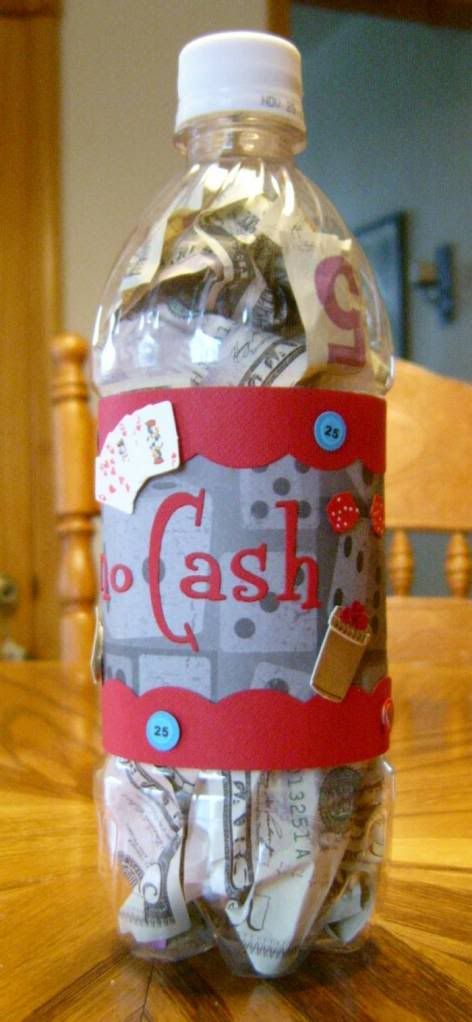
This is a gift for my mom who says she doesn't really want or need anything for Christmas. She hates getting money as a gift but I think the presentation take care of that.

The idea came from Susan at ScrapyLand.com. That woman has more sources and more ideas than Carter has pills. (Okay my age is showing there just a little bit but who cares! She is phenomenal!)

Before I show you my pictures I want to share the link to the ScrapyLand Blog where you can find the video for this project.

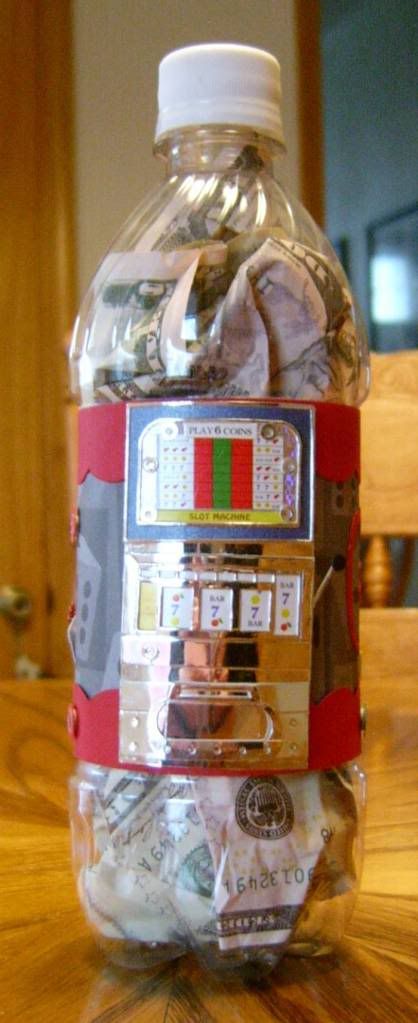
Now with that shared I will say this project changes with the type of water you buy. The bottle I bought was Aquafina and the bottle was shaped a bit differently than that of the one Susan used but it was great because it gave me more surface to work on. I also made my design go all the way around my bottle so that any seems in the paper are hidden. I also took the extra step of gluing the bottom of the bottle back into place so that it is not removable. I want her to work to get the money out of the bottle.

Casino embellishments are somewhat hard to find and I did not want to take time to make the embellishments so I cheated a bit on this project. I bought a Jolee's package but I found that the slot machine was too long so I did what any scrapbooker would do, I used Undo, took it apart, cut it down, reassembled the slot machine removing one full section of the machine which made it the perfect height for my project. I used the retired QuicKutz Katie Font and a QuicKutz Scalloped Border to further embellish the label.

This project didn't take very long to make and I have to say makes receiving money a little bit more fun and gives the recipient something to unwrap, not to mention she is going to have to figure out how to get the money out of the bottle.


There is still time to make a few of these if you have no idea what to buy for someone... and they can be adapted for any theme or interest of the recipient.

Happy Scrappin' ! ! !

Brenda

Sunday, December 20, 2009

Last Minute Gift Card Idea

I am one of those people who always forgets someone (even with a list!) I didn't really forget but I forgot how I was going to present the gift. Yes you guessed it - Gift Cards. I always get my mailman and UPS man a little something to let them know I appreciate them. This year was no different.

I decided to try something new and a little different. I've always loved unique cards where it leaves me saying "how did they do that?"

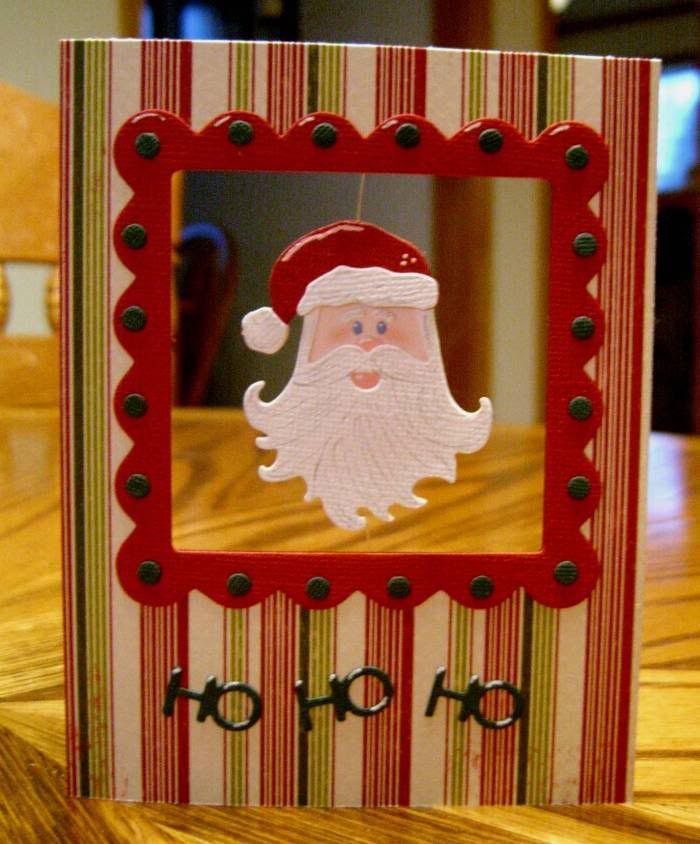
I decided that I wanted to make something suspended on a card but wanted it to double to hold a gift card. So I got busy and here is what I came up with.

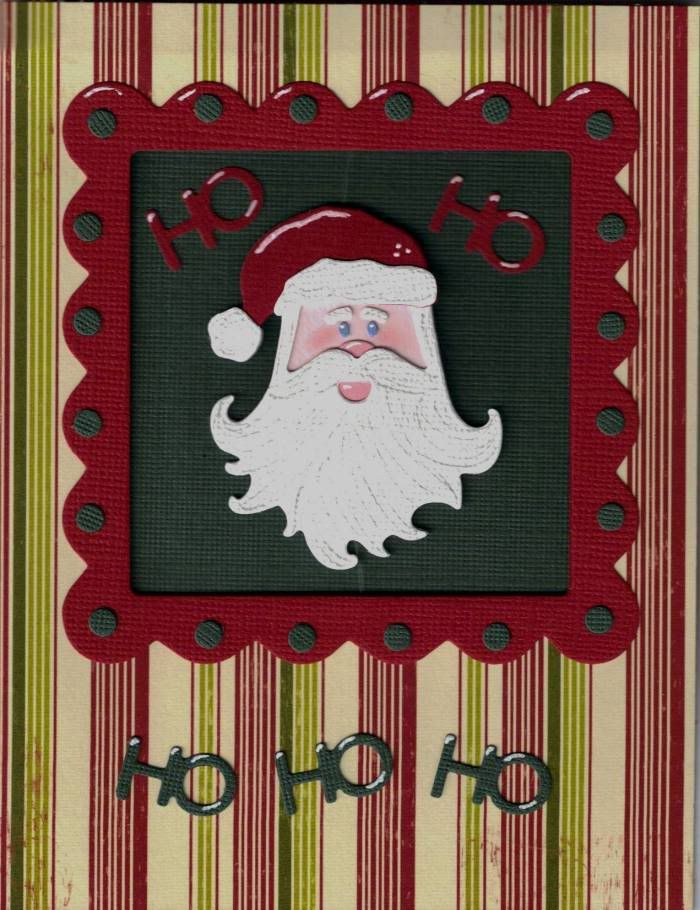
This is the card, closed, as you would pull it out of the envelope:


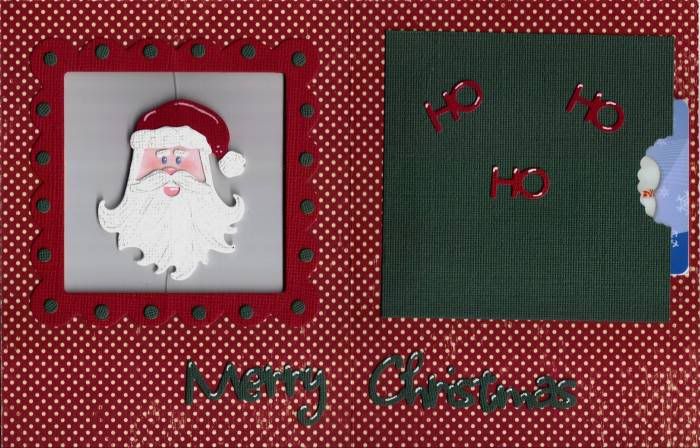
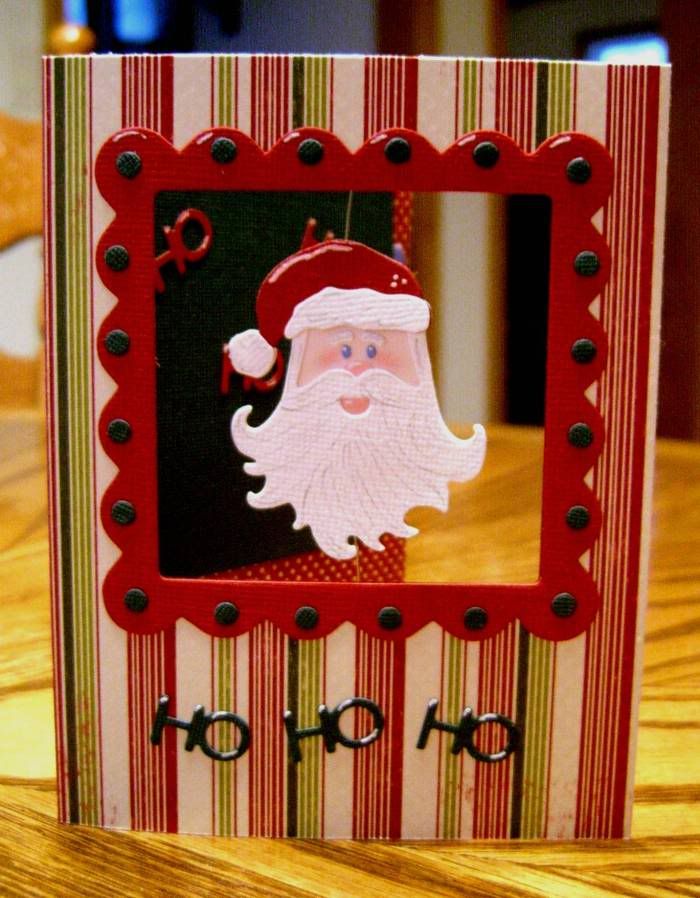
This is of the card open, still pretty plain looking because you can't tell the Santa Face is suspended in an open frame or that the green square on the right side of the card is a pocket that holds a gift card. The Santa is a double sided die cut, and both the front and the inside of the card are finish the same (and I love the fact that printed double-sided cardstock works perfectly for this.)


The next two pictures are the card sitting opening on the table and I think that you can see a little bit better that the Santa head is hanging by fishing line. (My husband never dreamed that I would be getting into his tackle box for scrapbooking supplies.)


I had a lot of fun making these and just think of the possibilities and the other holidays that you could make a card like this for.

Now I am off to make one last Christmas gift before the day gets away from me.

Happy Scrappin' ! ! !

Brenda

Wednesday, December 9, 2009

Dimensions on the Accordion Card

The last post I said if anyone wanted the dimensions for the accordion card to leave a comment and Deborah did.

So here you go......

Cut a piece of cardstock 10 1/2 inches x 8 1/2 inches.

Then the scoring marks will be at 1 1/4 inches, 2 1/2 inches, 4 1/4 inches, 6 inches, and at 8 1/4 inches. (So that the 8 1/2 inches is the length of your card and the 10 1/2 inches is what is scored.)

Then you fold the card back and forth accordion style. and decorate or embellish to your taste.

Because of the size of my card I did have to make a special envelope for it and that envelope was made with gusseted sides and flap.

Happy Scrappin' ! ! !

Brenda
Accordion Card

I love this style of card and I've been waiting to do another one but I needed the right kind of embellishment or die cut to make it work. The other night in bed it hit me that I've had the right die for awhile and just didn't realize it.

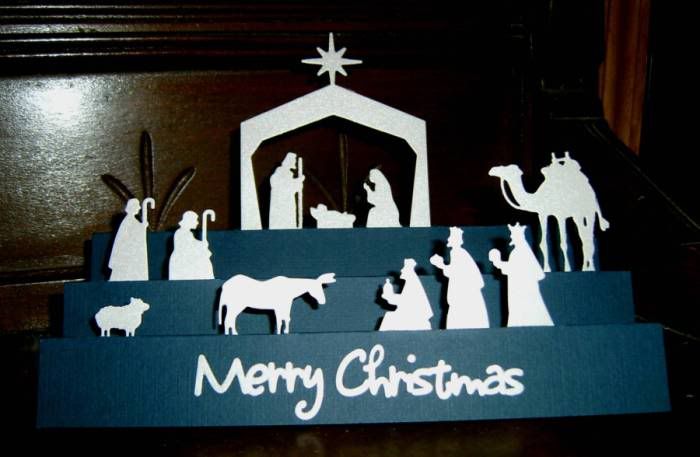
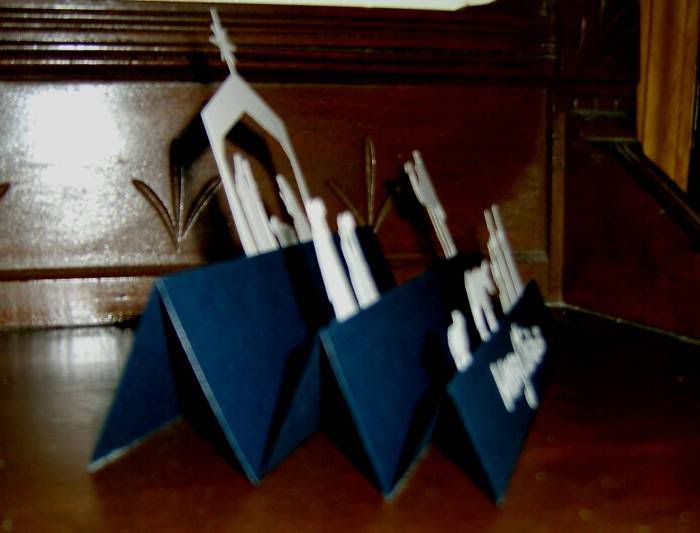
I used a piece of navy blue cardstock and folded it accordion style so that it is graduated in quarter inch stair steps. I then cut out the QuicKutz Nativity Border Die in a pearl white cardstock. I love the simmer of that cardstock, but then cut that border into chunks so that the 3 wise men together , 2 shepherds together and so on. I decided that the manager would be my focal point (what else would be, right?) I put it center on the highest level and then arranged the other pieces so that they would be visible and look 3D when placed on other levels. I put a slit in the fold so that I could tuck the band of the border into the slit so that it was hidden and glued the front of the die to the card.

I also used the QuicKutz Cookie Cutter Sentiments "Merry Christmas" on the front of the card.

When the intended gets the card, and take it out it is a very 3D card that can sit on a table.

I made this card very wide to accommodate the entire nativity border so I had to make my own envelope, but you can adjust the width of the card to fit a standard envelope and you can also adjust what you are using on the card to embellish it so that the height also fits your envelope.


My thought for sharing this with you is that next time that you are ready to make a card, try a new style of card. This Accordion Card is a 3D twist that gives a new look and panoramic feel to a card that is meant to be part of a gift or greeting.

If you are interested in the dimensions leave a comment and I will be happy to post those as well.

Happy Scrappin' ! ! !

Brenda
Monday, December 7, 2009

Where There's A Will....

We've all seen them, and we've wondered they are so small what do we do with them. I am referring to the mini acrylic albums. These tiny little things are about 4 inches tall, some of them not even that and they are even less wide. I was perplexed.

Recently I went to an event at a local scrapbook store and they hosted a make and take using these mini albums as individual pieces and they had us use the "Sizzix Texture Boutique Embossing Machine." I have to admit my personal opinion on this machine is that is wasn't worth the time it took to manufacture it. When I did the make and take, my piece did not emboss at all and others around me were having the same problem. We were all disappointed in the overall make and take that they were showing us. It is my opinion that if someone is going to teach you to do something that it should be well executed. This one was not. I do not know if it was the machine, the person running the make and take, or a faulty embossing folder.
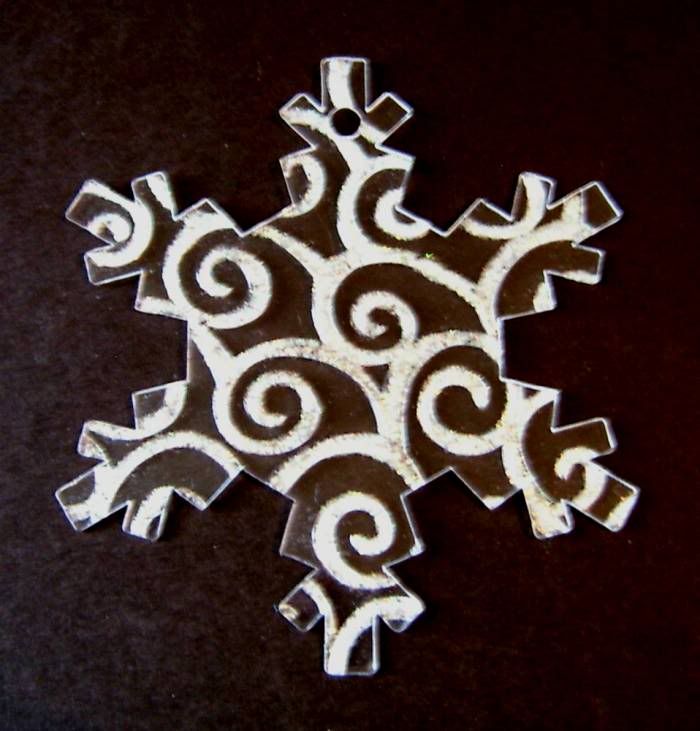
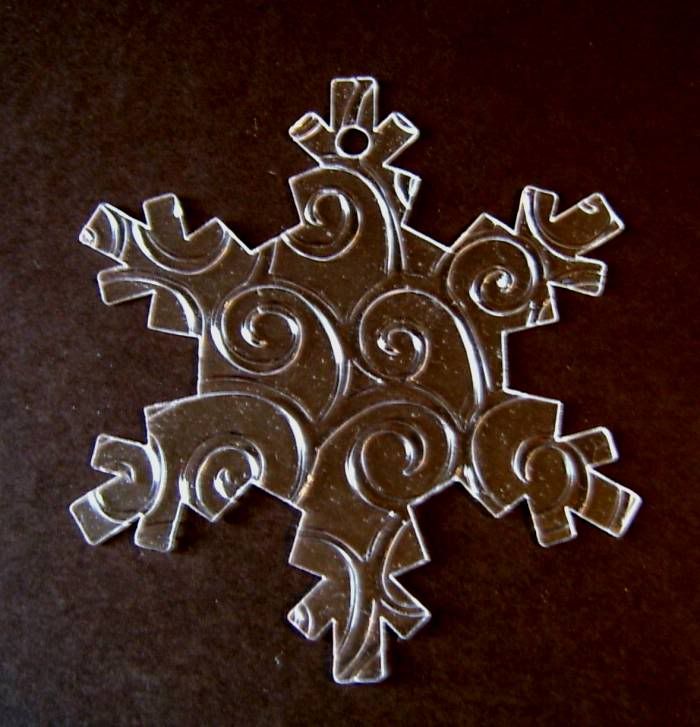
With that said where there is a will there is a way. So I bought a package of the acrylic blanks and came home and started playing with my QuicKutz Epic 6 Machine and a Cuttlebug Embossing Folder. The results were much different that what I saw with the Sizzix machine. I got perfect results with deep, beautiful embossing the first pass through the machine.

So I played a little more and decided instead of using a "glimmer mist" product to color the back side of the piece as they did during the make and take, I would use "Stickles" to highlight the embossed part of the piece to give it even more depth. I love the results.

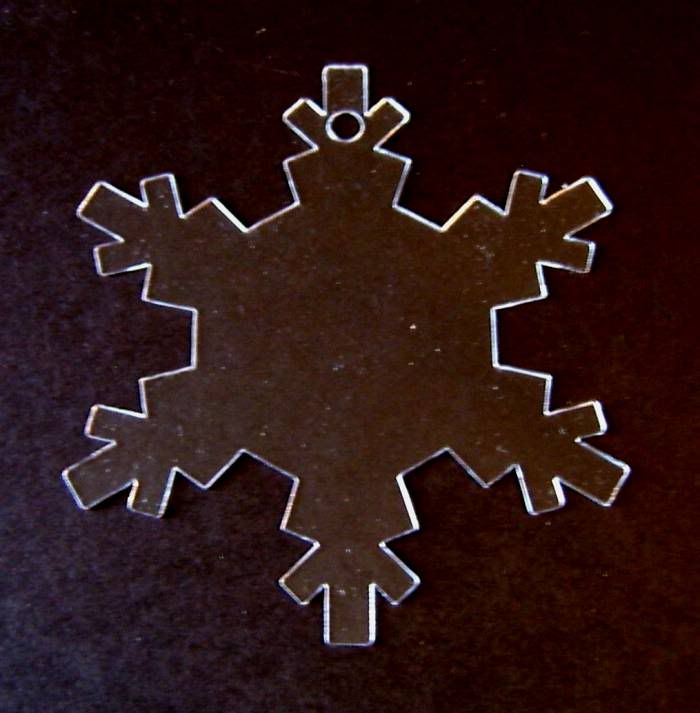
Here is a step by step look at a blank, an embossed piece, and an embossed "Stickled" piece:


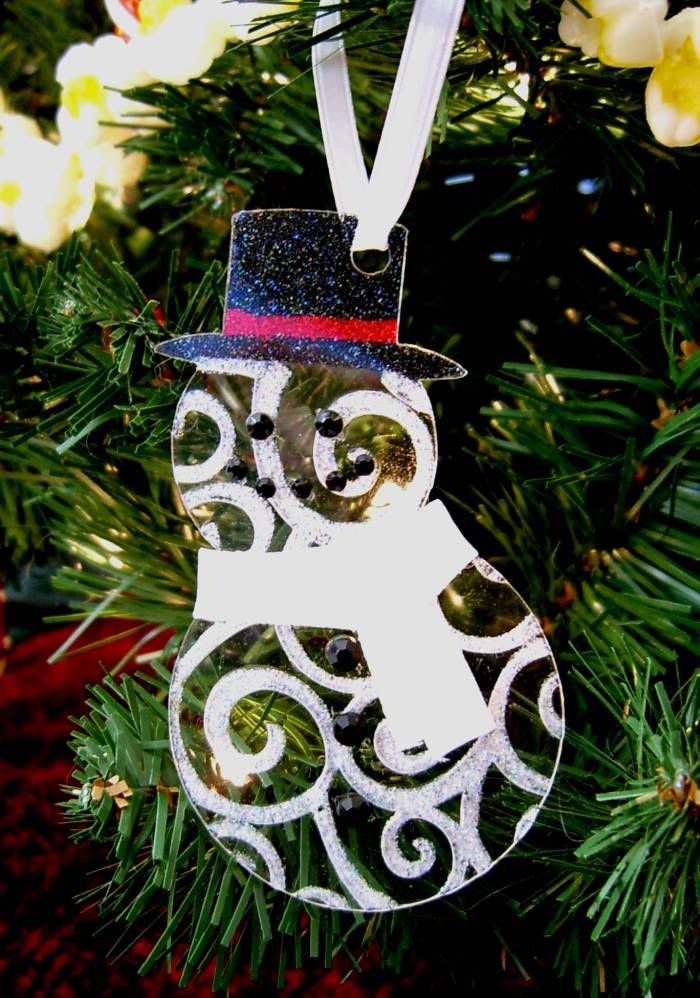
Then I played a little more with another shaped acrylic album, the snowman. I put him in the embossing folder from the brim of his hat down, used "Stickles" on the back of the snowman's hat making sure to put a ribbon of another color across it. I also used "Stickles" in the embossing channels on the back of the snowman, and after allowing that to dry, added some different sized jewels for eyes, a mouth, and buttons, and a piece of ribbon for a scarf around his neck.


I won't leave you hanging with out more detailed instructions. When I told others of my results they didn't believe me so I did a video proving that I used my QuicKutz Epic 6 Machine to do it.


I don't know if I would have tried using these acrylic blanks in my machine if I had not seen them do it in the Sizzix machine in the store first because let's face it sometimes I am a little chicken. (I have broken not one, not two, but three Revolution tools and learned not to be such a dare devil.)

Enjoy this Christmas season and use a few of those acrylic blanks to deck the halls.

Happy Scrappin' ! ! !

Brenda