My Family Scrapbook

Monday, December 21, 2009

Last Minute Gift For Someone Who Has Everything

This is a gift for my mom who says she doesn't really want or need anything for Christmas. She hates getting money as a gift but I think the presentation take care of that.

The idea came from Susan at ScrapyLand.com. That woman has more sources and more ideas than Carter has pills. (Okay my age is showing there just a little bit but who cares! She is phenomenal!)

Before I show you my pictures I want to share the link to the ScrapyLand Blog where you can find the video for this project.

Now with that shared I will say this project changes with the type of water you buy. The bottle I bought was Aquafina and the bottle was shaped a bit differently than that of the one Susan used but it was great because it gave me more surface to work on. I also made my design go all the way around my bottle so that any seems in the paper are hidden. I also took the extra step of gluing the bottom of the bottle back into place so that it is not removable. I want her to work to get the money out of the bottle.

Casino embellishments are somewhat hard to find and I did not want to take time to make the embellishments so I cheated a bit on this project. I bought a Jolee's package but I found that the slot machine was too long so I did what any scrapbooker would do, I used Undo, took it apart, cut it down, reassembled the slot machine removing one full section of the machine which made it the perfect height for my project. I used the retired QuicKutz Katie Font and a QuicKutz Scalloped Border to further embellish the label.

This project didn't take very long to make and I have to say makes receiving money a little bit more fun and gives the recipient something to unwrap, not to mention she is going to have to figure out how to get the money out of the bottle.
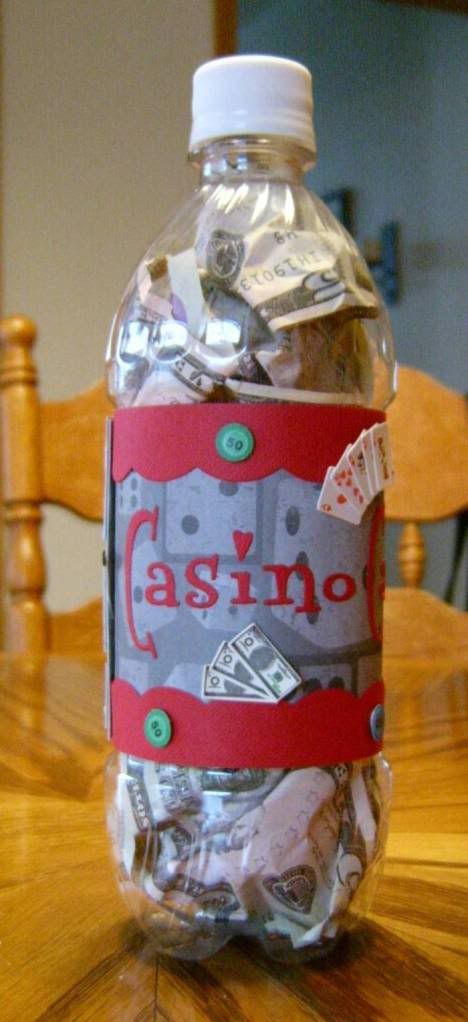
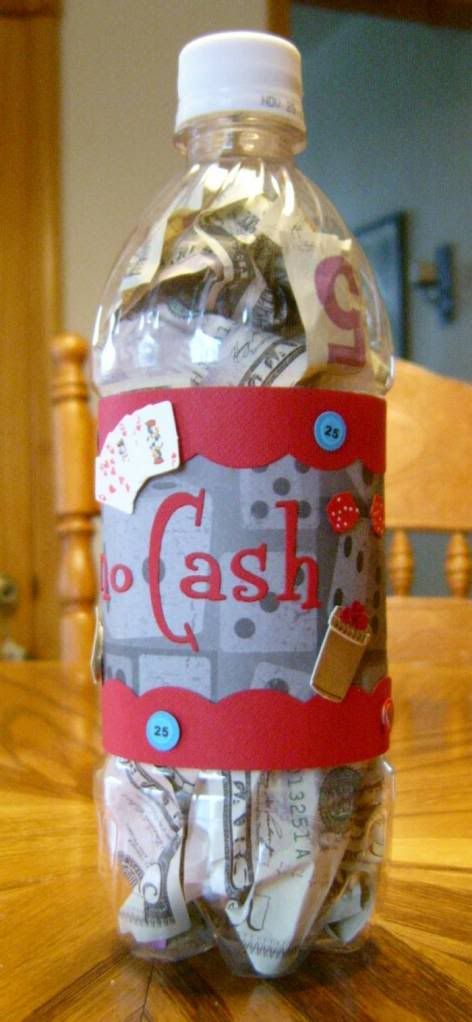
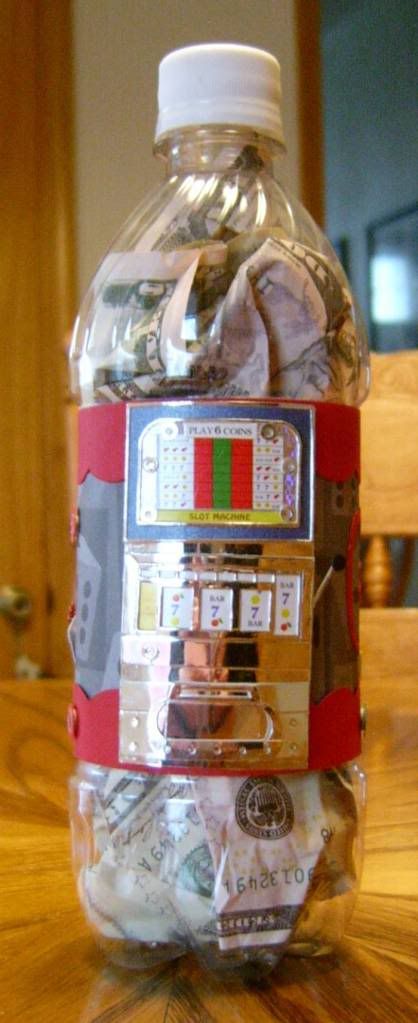


There is still time to make a few of these if you have no idea what to buy for someone... and they can be adapted for any theme or interest of the recipient.

Happy Scrappin' ! ! !

Brenda

Sunday, December 20, 2009

Last Minute Gift Card Idea

I am one of those people who always forgets someone (even with a list!) I didn't really forget but I forgot how I was going to present the gift. Yes you guessed it - Gift Cards. I always get my mailman and UPS man a little something to let them know I appreciate them. This year was no different.

I decided to try something new and a little different. I've always loved unique cards where it leaves me saying "how did they do that?"

I decided that I wanted to make something suspended on a card but wanted it to double to hold a gift card. So I got busy and here is what I came up with.

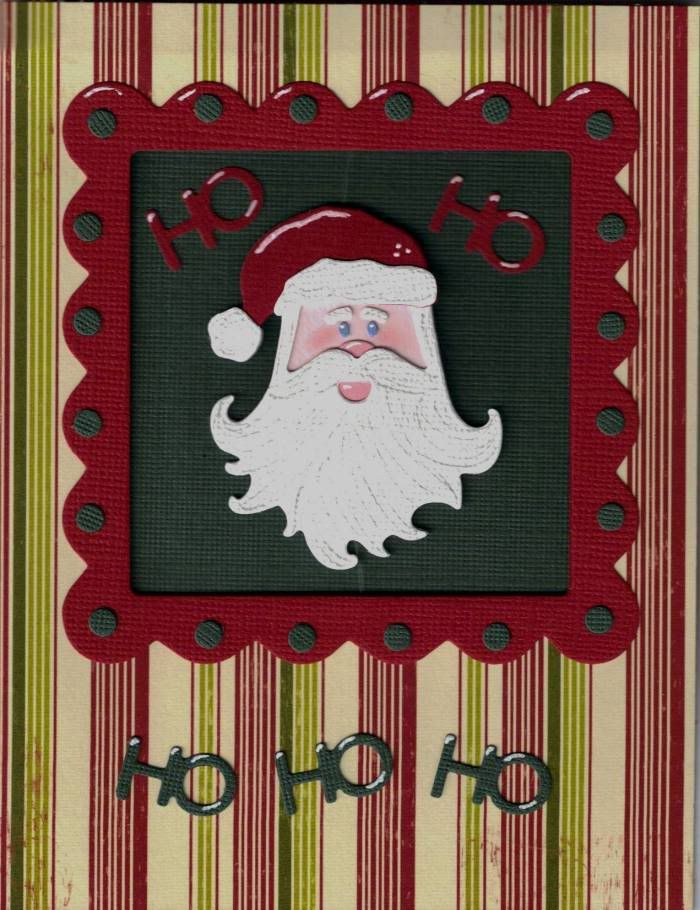
This is the card, closed, as you would pull it out of the envelope:


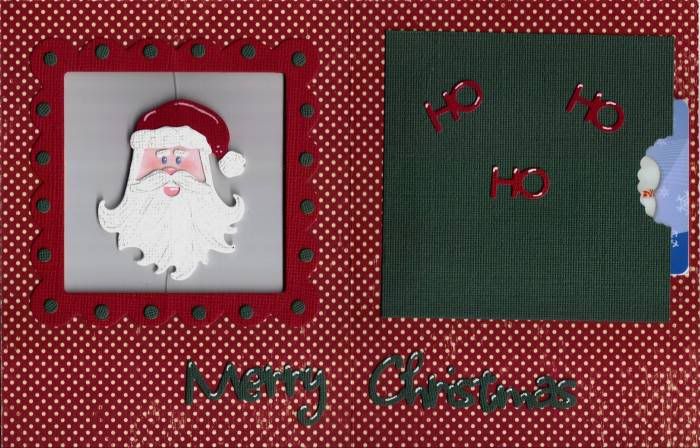
This is of the card open, still pretty plain looking because you can't tell the Santa Face is suspended in an open frame or that the green square on the right side of the card is a pocket that holds a gift card. The Santa is a double sided die cut, and both the front and the inside of the card are finish the same (and I love the fact that printed double-sided cardstock works perfectly for this.)


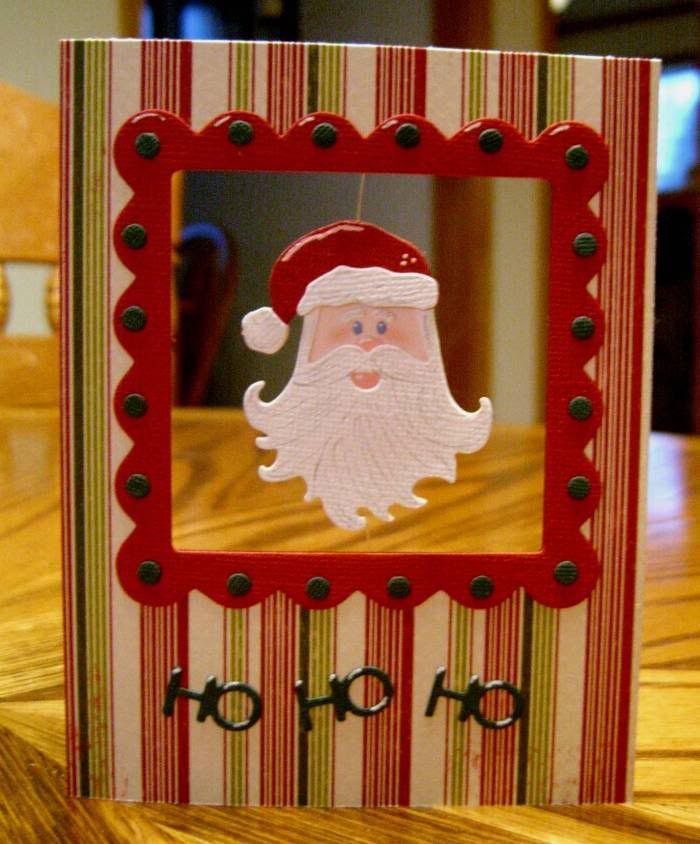
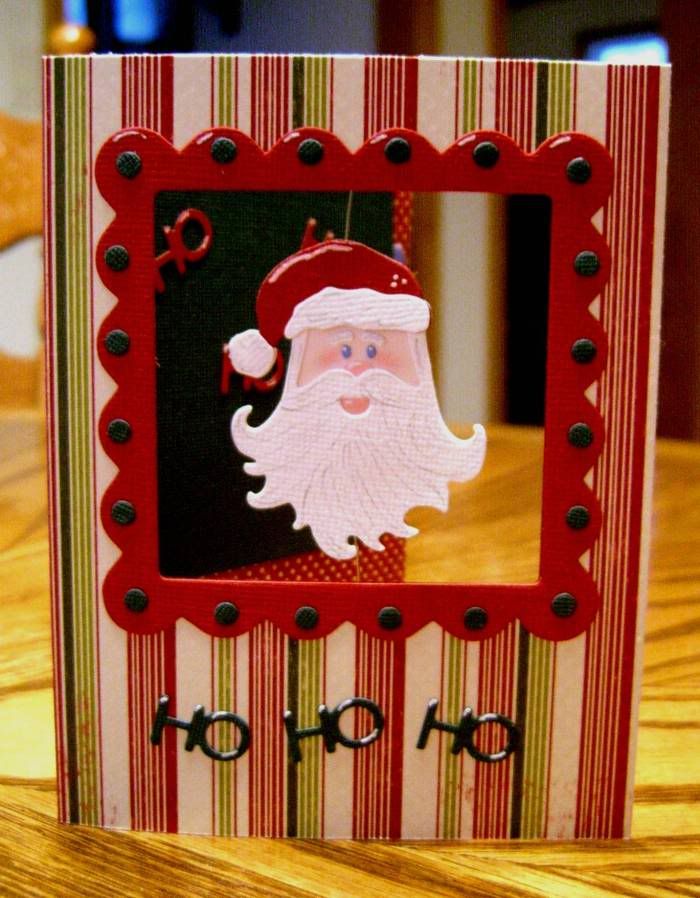
The next two pictures are the card sitting opening on the table and I think that you can see a little bit better that the Santa head is hanging by fishing line. (My husband never dreamed that I would be getting into his tackle box for scrapbooking supplies.)


I had a lot of fun making these and just think of the possibilities and the other holidays that you could make a card like this for.

Now I am off to make one last Christmas gift before the day gets away from me.

Happy Scrappin' ! ! !

Brenda
Wednesday, December 9, 2009

Dimensions on the Accordion Card

The last post I said if anyone wanted the dimensions for the accordion card to leave a comment and Deborah did.

So here you go......

Cut a piece of cardstock 10 1/2 inches x 8 1/2 inches.

Then the scoring marks will be at 1 1/4 inches, 2 1/2 inches, 4 1/4 inches, 6 inches, and at 8 1/4 inches. (So that the 8 1/2 inches is the length of your card and the 10 1/2 inches is what is scored.)

Then you fold the card back and forth accordion style. and decorate or embellish to your taste.

Because of the size of my card I did have to make a special envelope for it and that envelope was made with gusseted sides and flap.

Happy Scrappin' ! ! !

Brenda
Accordion Card

I love this style of card and I've been waiting to do another one but I needed the right kind of embellishment or die cut to make it work. The other night in bed it hit me that I've had the right die for awhile and just didn't realize it.

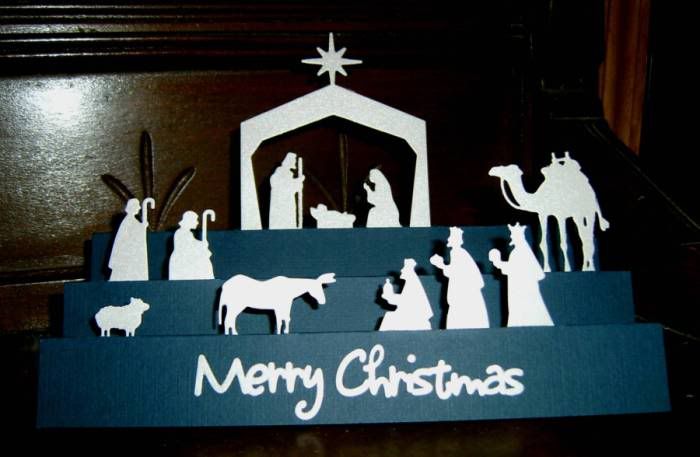
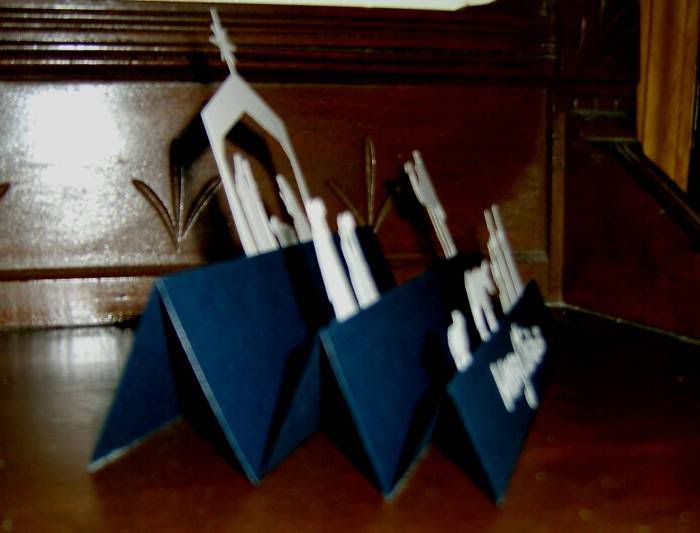
I used a piece of navy blue cardstock and folded it accordion style so that it is graduated in quarter inch stair steps. I then cut out the QuicKutz Nativity Border Die in a pearl white cardstock. I love the simmer of that cardstock, but then cut that border into chunks so that the 3 wise men together , 2 shepherds together and so on. I decided that the manager would be my focal point (what else would be, right?) I put it center on the highest level and then arranged the other pieces so that they would be visible and look 3D when placed on other levels. I put a slit in the fold so that I could tuck the band of the border into the slit so that it was hidden and glued the front of the die to the card.

I also used the QuicKutz Cookie Cutter Sentiments "Merry Christmas" on the front of the card.

When the intended gets the card, and take it out it is a very 3D card that can sit on a table.

I made this card very wide to accommodate the entire nativity border so I had to make my own envelope, but you can adjust the width of the card to fit a standard envelope and you can also adjust what you are using on the card to embellish it so that the height also fits your envelope.


My thought for sharing this with you is that next time that you are ready to make a card, try a new style of card. This Accordion Card is a 3D twist that gives a new look and panoramic feel to a card that is meant to be part of a gift or greeting.

If you are interested in the dimensions leave a comment and I will be happy to post those as well.

Happy Scrappin' ! ! !

Brenda
Monday, December 7, 2009

Where There's A Will....

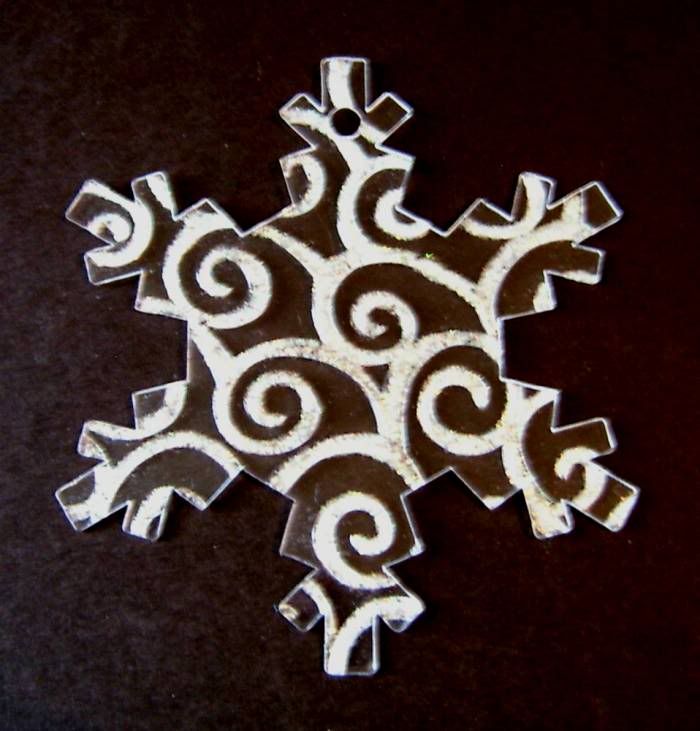
We've all seen them, and we've wondered they are so small what do we do with them. I am referring to the mini acrylic albums. These tiny little things are about 4 inches tall, some of them not even that and they are even less wide. I was perplexed.

Recently I went to an event at a local scrapbook store and they hosted a make and take using these mini albums as individual pieces and they had us use the "Sizzix Texture Boutique Embossing Machine." I have to admit my personal opinion on this machine is that is wasn't worth the time it took to manufacture it. When I did the make and take, my piece did not emboss at all and others around me were having the same problem. We were all disappointed in the overall make and take that they were showing us. It is my opinion that if someone is going to teach you to do something that it should be well executed. This one was not. I do not know if it was the machine, the person running the make and take, or a faulty embossing folder.

With that said where there is a will there is a way. So I bought a package of the acrylic blanks and came home and started playing with my QuicKutz Epic 6 Machine and a Cuttlebug Embossing Folder. The results were much different that what I saw with the Sizzix machine. I got perfect results with deep, beautiful embossing the first pass through the machine.

So I played a little more and decided instead of using a "glimmer mist" product to color the back side of the piece as they did during the make and take, I would use "Stickles" to highlight the embossed part of the piece to give it even more depth. I love the results.

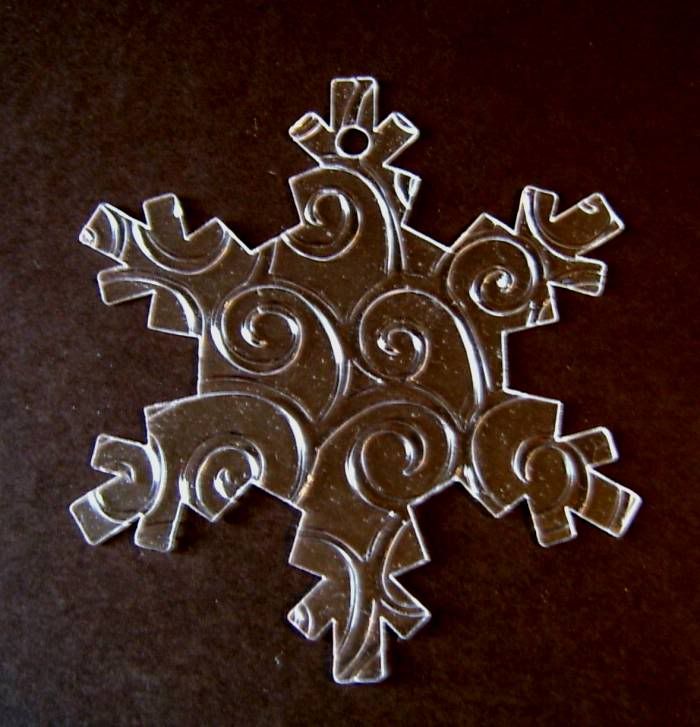
Here is a step by step look at a blank, an embossed piece, and an embossed "Stickled" piece:


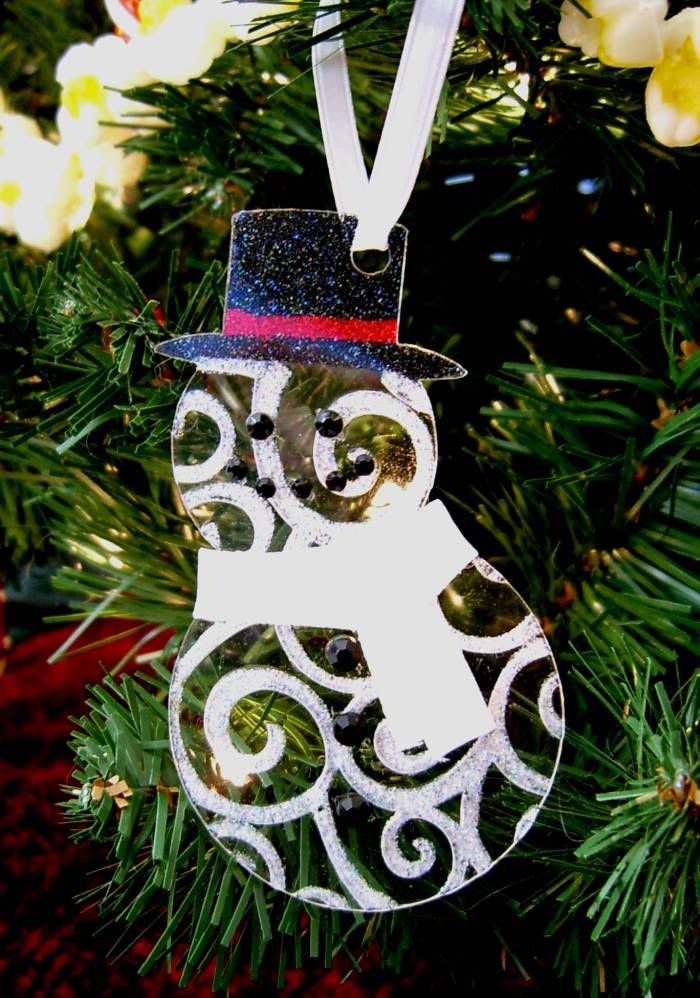
Then I played a little more with another shaped acrylic album, the snowman. I put him in the embossing folder from the brim of his hat down, used "Stickles" on the back of the snowman's hat making sure to put a ribbon of another color across it. I also used "Stickles" in the embossing channels on the back of the snowman, and after allowing that to dry, added some different sized jewels for eyes, a mouth, and buttons, and a piece of ribbon for a scarf around his neck.


I won't leave you hanging with out more detailed instructions. When I told others of my results they didn't believe me so I did a video proving that I used my QuicKutz Epic 6 Machine to do it.


I don't know if I would have tried using these acrylic blanks in my machine if I had not seen them do it in the Sizzix machine in the store first because let's face it sometimes I am a little chicken. (I have broken not one, not two, but three Revolution tools and learned not to be such a dare devil.)

Enjoy this Christmas season and use a few of those acrylic blanks to deck the halls.

Happy Scrappin' ! ! !

Brenda
Monday, November 30, 2009

A Flood Of Emails

Okay, I think I will just answer the question here because I've had so many emails about the subject.

To answer the first question - Yes, ScrapyLand.com is having an open call for the first ever Design Team and it is ground breaking. The details were posted on the ScrapyLand Blog and time is running out. If you are interested enter today.

To answer the second question - NO, I am not trying out for this team. I will continue to send Susan, the ScrapyLand Blog Master projects, videos, and other ideas, emails and such but I have no desire at this point to be on another Design Team.

I love ScrapyLand, Susan, and Dani. I love working with them but with my hectic schedule I do not have the time, the energy, or the desire to spread myself that thin.

Like I said I will continue to create and send stuff to Susan and you can always find my crafting projects here on my personal blog because I am in no way giving up crafting, I am just taking a step back and slowing down to enjoy my family and friends and to do things at my own pace.

Happy Scrappin' ! ! !

Brenda
Friday, November 27, 2009

Cheer Up!

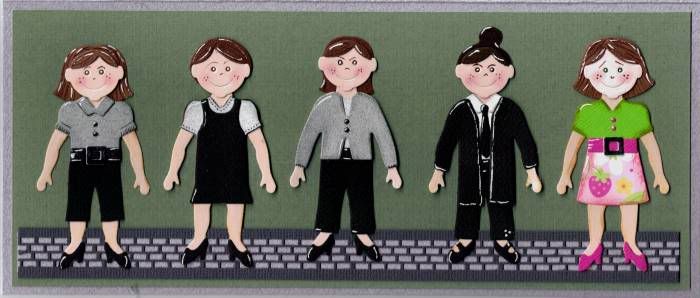
I am still playing with the QuicKutz Paper Doll release. I love the small dolls and the fact that they can be used on cards and lay outs plus they can be made made to look like the person who is showcased on the project.

When I first got that release the first thing I thought about is how this one person always supports me. She stands out in a crowd. Regardless of what others are doing she always does her own thing and says what is on her mind. I love that in her. So I started to think about how other pale in comparison and this is what I came up with.


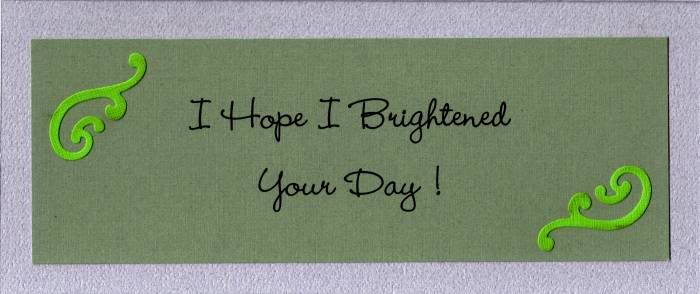
This card fits in a legal size envelope, so it is a bit bigger than your average card but I wanted her to know she is bigger in my world than most people.

My challenge to you today is for you to brighten someones day by making a card made specially for them, about them. Let them know that you are thinking about them and how big they are in your world. They may have no idea.

Happy Scrappin' ! ! !

Brenda
Friday, November 13, 2009

Winter and Christmas Is Just Around The Corner

Before long it will be snowing and we will all be Christmas Shopping. I hope that you will take time to make a few of your gifts this year and get back to a more simple time. I think that so often we lose site of the meaning of Christmas because it gets lost in all of the hustle and bustle.

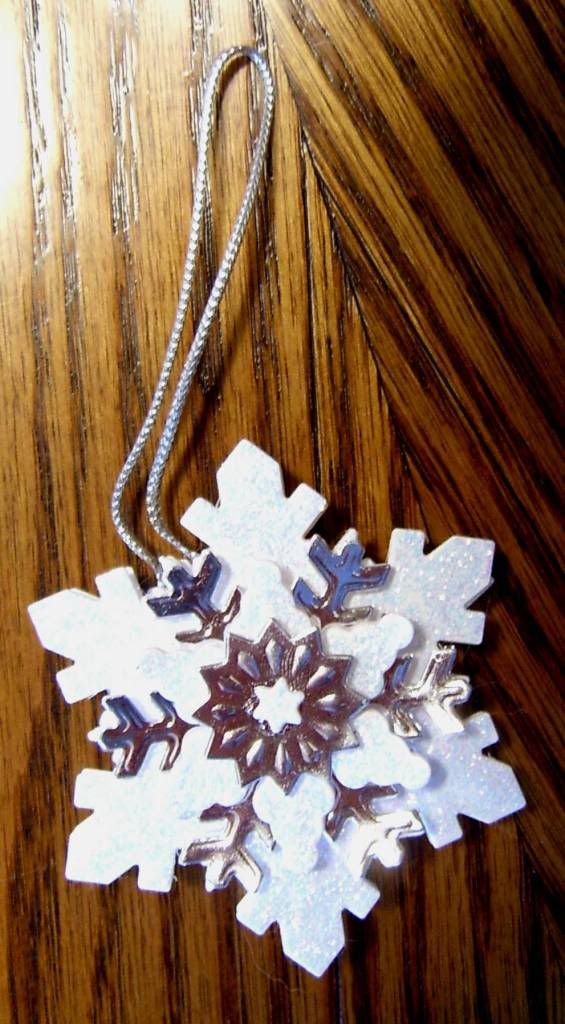
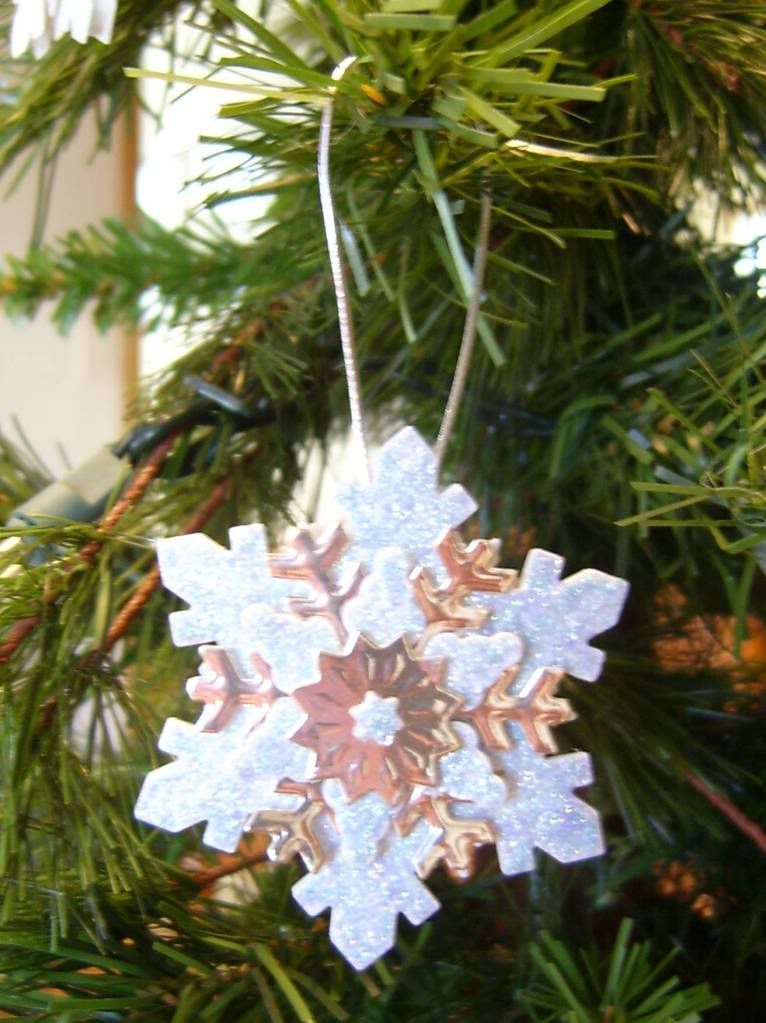
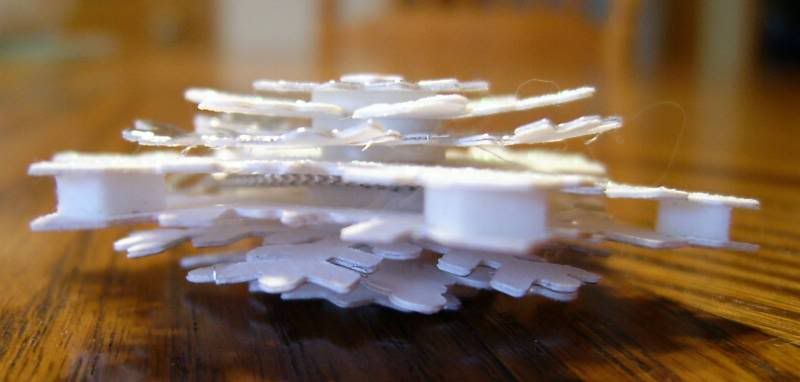
Each year I make family and friends a Christmas Tree ornament and this year is no exception. I used a set of the newly released Spellbinder Dies to create this 3D Snowflake Ornament that is perfect for gift giving. And if you think it is too cheap to give as a gift us it instead of a bow on a package and the person gets an extra little gift.

Here is a white one:


A Blue one:


The side view of it (so you can see the 3D aspect of it):


And then if you would like to know how they were made here is a video:


A little side note for the video, I did forget to include one step when I was going through the cutting of the Spellbinder dies. After you cut the dies, emboss them, then Stickle the white ones, let them dry and proceed putting them together. They are pretty either way but the embossing adds a little touch to them.

I hope that all of you will get back to basics this holiday season and use some of your talents to make a few of your party favors or gifts, enjoy the meaning of Christmas with family and friends and simplify.

Happy Scrappin' ! ! !

Brenda
Wednesday, November 11, 2009

So Many People Sick

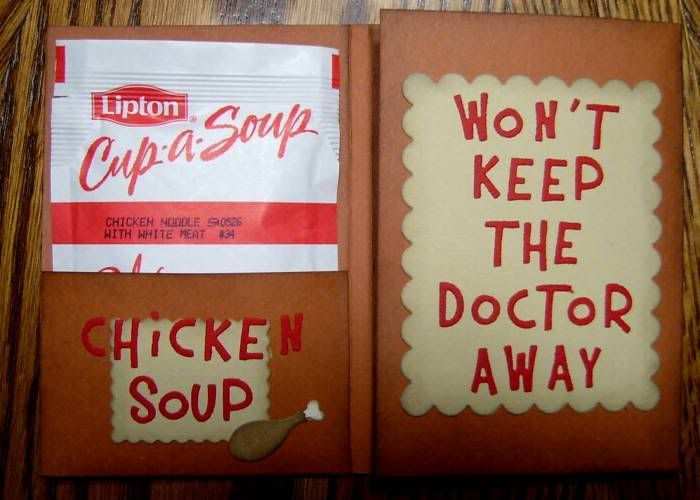
I know so many people who are sick. The flu has everyone staying at home. This got me to thinking what is the best way to fight the flu or the cold.... soup and hot tea. But how in the world do you send soup and tea to someone? I figured it out.

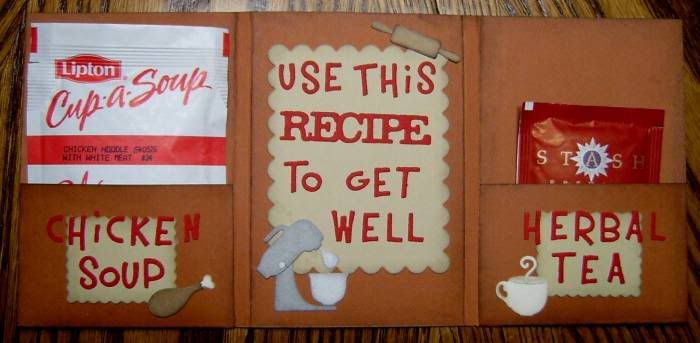
Make this tri-fold pocket card and add a packet of "Cup-Of-Soup" mix in one side and a tea bag in the other. It won't cure the flu but it will let someone special know that you are thinking of them.

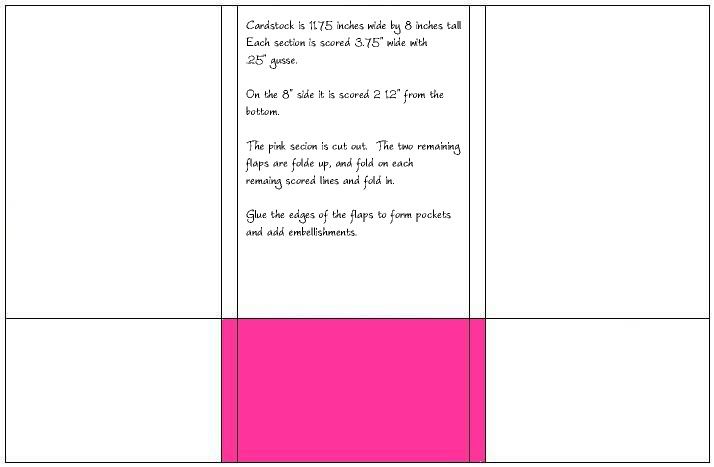
I have included my template with measurements on how I made this card.

The front of the card:


Then a picture of it with one flap open:


And then both of the flaps open:


I you would like to make this Get Well Card here is a template that will help you with measurements and score lines.


The new QuicKutz dies that accompany the new Santa's Workshop Gift set were perfect for this project and would also be great for embellishing a recipe book or card.

I hope that you will try to brighten the day of someone who is not feeling good with a little hot soup and tea.

Happy Scrappin' ! ! !

Brenda
Monday, November 9, 2009

Epic 6 Machine and Free Die

When I got my new Epic 6 QuicKutz machine I was so excited but my machine was one of the first ones made and I've had a few problems with it. I wrote QKs a note and they are going to fix my machine but they said it will be about 2 months. So I have set aside the Epic 6 machine and I am back to using my Revolution Tool.

I still love the thought of bigger dies.

When I received my free exclusive die from a rebate offer that QKs had, I shimmed it and decided to try to use it. After several tries it cut. I just had to use the beautiful pieces. I scraplifted this card idea from Susan at the ScrapyLand Blog.


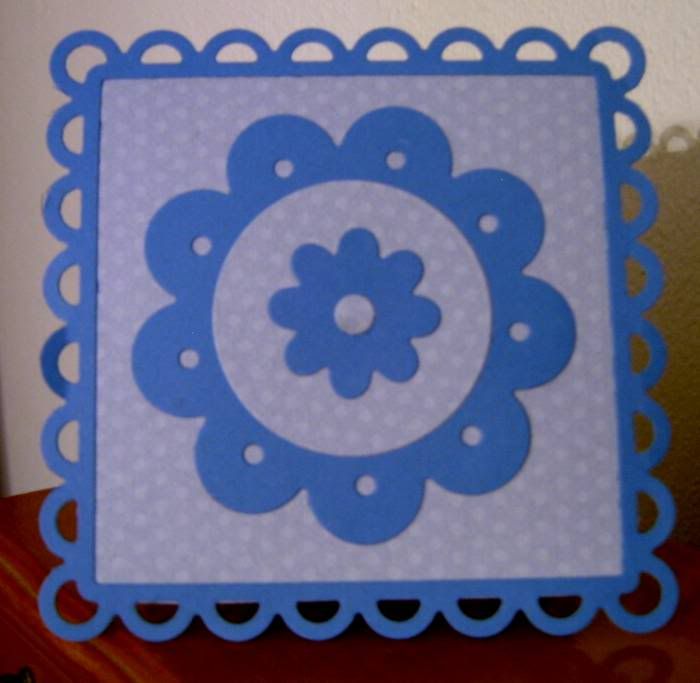
The card part of the card is the size of the inside of the frame so the front of the card is actually bigger so that you can see through the lacy edges. I love something a little different and not so traditional.

The frame would be a beautiful frame for a scrapbook lay-out and the flowers and accent pieces would be great for embellishments.

Look around and see what you can scraplift when you are stuck for an idea.

Happy Scrappin' ! ! !

Brenda