My Family Scrapbook

Wednesday, January 25, 2012

Valentine Cards

Last year I made a few Valentine Boxes for my CCD class. I used little Love Bugs on the front of the boxes.

Here is a picture of that project:

Photobucket

I had a few of those bees left over and decided that I would get out an edge punch and make a few cards.

Photobucket

I also had some scraps of other cardstock the perfect size to use for another card. This one is all punched. Again I tell you that I do not like traditional colors for holidays. Everyone thinks that green and red together screams Christmas, with the hearts this screamed "I Love You."

Photobucket

If you have a few extra of something after you finish a project, don't discard them, store them and an idea will pop up out of thin air.

Happy Scrappin' ! ! !

Brenda

Monday, January 23, 2012

Small Town Stores

I've always loved the small town stores that carry hand made items. My sister used to have one such store. I loved making things for her store. It was a way for me to make a few extra dollars and just share those fun things I would make. I would crochet baby sweater sets and afghans, fillet crochet name frames, make wooden items, custom framed wedding invitations and many other handmade items. It never crossed my mind to do paper items.

Two weeks ago I was approached about making banners for a small store in a neighboring community, Grafton, IL. The boutique owner showed me a couple of photos of banner that she liked and asked me if I could make something similar.

These banners are all over the Internet. They are being sold on various sites and some are all hand-crafted while others are cut triangles with computer generated letters attached. Either way I thought long and hard about doing these banners as I am a busy working mother and wife with very little time to craft the things I want to make but I decided to give this a try.

The first banner that the owner wanted was a "Happy Valentine's Day" banner done in traditional red and pinks.

I am anything but traditional about pure red and pink for Valentine's day. I am a "dirty" scrapbooker. I don't mean that the way it sounded... I am honest about if something is scrap-lifted or where the inspiration for an idea comes from. What I mean by "dirty" is that I ink almost everything. I can't help myself. I like it when things look "dirty." I also love muted colors and a mix of colors that has nothing to do with a theme. I like mismatched patterns but also don't like it when patterns and colors clash.

Here is what I came up with for the "Happy Valentine's Day" banner that is now hanging and for sale in the Pixie Stix in Grafton, IL.

Photobucket

Photobucket

Photobucket

Photobucket

Photobucket

I don't think that making these banners will turn into a full time money maker but I am doing custom orders for the store owner and making other holiday banners as the holiday arises.

Sometimes an opportunity will present itself and unless you give it a try you will always ask "what if" ... be bold, be willing to try something new, and be willing to share your craft.

Happy Scrappin' ! ! !

Brenda

Friday, January 20, 2012

Thank You Notes

I always try to send thank you notes for gifts, special things people have done for me, or just for the many prayers that I have received. I want the thank you not to convey my appreciation so I hand make most of my note cards.

I am always looking for new ideas and I generally find many ideas and inspiration on a website called "Pinterest."

This first card is a scrap-lifted idea from that site. I love how these cards turned out. They were very easy and even though mine are not an exact duplicate they are very close to the original.

Photobucket

Photobucket

I also made a very "retro" looking card that was for a co-worker who gave me a bottle of hand lotion that had peace signs and "flower power " flowers on the label. I love the lotion and wanted the card to be linked to the gift.


Photobucket

Although the first thank you note was a scrap-lift, the second one is original inspired by the label on the gift. Inspiration can be anywhere at any time. Keep your eyes and mind open for those ideas.

Happy Scrappin' ! ! !

Brenda

Wednesday, January 18, 2012

Tiggers Bounce

I always remember that line when I think about Tigger.

A couple of weeks ago a friend of mine called and needed 20 Tigger heads but they could only be 2" wide by 3" long. I have the Pooh and Friends Cricut Cartridge and I have never used it and thought it was time to break the seal on it.

I know from experience that the smaller you cut the characters from the Cricut cartridges the smaller all off the overlay pieces and the harder it is to make them but I am up for the challenge.

I used all Bazzill Cardstock to make these little guys. The only thing that I added to them was little touches of white gel pen. I can't leave things like that alone.

Photobucket

20 of these were put into the mail and sent to my friend Vicky. She emailed me when she received them and told me they were perfect for her task at hand. I was happy to do them for her.

I am always willing to share with others... you never know when you will need a little help yourself. Besides, it was fun to use one of my cartridges that I had never played with before.

Happy Scrappin' ! ! !

Brenda

Monday, January 16, 2012

Birthday Gifts In Candy Form

I love to get a hand-made gifts and I know a few other people who feel the same way. There is something about knowing that the person giving the gift took a lot of time and put thought into the gift.

My God-Children, Karlie and Sean each just celebrated their birthdays. In fact they were born on the same day, but years apart. I wanted them to know that I was thinking of them on their birthday but didn't have a lot of money to spend on a gift and I needed to be able to mail it to them.

These "pocket cards" seem to be the perfect gift for them.

Karlie is my God-Daughter and turned 17. She is a beautiful girl and is a stylish diva. So what better than a little cheetah print for a teen. The new Basic Grey line was perfect for this because on the reverse side is a black and tan stripe.

I made the outside of hers look like a billfold with a rosette accent.


Then you open the "purse" there the largest candy bar that I could find, wrapped with the same cheetah print paper with a contrasting paper as a label with her name. I carefully folded the papers to make a "pocket" to slide the candy bar.


Knowing my God-Daughter she loved the prints and candy.


For my God-Son, it was music all the way. I tried to find video game paper but I came up empty so music was a close second. His was a little simpler. Since he was turning 13 I just added his age.


The folds for both were the same.... and the same concept with adding the name.


I am sure he appreciated that I remember his birthday as well.


Even though I could not be with my God-Children on their birthdays they know I put a lot of thought into sending them a gift.

If all else fails send candy! Just use a little craftiness with the wrappers to dress it up.

Happy Scrappin' ! ! !

Brenda

Wednesday, November 23, 2011

This Was A "Must" For Me

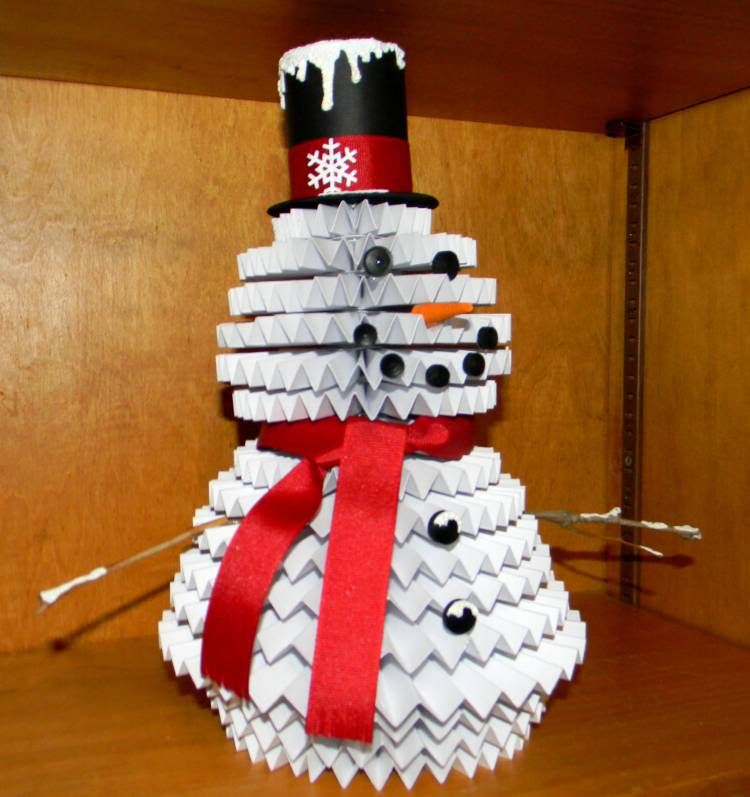
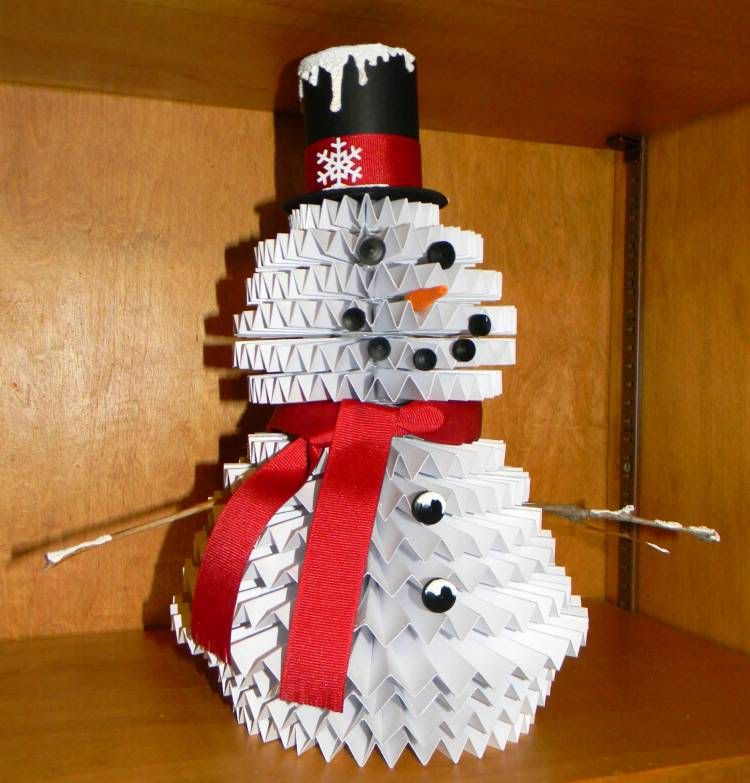
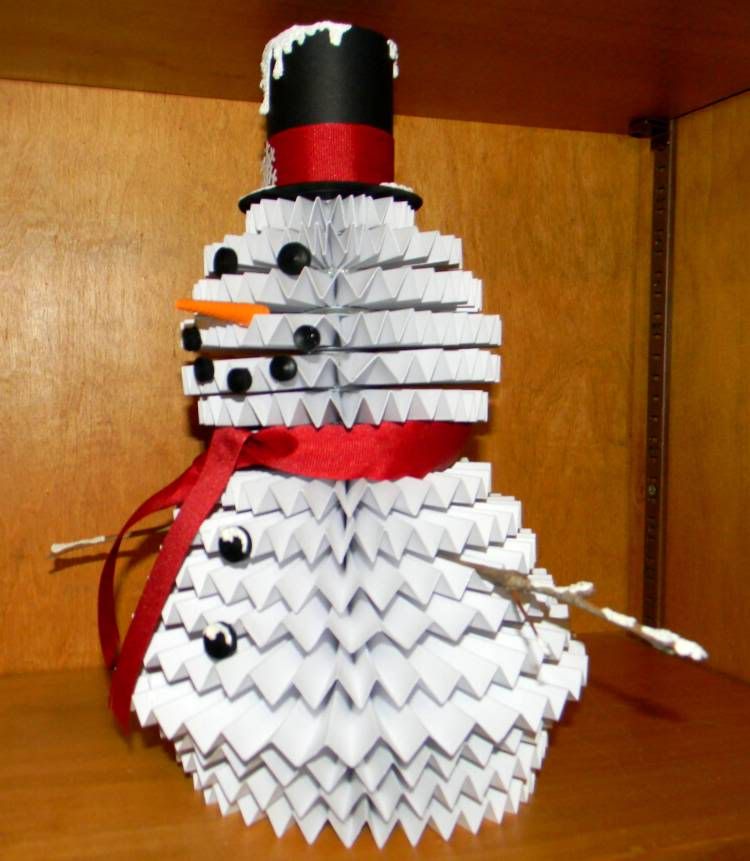
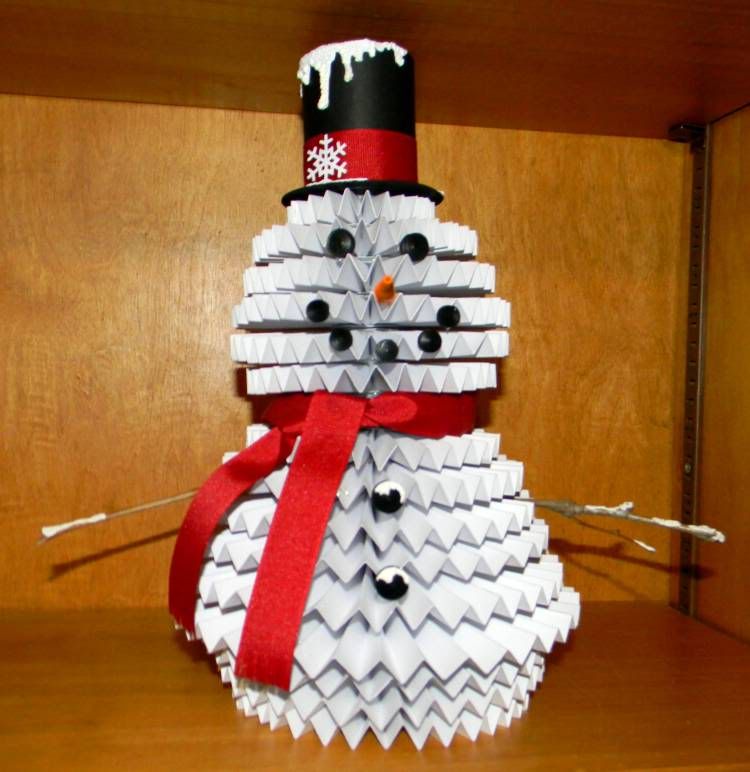
When I got an recent Archiver's email I went a little "ga-ga" over this little snowman. I could not wait to try to make him. It reminded me of technique I did as a child and used an old Reader's Digest and folded the pages to create an accordion type Christmas Tree, Snowman, or Santa head. This is a little different because this is "rosettes" that are stacked to form the shape and then other parts that are formed, quilled, or punched for accents.

I did take mine a step farther and added a "music button" to mine that plays "Frosty The Snowman." (Something I happened to have on-hand.)

This was not hard to make, it only took cardstock, patience, and time to complete.

Here is my finished snowman:


Archiver's had a pattern for a pumpkin, Christmas Tree, and Snowman. All of them using the same technique to make.... all of them simple.... and all of them a great decoration or gift.

I can not re-post the pattern because it is not mine to give BUT I will link you to the Archiver's site. Click Here for the Link!

And you are ready to go! I had all of the supplies on hand but if you don't there is an Archiver's near you or use the Archiver's Annex to purchase what you need.

I will give you a hint..... it is much easier to score entire sheets of cardstock first and then cut them into strips and then accordion fold them. Either way you do it you will get the same results BUT it saved me time.

Happy Scrappin' ! ! !

Brenda

Monday, November 21, 2011

Monogramed Gifts For Co-Workers

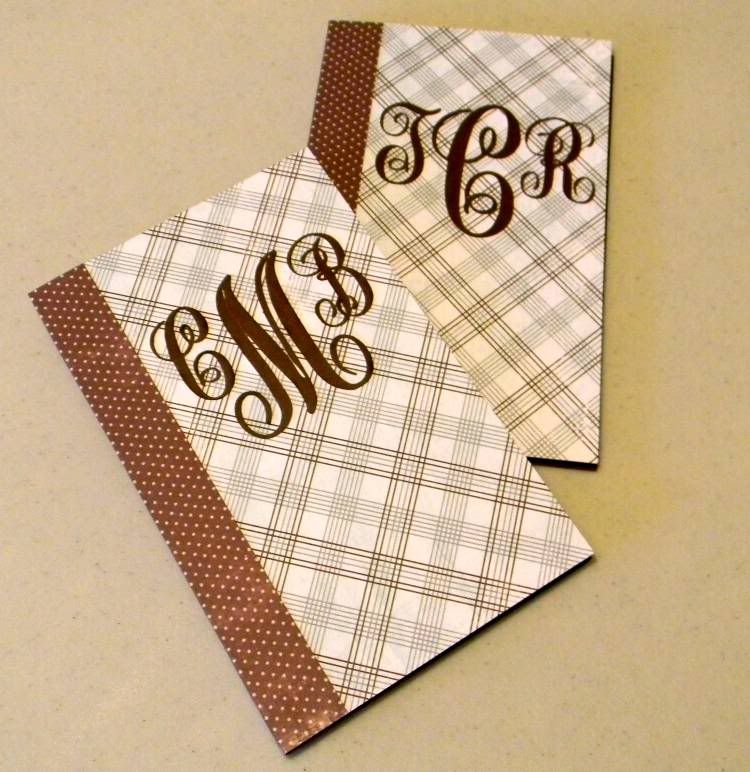
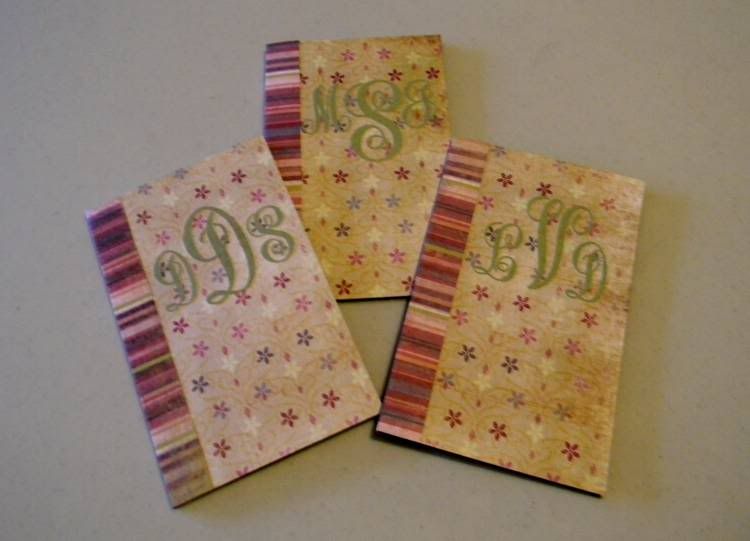
I love personalized gifts. There are different kinds of personalized gifts as well. The ones that are personalized to a specific person, such as, a note pad for a secretary or office employee who is always taking notes. My feeling is why not take it a step farther and monogram it for a very special person.

That is what I did with today's gift. I used a Jr. Legal Pad for this project.

These are the easiest things to make and can be customized for any sized tablet. Simply measure the pad, add 1/8 inch to the top, bottom and one side. Then measure the width of the "binding" and add the first measurement to that so that the "folder" goes around the tablet. You can add a contrasting color to the binder and add a pocket to the inside for things like a business card or receipt and add your favorite monogram to the front and you have an easy gift done in less than a half hour.


I don't want to leave anyone out so I do a head count of how many I need for a particular department, make the "folders" ahead of time and then the people I know I monogram their. The people that I do not know I try to find out their initials but if I can not get that then I do a generic embellishment. The important thing is that people know you recognize them and not one be overlooked.

Easy gifts to make ahead.

Happy Scrappin' ! ! !

Brenda

Friday, November 18, 2011

Called For Duty

If you call a phone call from a friend to ask for something special for a special occasion a "call for duty," then I have been called.

Friends were planning a shower and they wanted things a little more elegant that throwing a printed sign in front of the pitchers of drinks. I don't blamed them. The little special touches make the difference between an okay shower and a memorable shower.

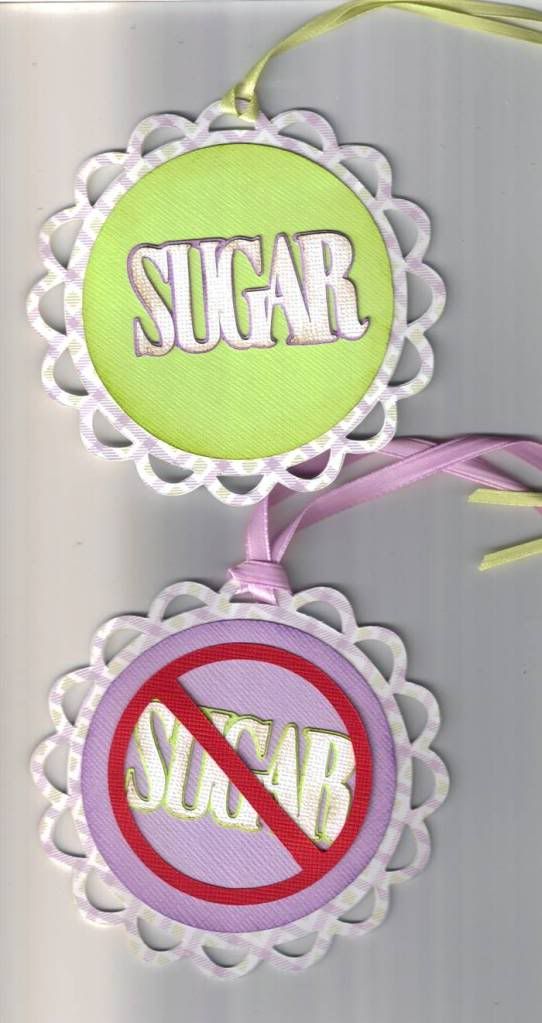
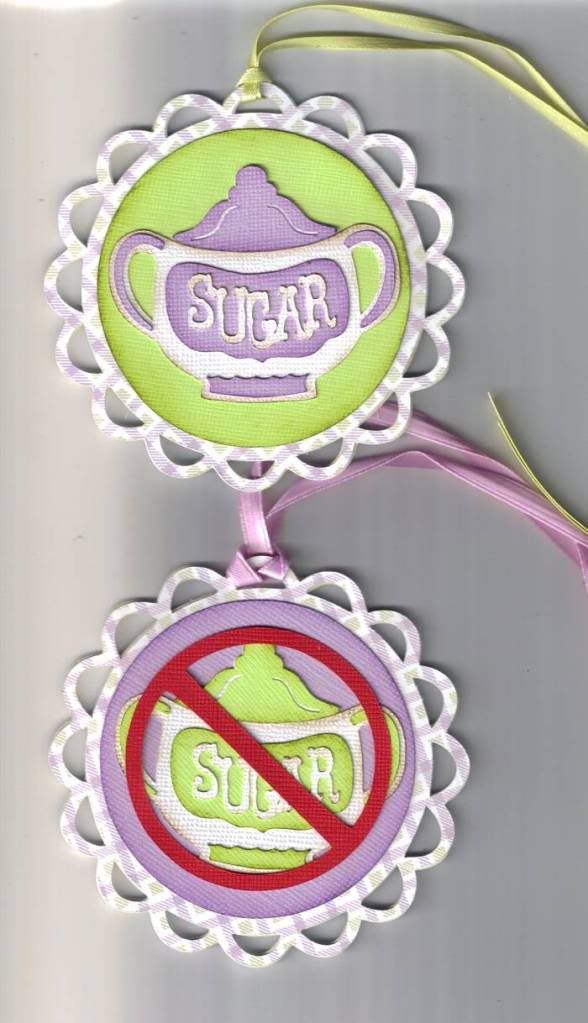
This was such a simple concept. Tags to hang from the pitchers of tea to let guests know if it the container had sugar or no sugar. I got basic information like the size of the container and colors for the shower and went to work.

I got out my scrap papers/cardstocks, my Cricut, George & Basic Shapes, Savory, and Lacy Labels Cartridges and made these little medallion type tags.d\

This is one side of the labels:


This is the reverse side of the above labels:


Just remember to take a few extra minutes and a little extra thought for those special touches.

Happy Scrappin' ! ! !

Brenda

Wednesday, November 16, 2011

A Funny, Special Christmas Gift

This one goes out to my God-Children, Karley and Sean. Their mom, one of my dearest friends loves getting hand-made cards. She always tells me that she looks forward to the hand-made things I send her and the children. With that in mind I am always looking for a special card or gift to make them. This year was no different.

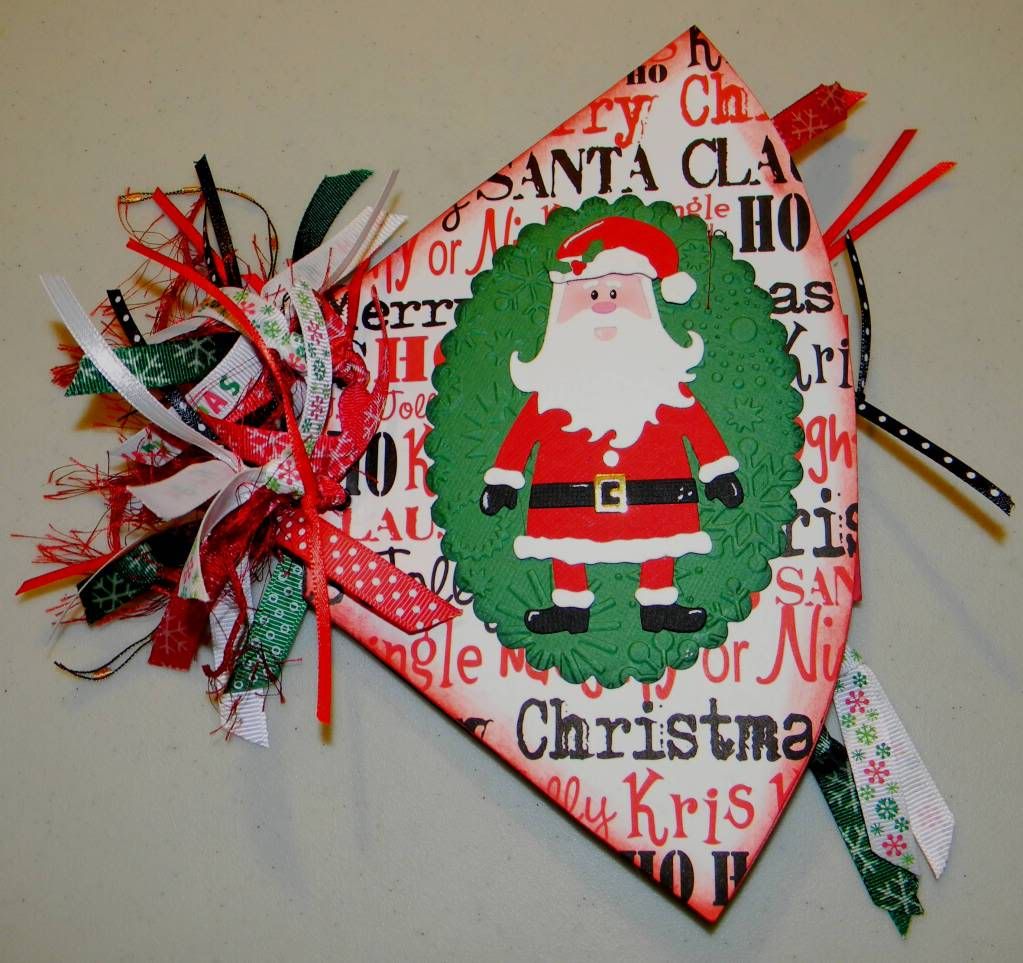
Another friend of mine, Glenda, had this coffee filter book and I looked at it and fell in love with this little book. It was so special with all of its pockets and hiding places. A book made out of coffee filters? Yes, but when I heard coffee filters I thought of the ones that my coffee machine took with the rippled edges, and these were the cone type which made so much more sense to me. Evidently these books have been around for while and were all the rage at Stampin' Up parties and camps. Since I don't stamp very often I was out of the loop on this one.

Glenda and I planned a scrapping date so that we could each make one of these odd little books. At the time I did not know what I would do with the book. I honestly didn't even know how I would embellish my pages since I do know have very many stamps. I didn't even know the theme that I wanted to do because let's face it the possibilities with a mini photo album like this are endless!

Glenda and I got together and had an afternoon of chatting and scrapping. I pulled out Christmas papers, coordinating colored cardstock, dies, ribbons, eyelets and other miscellaneous supplies. And together we figured out what we needed to do to make this nifty little scrapbook. She made one of her own but used stamps that she had brought with her. It was not until after she left that afternoon it hit me that this would be a perfect "hide & seek" gift for my God-Children. I never know what to get them and money is always the universal gift but I get tired of just handing them money. I continued working on the project for the next couple of afternoons.

I wrote a little poem for them, instructing them before they ever open the box that they had to get mom to take a list of pictures as they go, and that they must take turns looking for the next hidden bil or gift cardl. The poem ends with a verse about each having the same amount and that the pictures should be cropped or shrank and placed in the places on the pages and then given to their mom as their gift to her.

Anyway... enough babbling about the story of where the book is going. Below you find the pictures of the book.

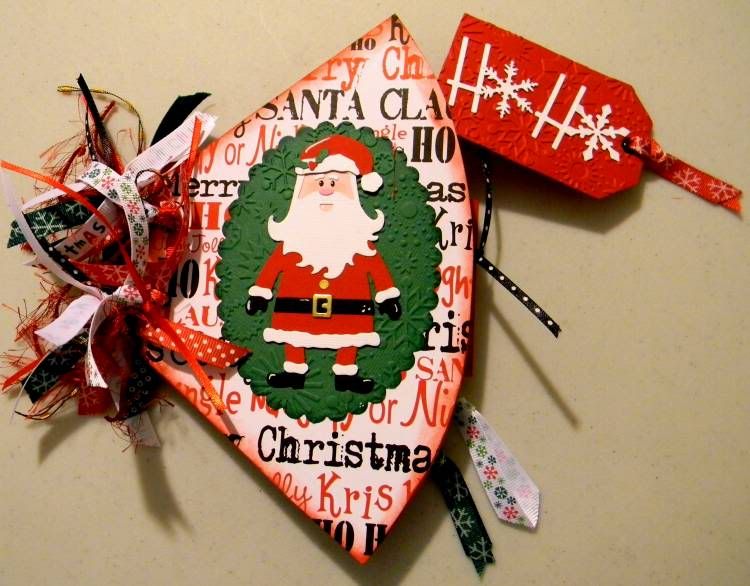
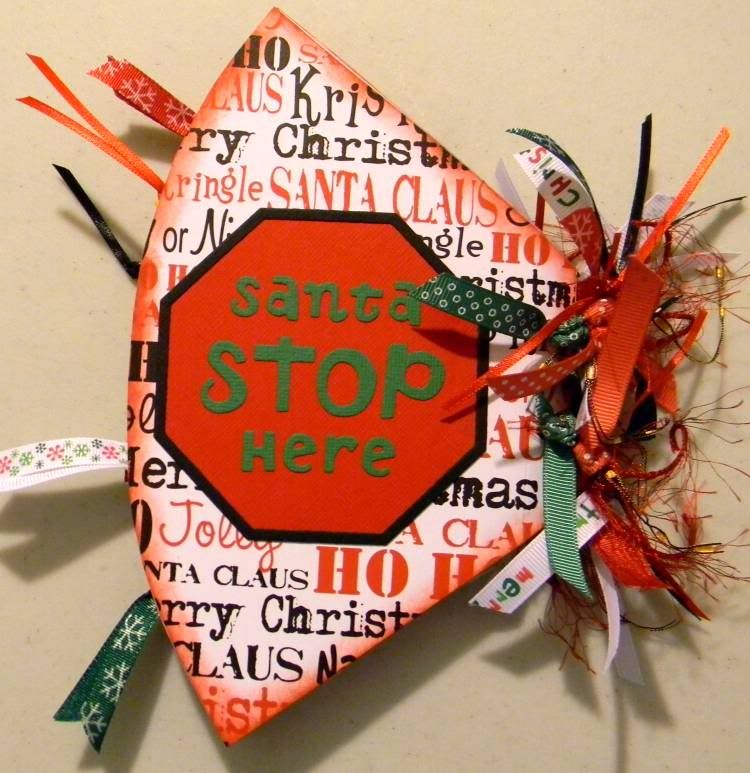
This is the front of the book, and then a picture of the tag that is nestled in the pocket that was formed by the coffee filter:


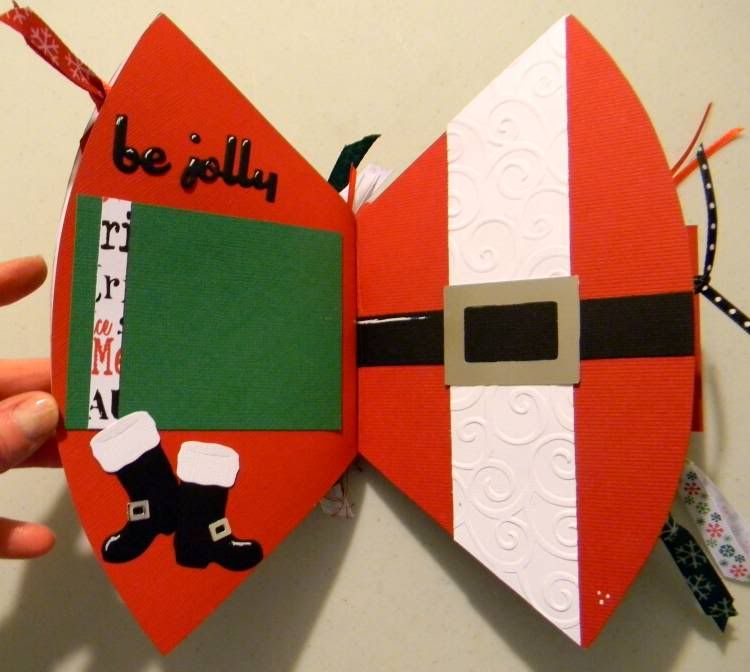
Then you have pages 1 & 2, and then a picture of the tag (that is also a pocket) hidden in the coffee filter :


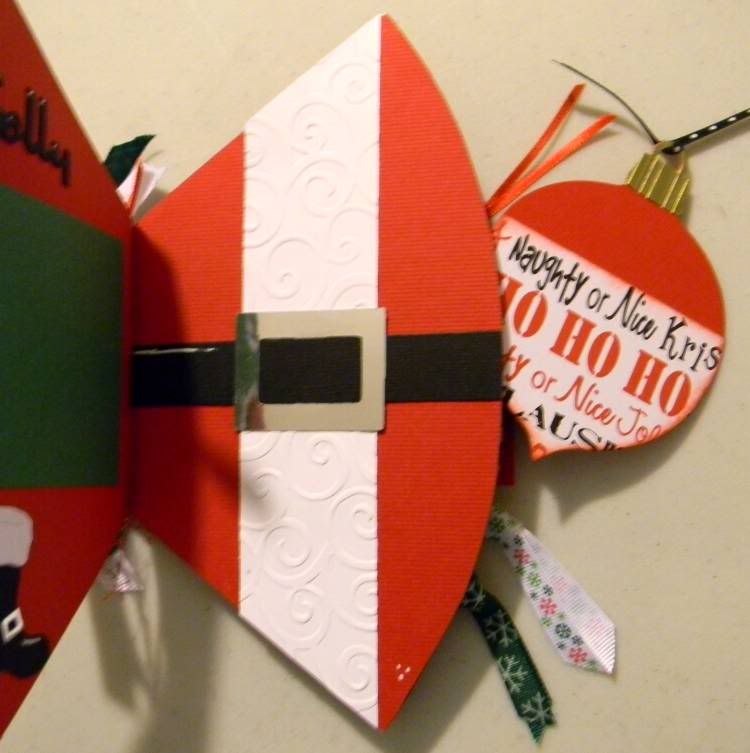
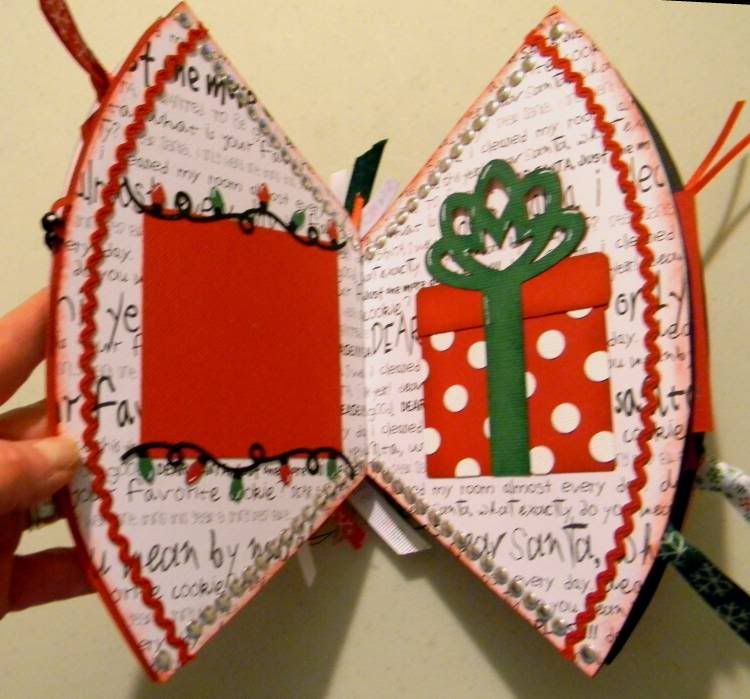
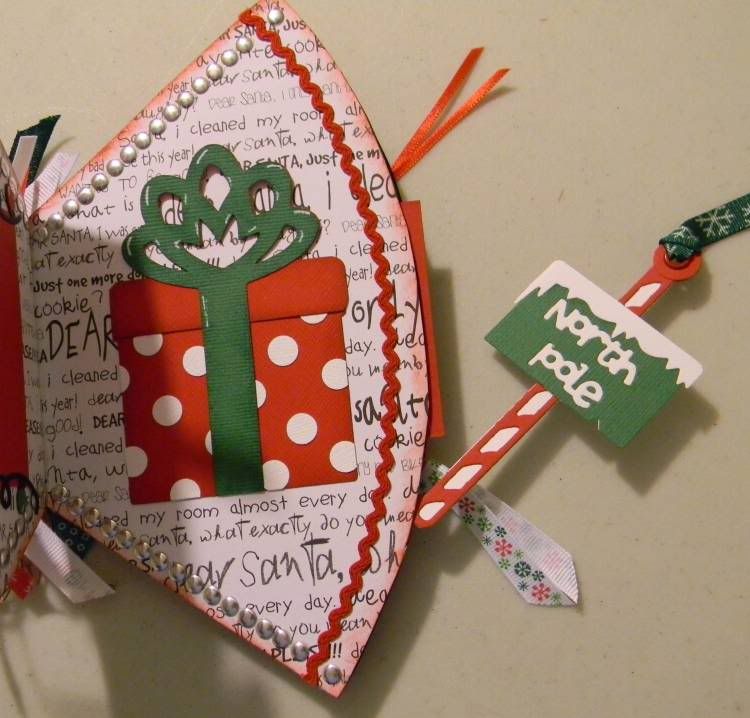
Pages 3 & 4, along with the items that are hidden there. (The present on the page is only glue on the two sides and bottom so that something can be slid in the gift):


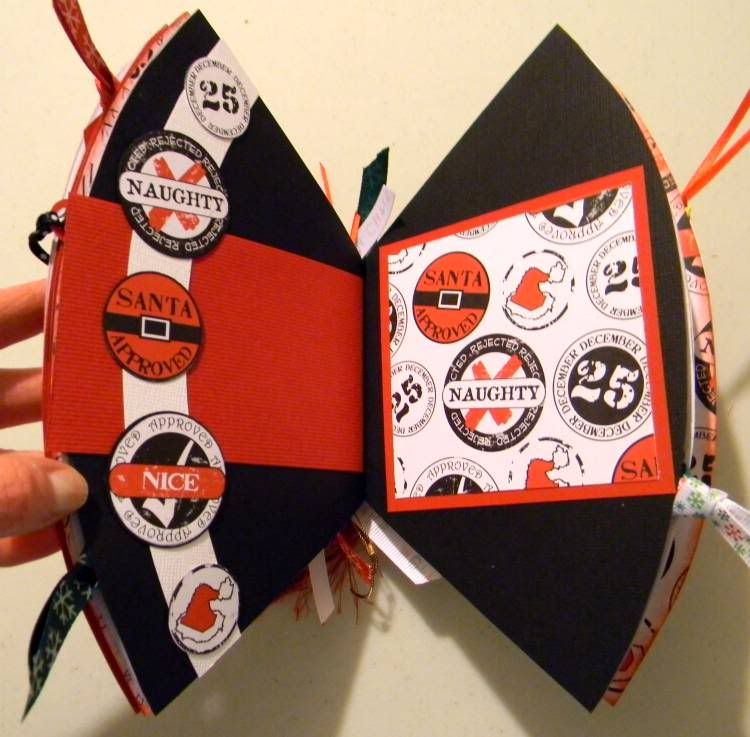
Pages 5 & 6, and with this side pocket is a tag. Even though I tried to stay with the black, red, white that is in the 3 printed cardstocks that I used, I also wanted to use the traditional Christmas green for accents. I ended up using a little brown, silver, and gold which I had not planned on but like all the same.


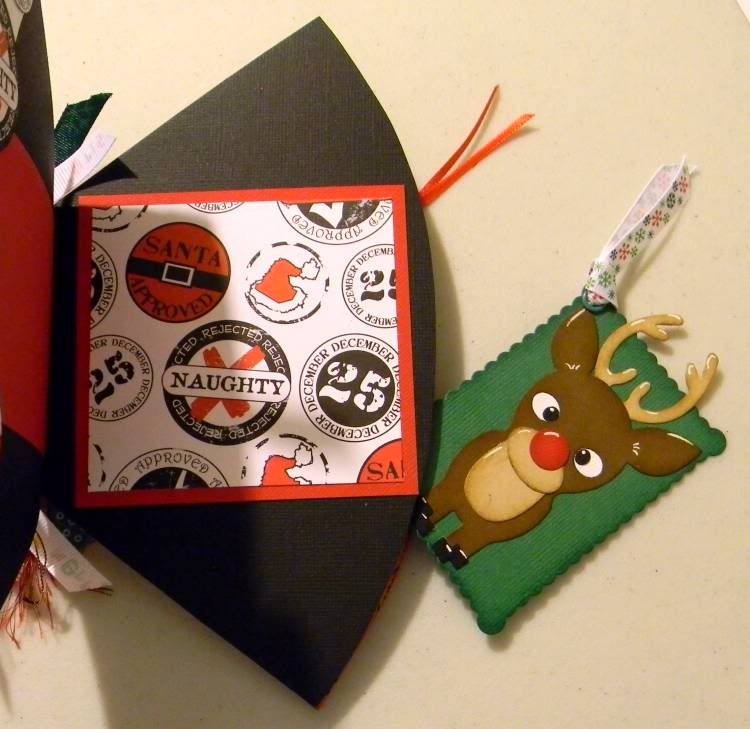
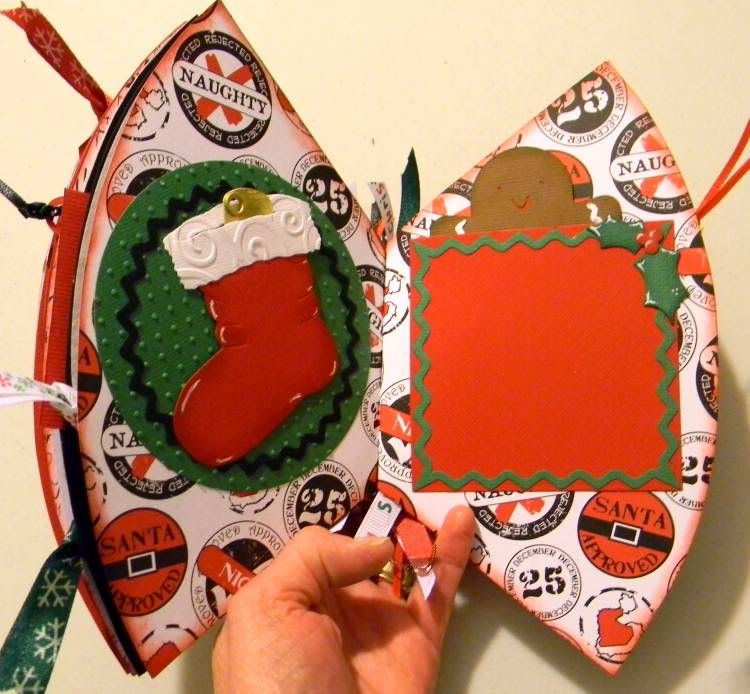
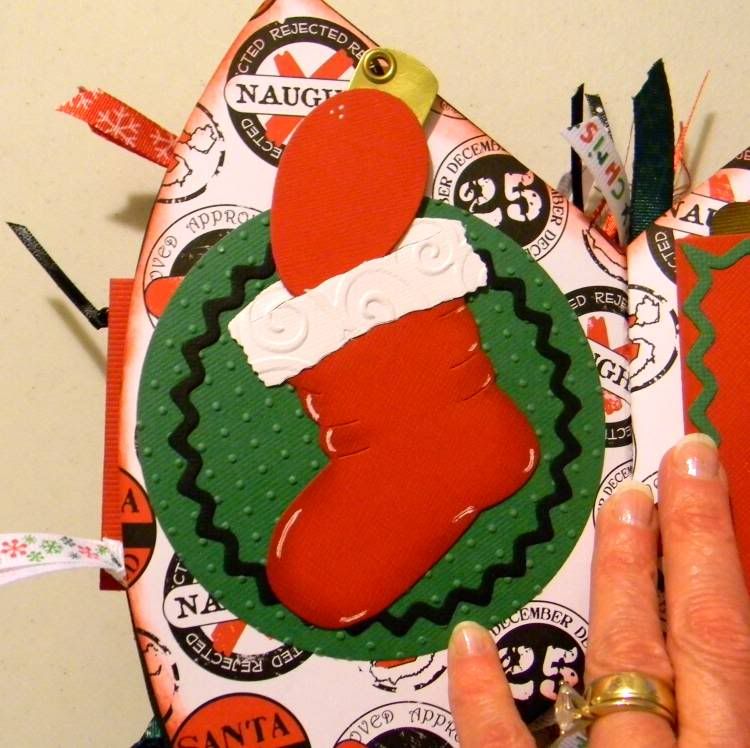
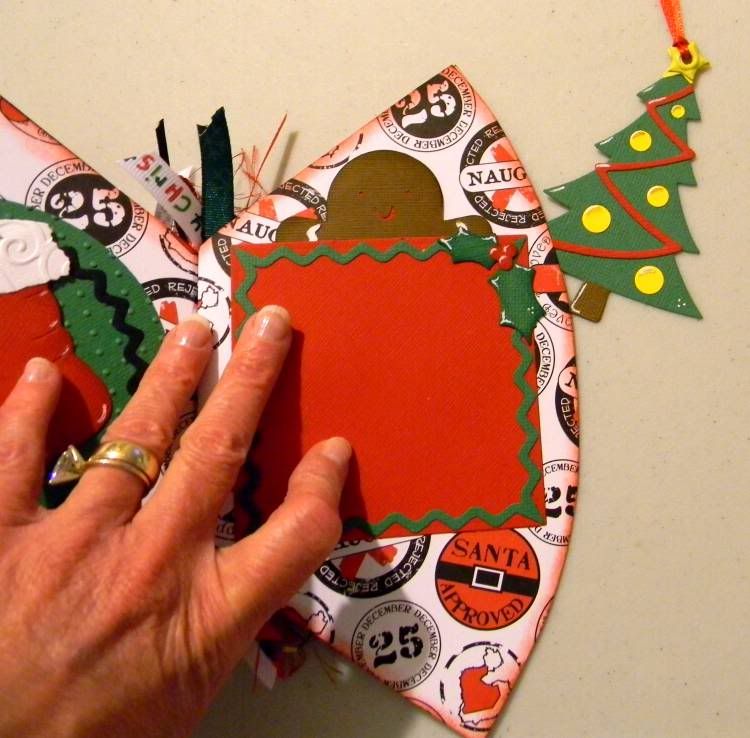
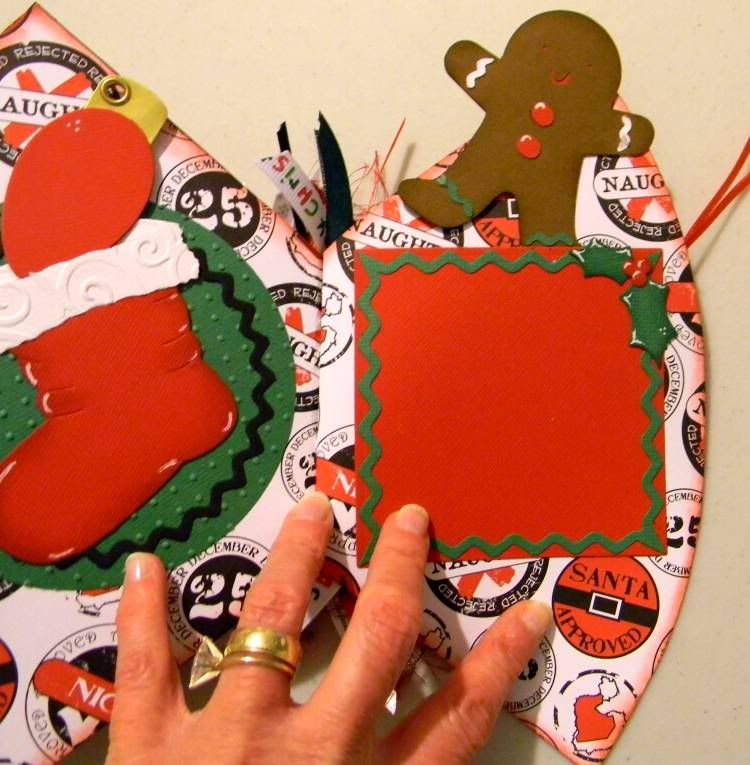
Pages 7 & 8. In addition to the coffee filter pockets there are two more pockets with removable tags. The top of the stocking is open and has a Christmas light tucked in it and the square on the right houses the Gingerbread man. When I took the pictures of the book I did not notice that I missed putting a ribbon on the light bulb tag. That has since been corrected:


And finally the back of the book:


This was a lot of work but worth every minute that I spent doing it after I had a focus of where it was going to go and be used for.

I think this will be fun for my God-Children to thumb through and explore and find the hidden money and gift cards and if they follow the enclosed directions their mom will also have a keepsake of the Christmas Gift as well.

I hope all of you are able to find some inspiration in this project.

Happy Scrappin' ! ! !

Brenda

Monday, November 14, 2011

A Little Something For My Holiday Decorating

This time I am making something for me.... perhaps not so much for me but for my Christmas tree! I stumbled across a couple of pictures of old crafts and decorating made new by not only a scrapbooking company but also a crafting diva.
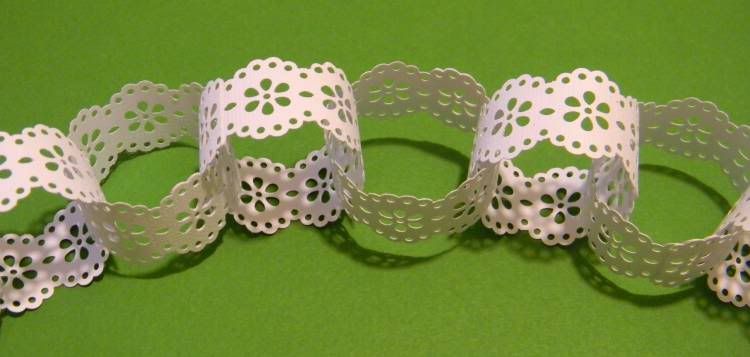
As a child I would make paper chains of brightly colored papers and because I had made them my mom would allow me to put them on the tree. A little old fashioned type of decoration that had been around since my own mom was a little girl. Now with new Martha Stewart scrapbooking/craft punches you can relive those childhood moments and make some elegant paper chains for the tree, mantal, or for around a door or staircase.

Here is the picture of the ones I have started:


These are so easy to make. I took a 12 x 12 sheet of paper and cut it in half. So that it is 12 x 6. I started punching the strips with the punch along the 6" side of the 12 x 6 sheet. I just had to line up the previous cut to make a continuous design. It was that easy. I ended up with a 6" strip that I formed into a ring and added more rings from there.

This lace paper chains will be used on my tree, added to garlands that go up the banister of my staircase and the garland around my front door.

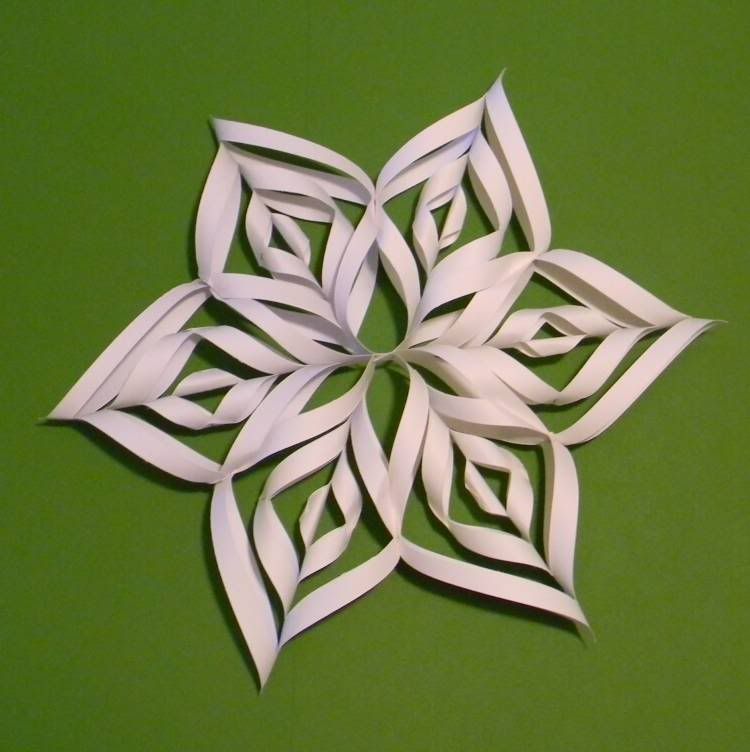
Then comes the tree topper for the season. Once again the crafting diva, Martha Steward comes to the rescue with a new template to make these spirals, that when 6 are combined a beautiful star is the end result.

Here is a picture of my finished star:


I used the 6 inch template, but I will tell you, I made these as a child and you can still download the instructions on-line if you do not want to spend the $12.99 on the template. (I used a 40% off coupon at Michael's to purchase mine.)

Sometimes a touch of old-fashioned is an elegant touch. I hope that you make at least one hand-made item for holiday decorating.

Happy Scrappin' ! ! !

Brenda