My Family Scrapbook

Monday, October 12, 2009

Do You Make An Opening And Closing Page For Your Albums?

Each of my personal photo album scrapbooks have an opening and a closing page. Sometimes they are something that takes forever to make and my original work and other times I find the perfect thing for these pages someplace else.

Today I am sharing my most recent opening and closing page sets. I have to give a shout out to those who designed the work. I have listed their blogs so that if you like what I've done you can go and look around their blogs. I can not give you the patterns for the "doilies" and "borders" but you can download them from the owner's blogs.

This is my opening page:
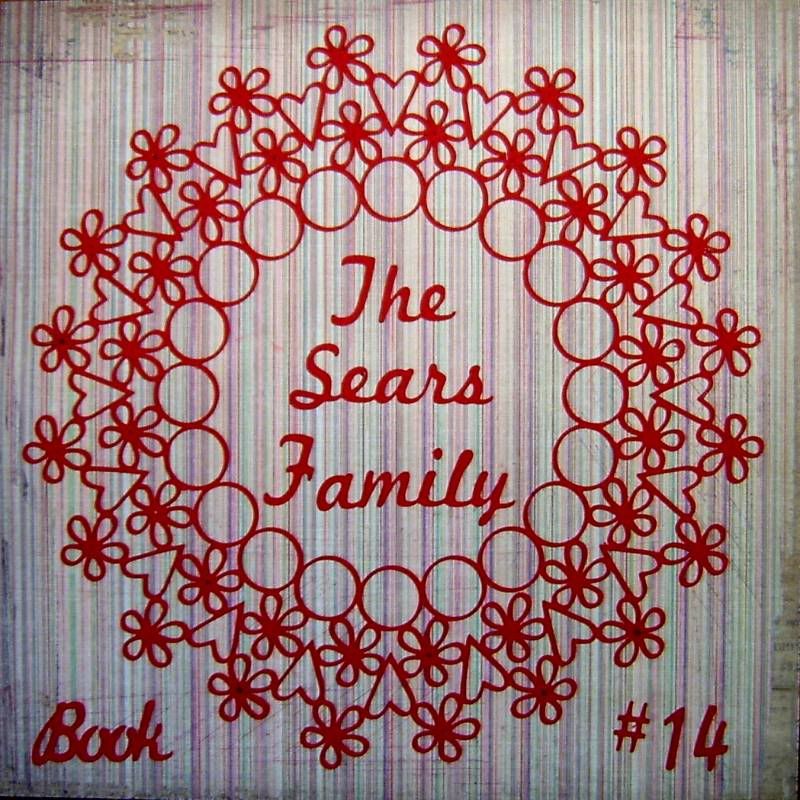


The Doily came from a very talented person, Diane. Her blog is Capadia Designs. I have modified her design slightly (taking out the center circle,) so that I could put my family name inside the circle. This lacy design is made from the George and Basic Shapes Cricut cartridge and the Cricut Design Studio.

I used the Sure Cuts A Lot program and my Cricut along with Marketing Script True Type Font to add my family name and album number.

The closing page:
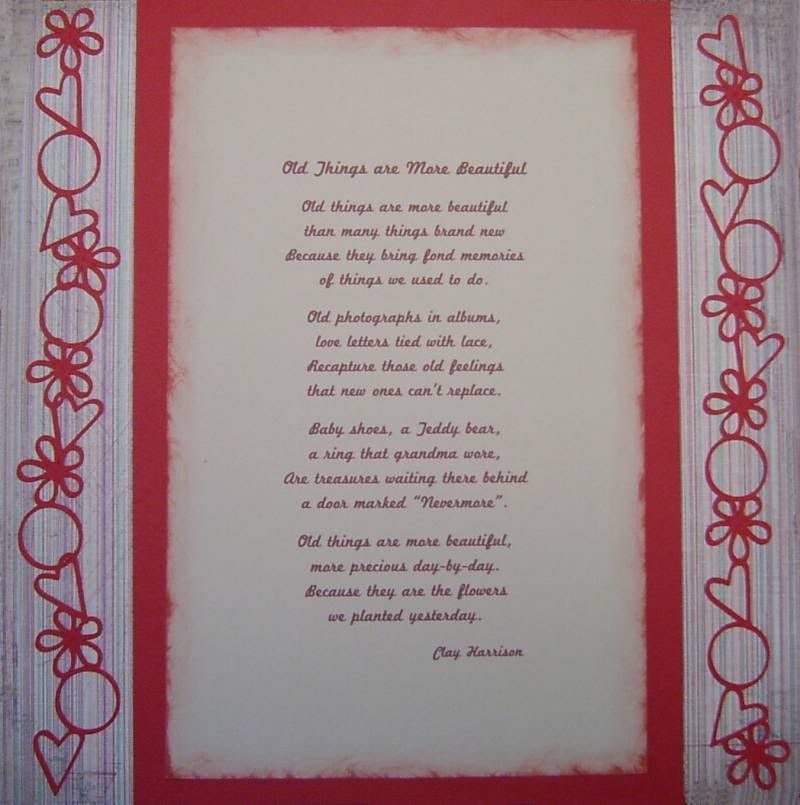


The poem is written by Clay Harrison and the beautiful borders are made by Jill. You can find that pattern at her blog, Diva In Pink's.

I want to thank Diane and Jill for sharing their talents with all of us.

Happy Scrappin' ! ! !

Brenda

Friday, October 9, 2009

Corner Bookmarks

When my friend, Rainy, sent me a bookmark nearly a year ago, I fell in love with it. It snuggled on the corner of my page. It went from book to book as I finished them. About a month ago my bookmark fell apart. Let's face it, paper is not supposed to last forever, right?

I have come to love this type of bookmark and just can't be without one. So I decided that I would make a new one. That lead to making two, three, four of them. You get the picture. I thought to myself if I like it maybe someone else out there would also like it. So I am sharing the directions as well.

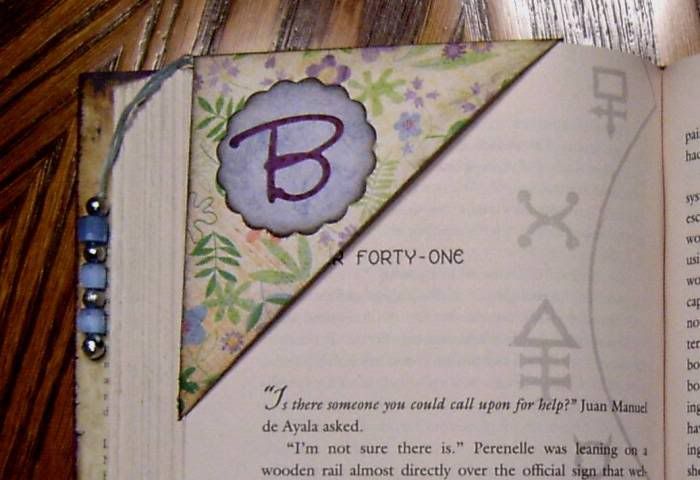
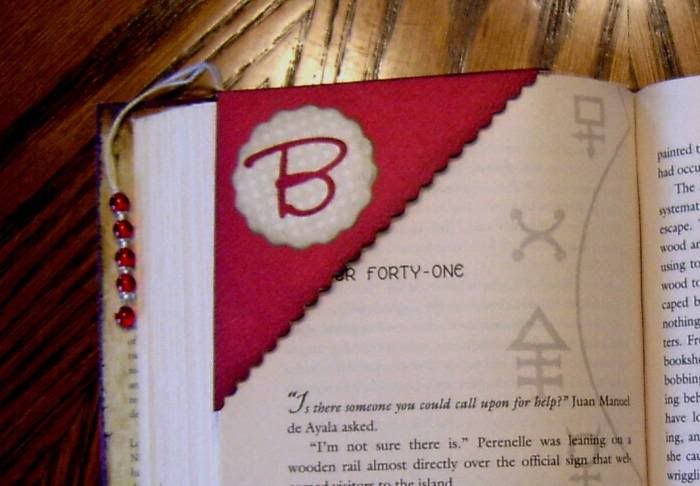
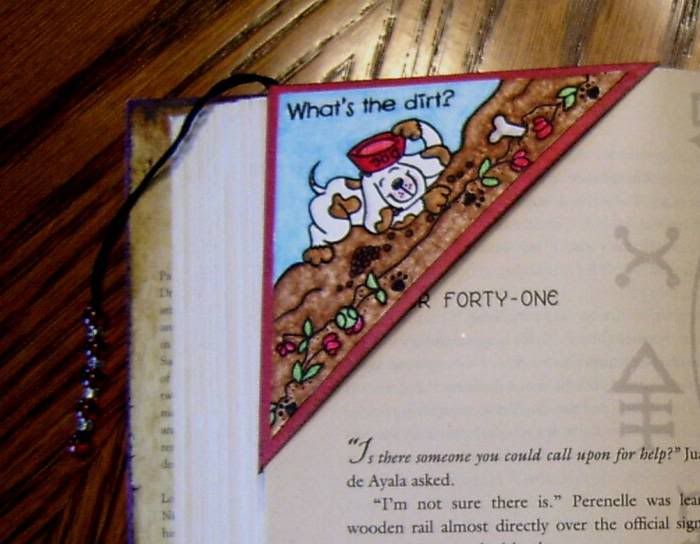
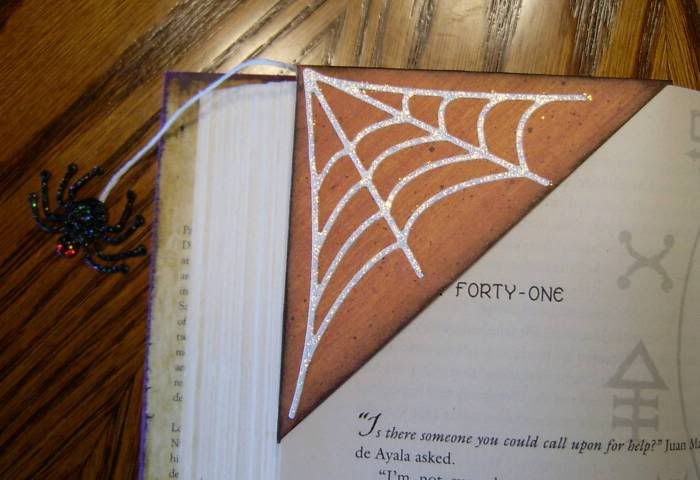
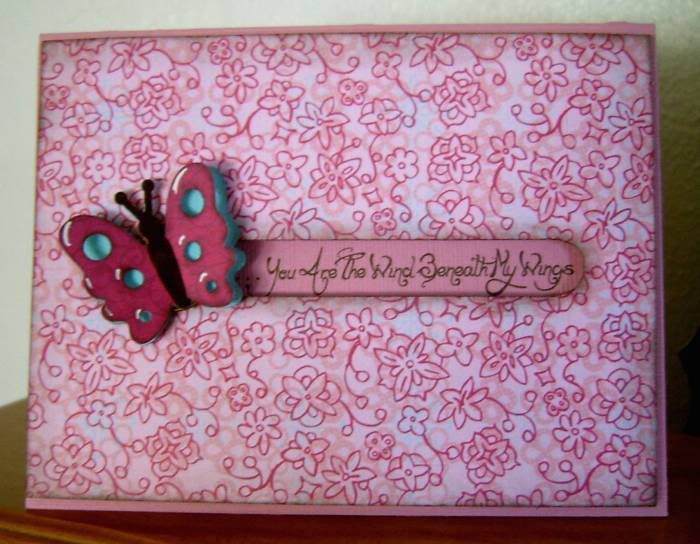
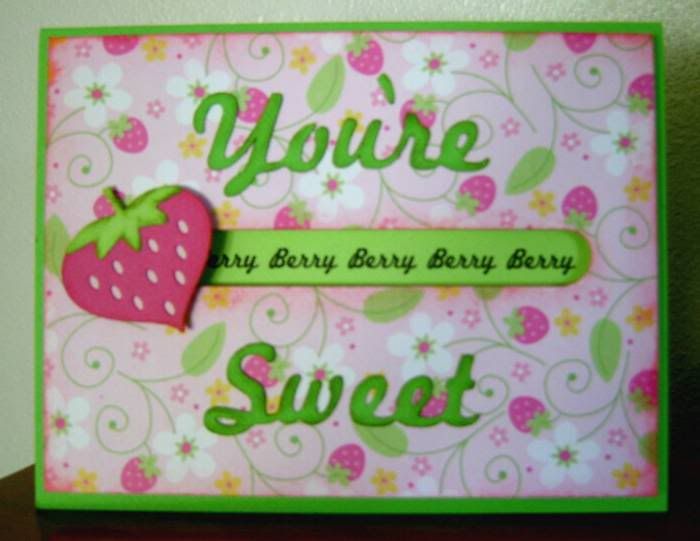
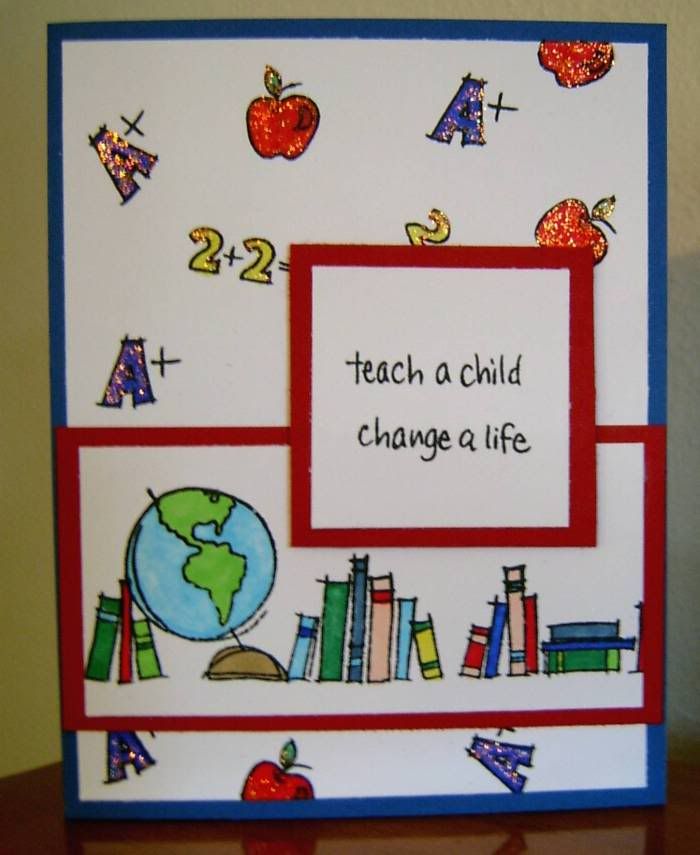
Here are pictures of the ones I make:


Each is unique. Some used stamps and Copic Markers, while others QuicKutz Dies and Stickles.

If you decide to try your hand at making one here is a video that you might find helpful. I found several ways to make them but this method was by far the easiest and fastest way. I do my video's for ScrapyLand.com so if you see something that you like you can find it there and ScrapyLand has the best prices, great customer service, and fast shipping.


These bookmarks would make great little teacher gifts, a gift for a student, or anyone that likes to read.

Happy Scrappin' ! ! !

Brenda
Friday, October 2, 2009

I'm Not Warped - I'm Misunderstood!

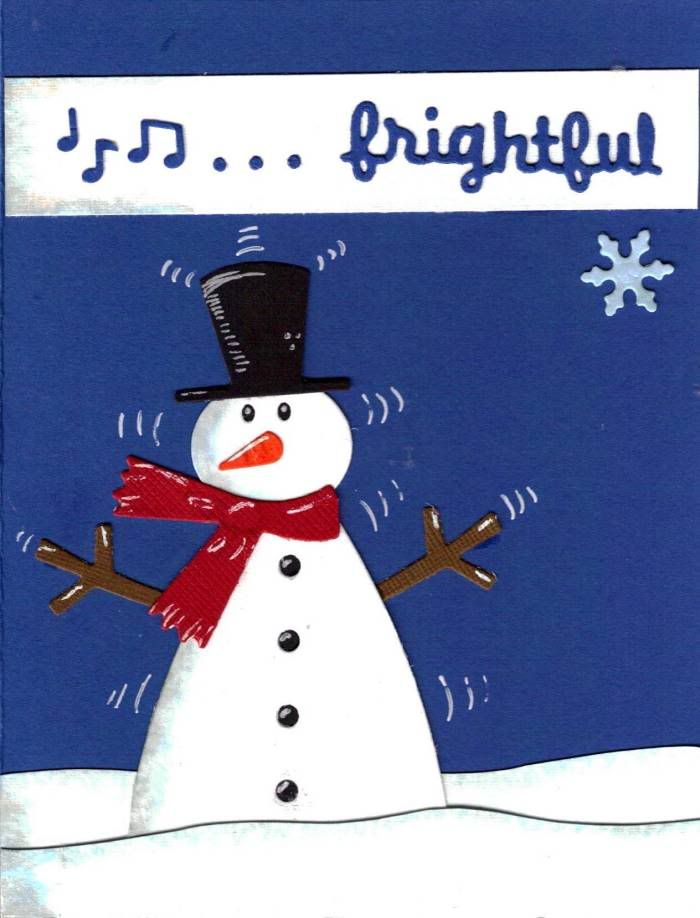
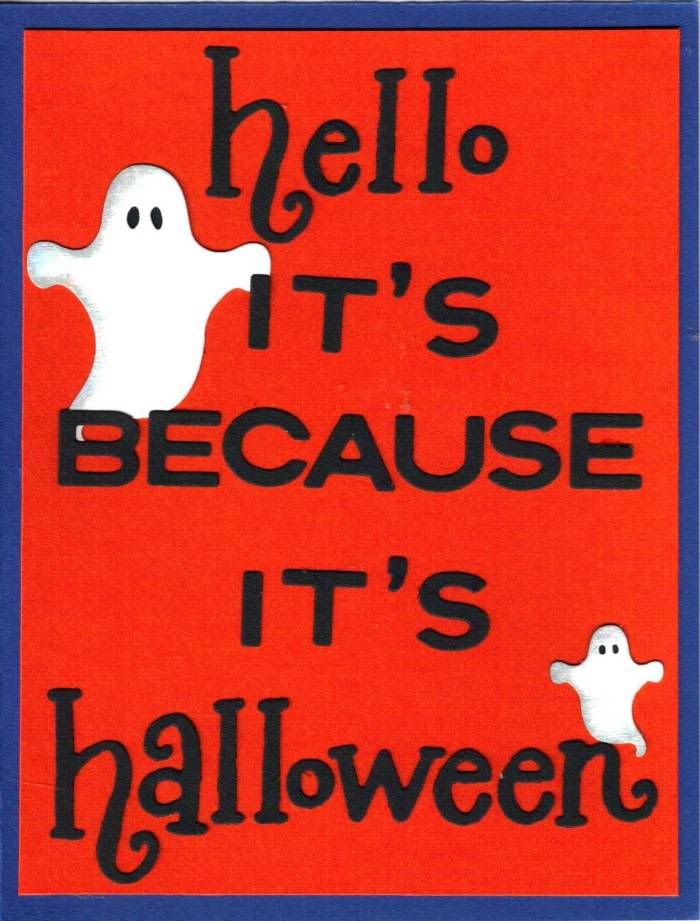
I had to laugh because when I made this card I was thinking a couple of things. The first I want to use my new dies right now! The second thing I was thinking was Halloween and these new dies were the holiday (Christmas) dies from QuicKutz.

I've shown my card to several people and no one seems to get it the first time they look at it but that is okay because I do get it and so did my husband. Okay so we are both a little misunderstood, or at least that is the way I am looking at it.

When I saw the new QuicKutz Snowman Die I feel in love with him and I wanted to use him right now and there were no "snow" pictures in sight. So I did the next best thing, used him for the current holiday which is Halloween. Since I was humming "oh the weather outside is frightful" it make me think the snowman is scared, not because it is cold but because it is Halloween. This is what I came up with.

The outside of my card:


An then when you open the card you see this:


I thought it was funny but not too many people got it but never the less I thought I would share it to see if anyone else thought it was funny.

Try something new this week, a twist, a turn, or play on words, just to see if you are misunderstood or not.

Happy Scrappin' ! ! !

Brenda
Wednesday, September 30, 2009

When You See Something Different

Many of my friends say I have a different outlook on life. Well not really but I do sometimes have a different outlook on a die cut.

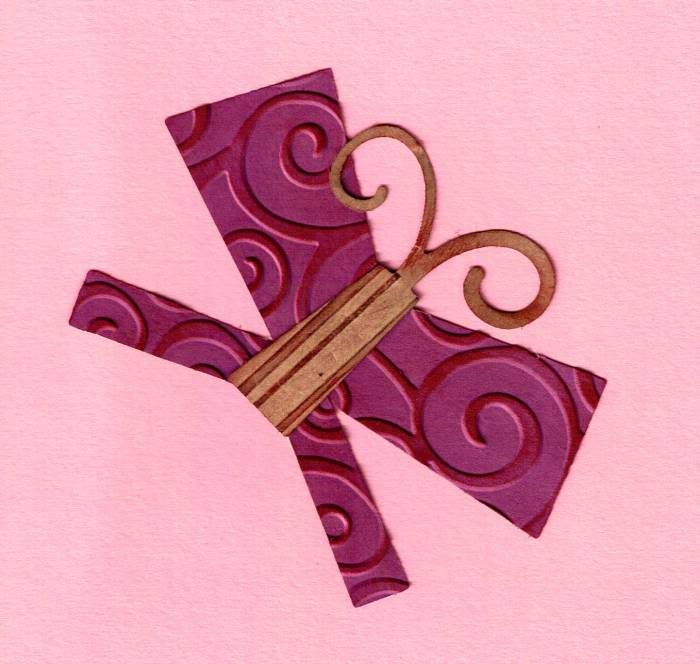
When the QK holiday dies were released a couple of weeks ago and I received mine, I quickly opened them and had a little look. The 4x4 present die did not scream "gift" to me at all but rather odd little butterfly.

So instead of cutting it and making what it was intended to be I cut it and put it through the A2 embossing folders, added a little ink, and assembled it to be a butterfly. And this was the end result.


I told you it was a little odd and maybe a little whimsical.

In any case if a die looks like it is supposed to be something else, give it a try and post what you make. Even if it looks a little odd someone else may LOVE what you have made and have the perfect use for it.

Happy Scrappin' ! ! !

Brenda
Friday, September 18, 2009

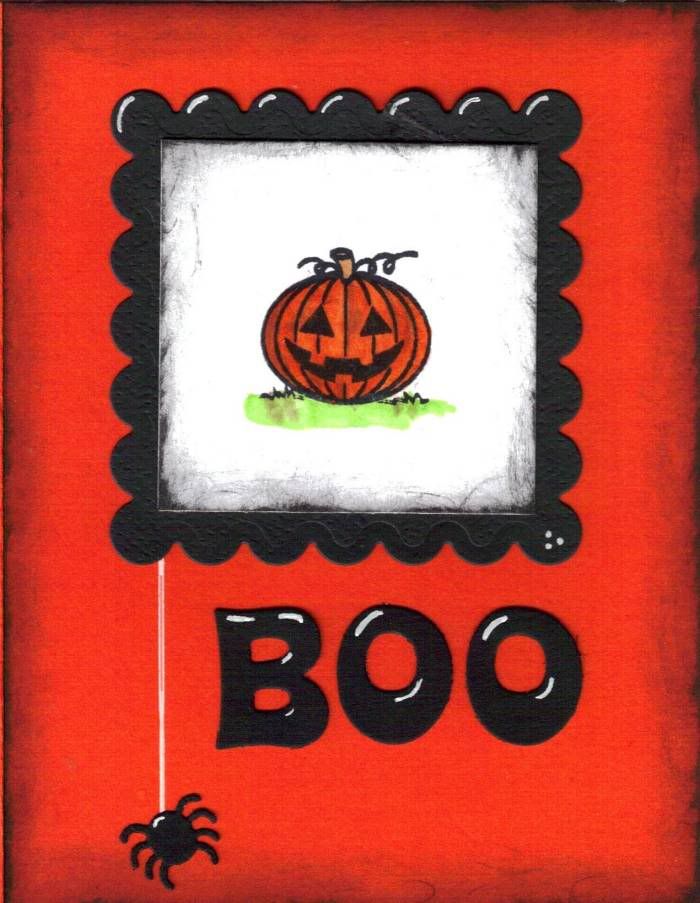
Halloween Is Just Around The Corner

Before you know it the little ghouls and goblins will be knocking on the door begging for a trick or a treat. I'll take the treat any day as I do not like fishing toilet paper out of my trees for the next week or better.

I try to keep a few non-food goodies in my basket just in case there is someone who can not have candy - those will be coming soon on my blog but for today I have a card that I made that will be going out to a few scrapping friends that live away from me and to a few special people like my small nieces and nephews.

So that is what I will share with you today is my card. The card is so easy and fast. It only took about 10 to 15 minutes to make several of them.

I stamped the pumpkin image with a stamp and then colored it in using Copic Markers, cut the square, and square scallop with Spellbinder Dies. I used QuicKutz Aquarius Font and a 4x4 Spiderweb Die that had the spider on it. Add a little dye to the edges and white gel pen for accents and you have a card. Easy as pie.


Don't forget to sent a few people a Halloween greeting and make it special by whipping up a few cards.

Happy Scrappin ! ! !

Brenda

Wednesday, September 16, 2009

A New Twist On A Card

I am always looking for something new to do. Sometimes these ideas come out of thin air and other times I find them in things that other scrappers are doing.

Today's idea came from a friend who showed me a card but then would not tell me how she made the card. With a little research and help from the Internet I found instructions for the card that my friend had made. Here was my next problem, I didn't had the Stamping Up Slot Punch that is used to make the card. That wasn't a big problem for me because where there is a will there is a way.

I thought about this for a couple of days and reached for my Cricut Machine, a couple of cartridges and my Cricut Design Studio and within a few minutes had the card done.

So today there is a couple of pictures the cards, a video on how to make and assemble the card, and then because I wanted the envelope to be as special as the card a video on how to make a matching envelope.


At the beginning of the video you can see how the die cut that is on the front of the card spins to the other side. A channel cut into the top of the card and secured to a card blank with pop dots and a little magic with pennies allows the die to spin from side to side.

This is so simple.

Here is the video that I made on how to make these cards. (Can you tell that I share my videos with ScrapyLand.com?)


And then I went one step farther in making a video on how to make an envelope for my cards and here is that video.


I hope that I have inspired you to make a couple of cards but also that when you see something that you like and don't have the same tools as someone else to think outside of the box and find a way to do them.

Happy Scrappin' ! ! !

Brenda
Monday, September 14, 2009

Copic Markers

I have just been introduced to Copic Markers. What a new experience.

These markers, as I understand, are alcohol bases, but they are safe for scrapbooking. They are also refillable and come in 3 different sizes (one is square, one is oval, and one is round.) These markers are also refillable and the nibs of the pens can be replaces.

A friend gave me some tips for these about using the grays for shadowing and then go over the grey with a color and then use the blender pen over that. The effects are pretty cool.

Another tip I received was if you are using these for stamping was that they only work with certain papers and stamp pads. The stamp pad name brand is Memento.

Here is my very first project using these markers.


These markers took me back to my grade school years of coloring and then my high school years in art class. I hope that you will try the these markers and have a little fun.

Happy Scrappin' !!!!

Brenda

Thursday, September 10, 2009

Train Mania

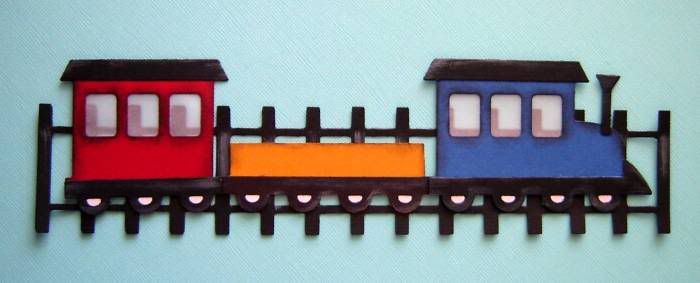
I don't know why I like trains so much but I do. A few months ago QuicKutz came out with a ladder and a picket fence both of which screamed train track to me. By the way, did I mention that I've asked for a train track die. I even sent in a sketch to them and I got nothing (tells you how important or how much pull I have.)

In any case this sparked a little frenzy with me and I needed a train that was the right size for the track.

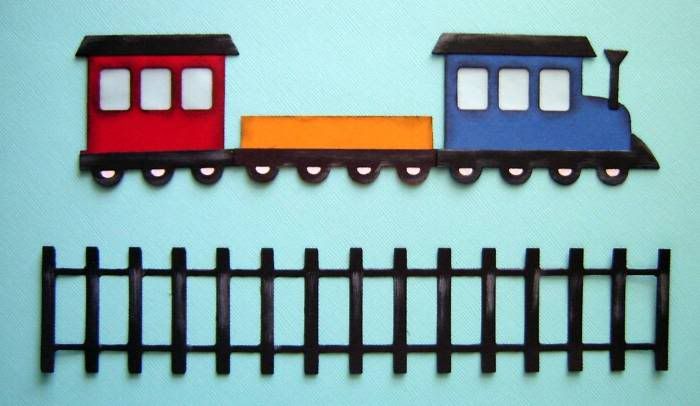
So the picket fence became a train track with a few snips of the scissors... and QuicKutz has a train engine so with a few cuts the engine became a full train. This would be perfect for a child's page or if you added some animals it would be good for a circus page.


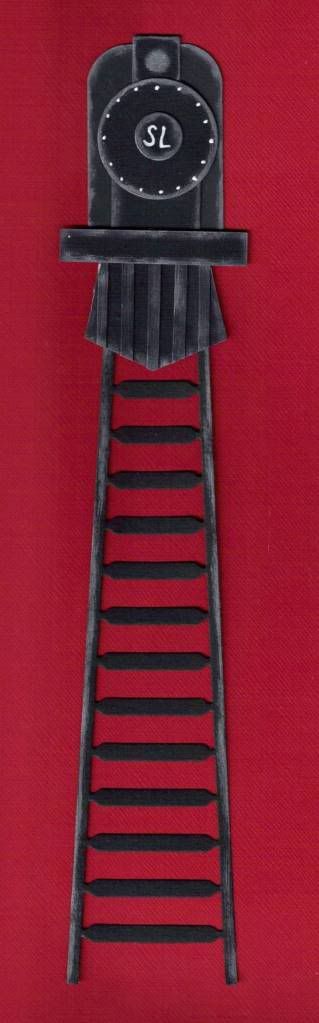
Then there is the ladder die that reminded me of the train track head on. There is no train for it so I made one using some Spellbinder dies and Quickutz dies. This train is more for the adult lay-out or even for someone who collects trains.


These were a lot of fun to do. So when you ask for a die and don't get it (just because you think you are so special like I do,) wait a die will come along that will serve your purpose.

Happy Scrappin' !!!!!

Brenda

Tuesday, September 8, 2009

A Gift For A Friend

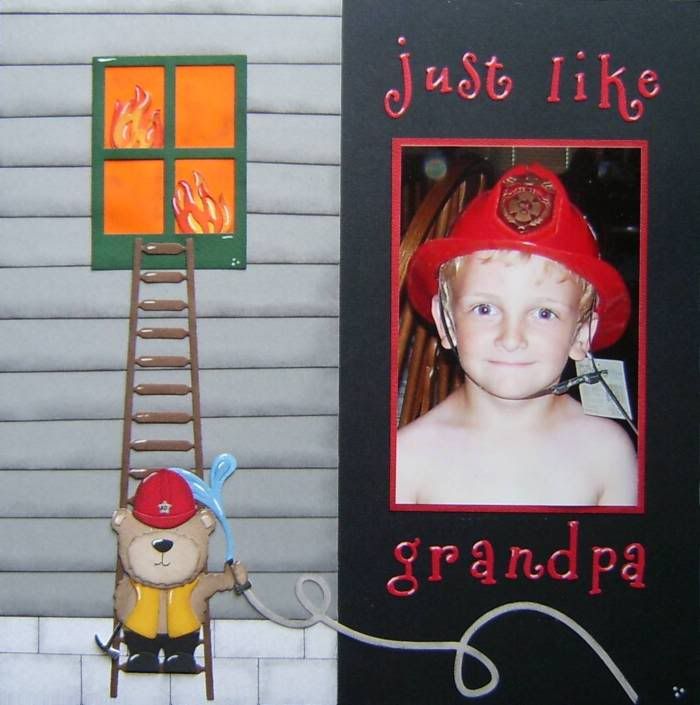
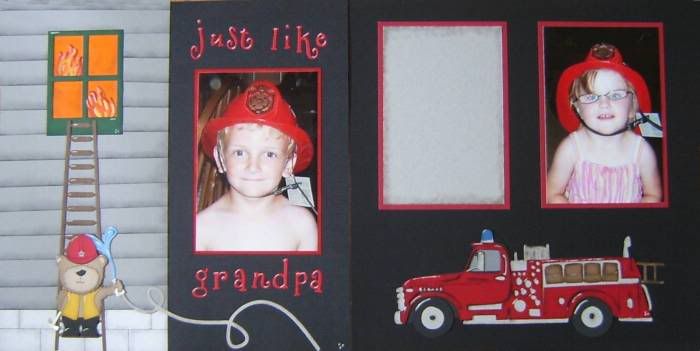
These pages were a gift to a special friend of mine.

I wanted to use some of the new dies I had (the ideas were racing and I had no pictures of my own so I borrowed pictures and then "gifted" the lay-out.)

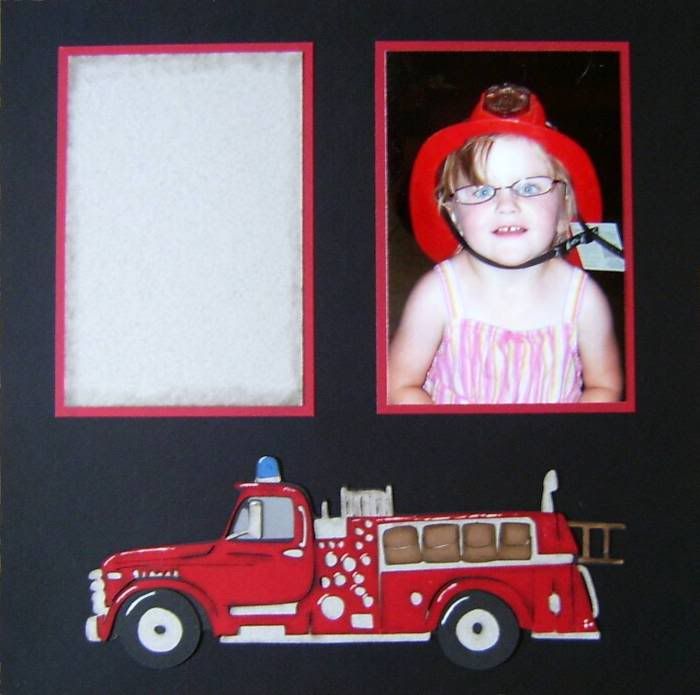
The first page of this 2-page lay-out is done with QuicKutz and Go-Create Dies. The second page of this lay-out (the fire truck) was created with a Sure Cuts A Lot pattern that I got from a fellow scrapper. If you like the fire truck I am happy to provide her blog site (sorry this is not my pattern and I don't feel like I can share it but it is a free download on her site.)

So here are the pages I created. (The blank box is for her to do a little journaling about her Grand-children and husband who is a firefighter.)


Here is the link to the blog where I found the pattern for the fire truck (this is a direct link to the page where the fire truck is - please look around and comment on her beautiful work.) http://mardenz.blogspot.com/2009/06/fire-engines-old-cars-and-traffic-signs.html

A very special thank you to Vicky in Stockton, KS for the pictures so that I could create this lay-out.

Happy Scrappin'

Brenda

Friday, September 4, 2009

Can't Believe It Has Been Two Months

Yes you read that right, it has been two months since I've posted anything. Life has been so busy that there just has not been time, but enough excuses.

It has been long enough so here we go.
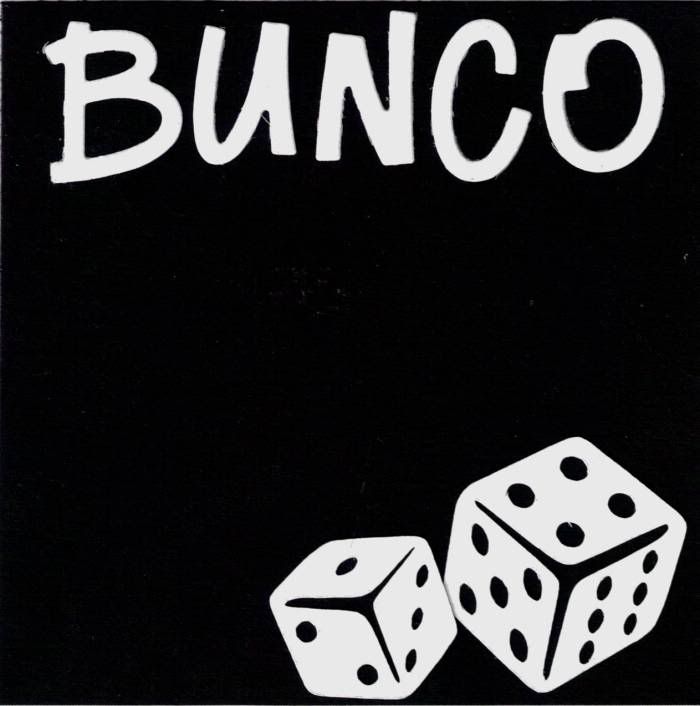
Today's project is very easy but serves a purpose. It is a Bunco Punch Card.

If you have ever played Bunco you know what it is, if you don't play Bunco then you won't care.

I used a 3 1/2 inch square of black cardstock, cut the dice using the Cricut Cartridge, Indie Art, and the "Bunco" was cut with the QuicKutz Die Font, Supermarket.)

Super simple, super quick and functional.